
Ever needed to capture exactly what’s happening on your iPhone screen? Whether you’re showing a relative how to use a new app, saving a clip of your gaming triumph, or reporting a bug to a developer, the built-in screen recorder is an incredibly useful tool. But first, you have to activate it.
The key is adding the screen recording shortcut to your Control Center—the customizable toolkit you access by swiping down from the top-right corner. By placing the button there, you make screen recording available with just a quick swipe and a tap. This guide will show you exactly how to set it up and use it effectively.
Adding the Shortcut to Your Control Center
By default, Apple doesn’t include the screen record button in the Control Center, so you’ll need to add it yourself. It’s a simple, one-time setup that makes the feature instantly accessible.
Here’s the step-by-step process:
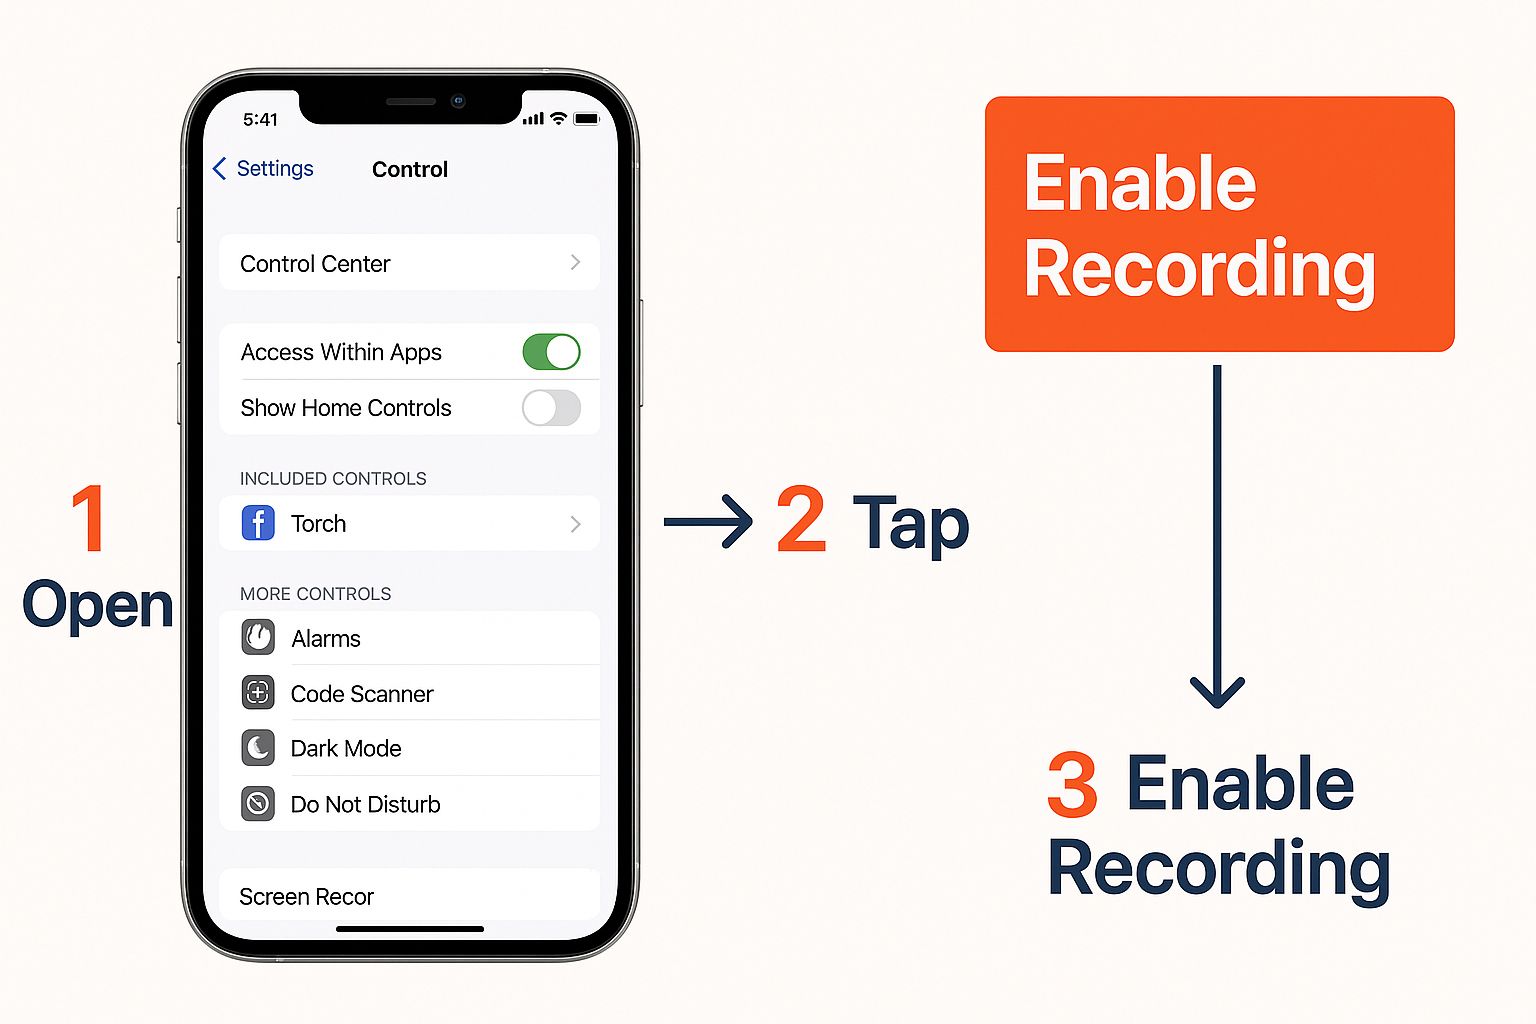
- Open the Settings app on your iPhone.
- Scroll down and tap on Control Center.
- You will see two lists: “Included Controls” and “More Controls.” Find Screen Recording in the “More Controls” list.
- Tap the green plus icon (+) next to “Screen Recording.”
That single tap moves the shortcut into the “Included Controls” list, confirming it’s now part of your active Control Center.
Enabling Screen Recording: A Quick Summary
Here is a quick overview of the essential steps to add the screen recording button to your Control Center.
| Step | Action | Purpose |
|---|---|---|
| 1. Open Settings | Navigate to and open the main Settings application on your iPhone. | To access your device’s configuration options. |
| 2. Go to Control Center | Find and select the “Control Center” menu from the list. | To manage the shortcuts available in your Control Center. |
| 3. Add Screen Recording | Scroll to “More Controls” and tap the green + next to “Screen Recording.” | To add the screen recording button to your active Control Center shortcuts. |
Once this is done, the button will remain in your Control Center unless you manually remove it. You’ve now activated a native feature that’s been part of iOS since iOS 11 was released in 2017. Before then, users had to rely on third-party apps, but Apple streamlined the process by making it a built-in function.
This is just one way you can tailor your iPhone’s interface. If you’re interested in more customization, our guide on how to hide apps on iPhone in settings offers more useful tips.
Your First Screen Recording with Audio
Now that you’ve added the button to your Control Center, you’re ready to capture your screen. The process is simple, but adding your voice turns a basic clip into a helpful tutorial or a clear explanation.
First, open your Control Center. On an iPhone with Face ID, swipe down from the top-right corner. On an iPhone with a Home button, swipe up from the bottom of the screen. You’ll see the circular record icon you just added. Tap it, and a three-second countdown begins, giving you a moment to prepare before it starts recording everything on your screen. A red indicator—either a bar at the top or an icon in the Dynamic Island—confirms the recording is active.
Adding Your Voice to the Recording
A silent recording shows what you’re doing, but adding your voice explains why. This is perfect for creating quick how-to videos for friends, family, or colleagues.
Instead of just tapping the record icon, press and hold it for a second. This action reveals a hidden menu with more options, including a microphone icon at the bottom. By default, it’s always off.
Simply tap the microphone icon. It will turn red, indicating that it’s active and will capture your voice as soon as you start recording.
Practical Example: Imagine you’re showing your mom how to use a new photo editing app. You could record your screen while saying, “Okay, first, tap the ‘Edit’ button here, then swipe to find the ‘Brightness’ tool and adjust it like this.” The combination of visual steps and verbal instructions makes it much easier to follow.
For more specific instructions, especially on older models, check out our guide on how to record the screen on an iPhone X.
Stopping the Recording and Finding Your Video
When you’re finished, you have two ways to stop the recording:
- Open the Control Center again and tap the flashing red record button.
- Tap the red status bar (or the red icon in the Dynamic Island) at the top of your screen. A pop-up will appear; tap “Stop” to confirm.
The second method is generally better because it avoids capturing the Control Center closing at the end of your video, resulting in a cleaner, more professional-looking clip. Once you stop, your iPhone automatically saves the video to your Photos app, where you can find it in the “Recents” album.
A silent screen recording can often feel incomplete. Whether you’re creating a tutorial, demonstrating a software bug, or capturing gameplay, adding audio provides crucial context. By default, your iPhone captures system sounds—like game audio and notification pings—but you have to manually enable the microphone to record your voice.
How to Add Your Voice to a Screen Recording
The key to adding your own narration is the long press. Instead of a quick tap on the screen record button in your Control Center, press and hold it for a moment. This opens a hidden menu of options you wouldn’t otherwise see, which is where you can activate your microphone before you record.
Here are the exact steps:
- Open Control Center by swiping down from the top-right (Face ID) or up from the bottom (Home button).
- Press and hold the Screen Recording button (the circular icon).
- In the new menu that appears, tap the Microphone icon at the bottom.
- The icon will turn from grey (“Off”) to red (“On”), confirming your microphone is active.
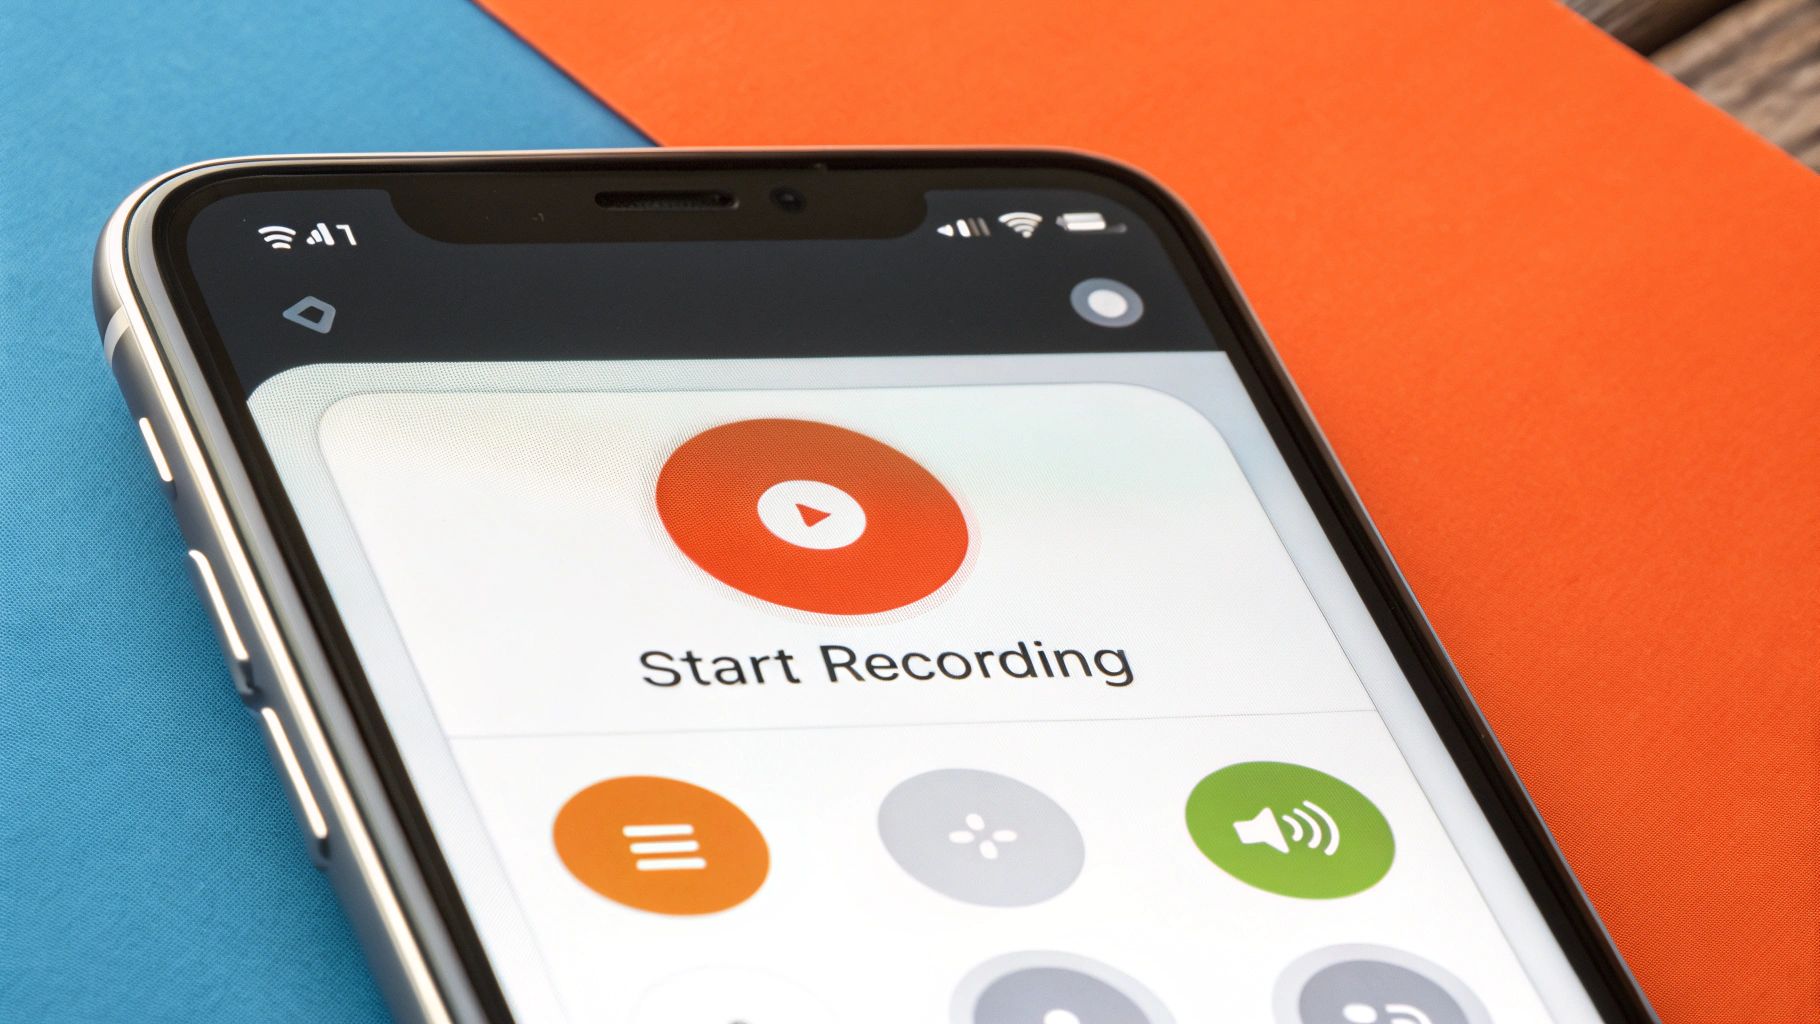
- Tap Start Recording.
This feature is invaluable for creating clear, narrated content. I use it frequently to walk my parents through new app features or to send quick, descriptive feedback to my team. It’s far more effective than typing out a long, complex message.
Practical Example: Reporting a Software Bug
Let’s say you’ve found a bug in an app. Instead of writing a long email, you can record it. Open Control Center, long-press the record icon, and turn on the microphone. Start recording and say, “When I tap the ‘Save’ button here, the app crashes. I’ll show you again.” This provides developers with a visual record of the issue and a clear verbal explanation, making it much easier for them to diagnose the problem.
If you want to improve your narration for these recordings, consider using a voice training app to help you speak more clearly and confidently.
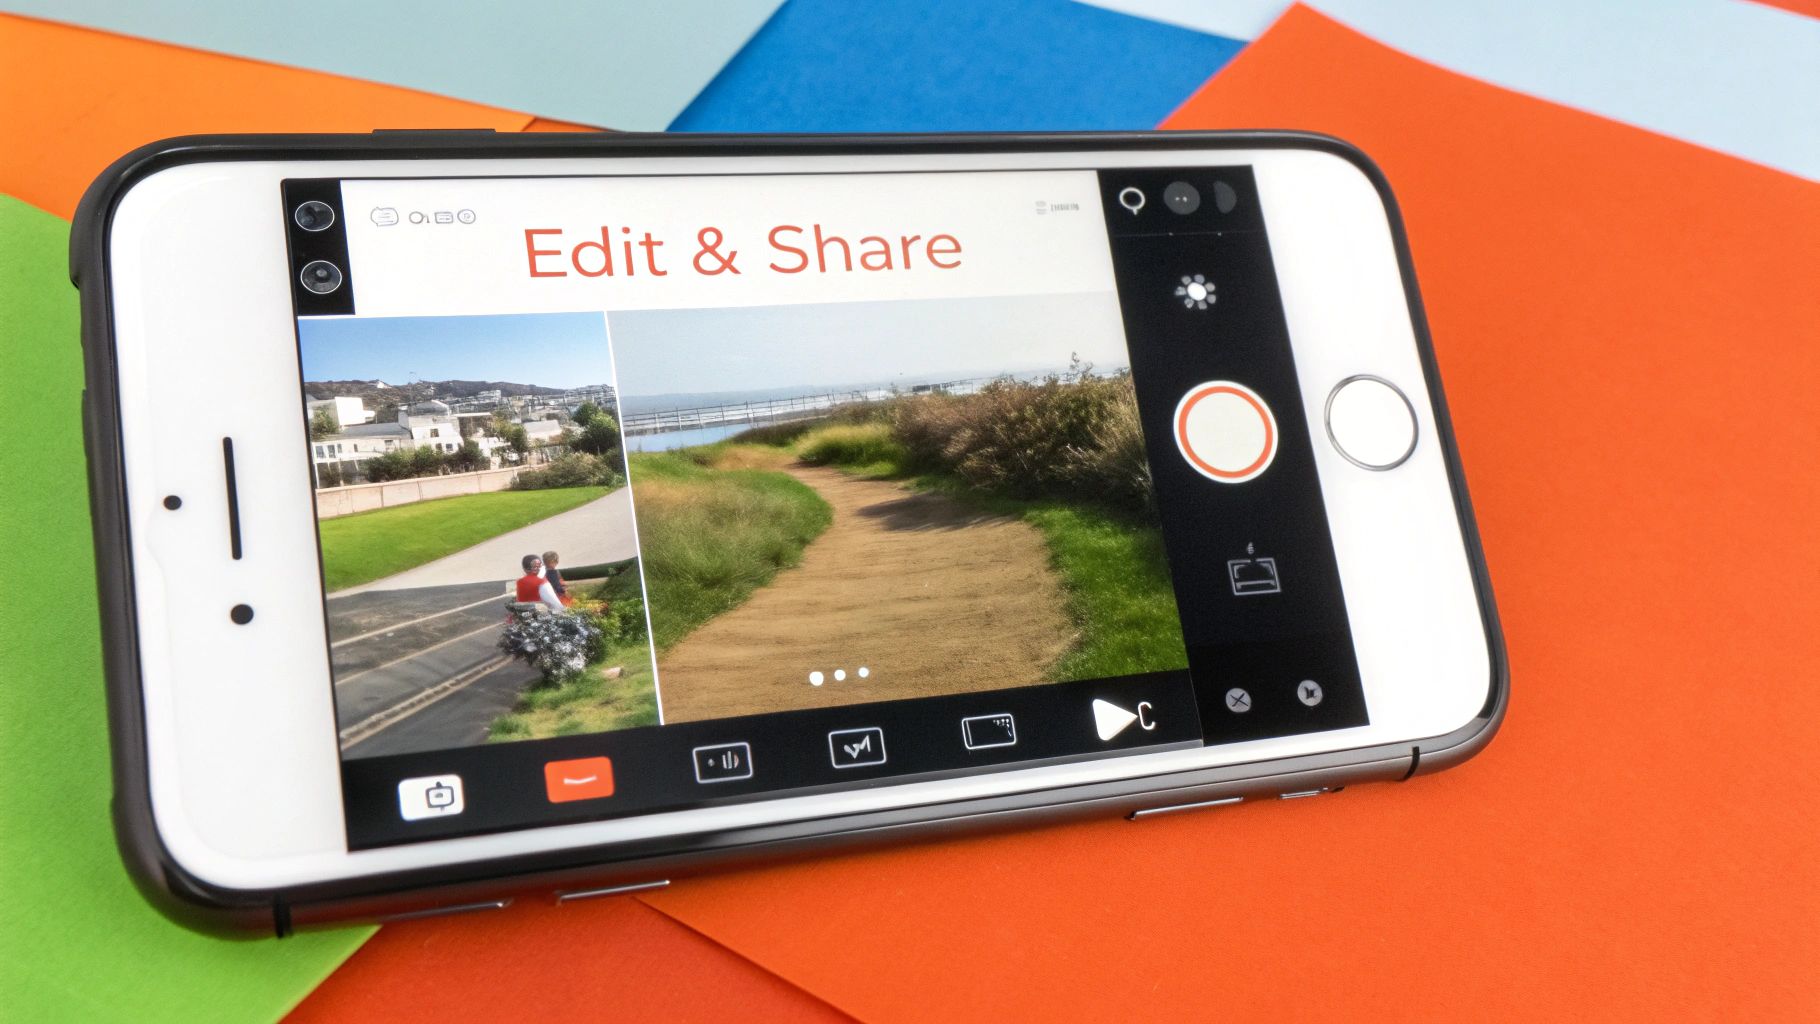
Editing and Sharing Your Recordings
You’ve captured your screen, but the raw footage is rarely perfect. The good news is you don’t need fancy software to polish it. Your iPhone’s built-in Photos app has all the essential tools to turn a rough clip into a clean, professional video.
Most screen recordings have a few awkward seconds at the beginning and end showing the Control Center. Trimming this off is the single most effective edit you can make.
Trimming Your Video for a Clean Look
Here’s how to trim your video step-by-step:
- Open the Photos app and select your screen recording.
- Tap Edit in the top-right corner. The video timeline will appear at the bottom.
- Drag the left handle of the timeline to the right, positioning it just after the recording starts and your main content begins.
- Drag the right handle to the left, stopping right before the Control Center appears at the end.
- Tap Done and choose either Save Video (which overwrites the original) or Save Video as New Clip. I recommend saving it as a new clip in case you need to revert to the original.
Highlighting Key Information with Markup
Ever tried to show someone exactly where to tap? The Markup tool is your best friend for this. In the editing screen, tap the Markup icon (it looks like a pen tip in a circle).
This opens a simple toolkit that lets you:
- Draw arrows to point out specific buttons.
- Add shapes like circles or squares to frame an important area.
- Place text directly on the video for quick labels.
Practical Example: Creating a Mini-Tutorial
I recently needed to show a friend how to adjust a tricky notification setting. I recorded the steps, trimmed the clip, and then used Markup to draw a bright red circle around the exact toggle they needed to switch. It took an extra 30 seconds but made the instructions impossible to misunderstand.
After recording, consider how the video will be viewed. For clips intended for social media, it’s worth reading up on mastering vertical video dimensions for platforms like TikTok and Instagram to ensure it’s formatted correctly.
Sharing Your Polished Recording
Once your video is ready, think about the file size. Screen recordings can get large—a 60-minute clip can easily consume 10 GB of storage.
For smaller files, AirDrop is great for sharing with other Apple users nearby. For larger files, it’s best to upload them to a cloud service like Google Drive or Dropbox and share the link.
Mastering these quick edits is a great starting point. If you’re ready for more advanced techniques, our guide on how to create video content is the perfect next step.
Troubleshooting Common Screen Recording Issues
It’s frustrating when a simple feature like screen recording doesn’t work. You go to capture something important, and the button is greyed out or the video doesn’t save. Fortunately, most issues are caused by a few common problems that are easy to fix.
Why Isn’t My Recording Saving?
You finish a recording, hit stop, and the video is nowhere to be found. This is almost always a storage issue. Video files, especially long ones, are large. If your iPhone storage is nearly full, there’s no room to save the new file.
To check your storage, go to Settings > General > iPhone Storage. If you’re down to your last few gigabytes, this is likely the problem. You’ll need to free up space by deleting old videos, unused apps, or photo bursts. For a more detailed guide, see our article on how to delete data from an app on your iPhone.
The Record Button Is Greyed Out and Unresponsive
If the screen recording icon in your Control Center is grey and untappable, it’s not a bug—it’s a restriction. This is typically caused by iOS’s Screen Time settings, often found on phones with parental controls or corporate management profiles.
Here’s how to fix it:
- Go to Settings and tap on Screen Time.
- Select Content & Privacy Restrictions, then tap Content Restrictions.
- Scroll down to the “Game Center” section and find Screen Recording.
- Change the setting to Allow.
Return to your Control Center, and the button should now be active.
Troubleshooting Common Problems
Here’s a quick-glance table to help you diagnose and solve the most common screen recording headaches.
| Problem | Likely Cause | How to Fix It |
|---|---|---|
| No Audio in My Recording | The microphone is off by default. | Long-press the record button in Control Centre and tap the Microphone icon to turn it on before you start. |
| Greyed-Out Record Button | A Screen Time restriction is blocking the feature. | Go to Settings > Screen Time > Content & Privacy Restrictions > Content Restrictions and set Screen Recording to Allow. |
| Recording Fails to Save | Your iPhone storage is full. | Check your storage in Settings > General > iPhone Storage. Delete old files, apps, or photos to free up space. |
| Video Quality is Poor | The app you’re recording has low-resolution content. | The screen recorder captures exactly what’s on the screen. There’s no setting to change the recording quality itself. |
These four issues cover the vast majority of problems. By keeping them in mind, you can troubleshoot almost any screen recording issue in seconds.
Common Questions & Quick Answers
Once you’ve mastered the basics, a few specific questions often come up. Let’s tackle them.
Can I Record Video Calls on FaceTime or WhatsApp?
Yes, but with a major limitation. Your iPhone can capture the video from a FaceTime or WhatsApp call perfectly, but due to privacy protections, it will only record your side of the audio when the microphone is enabled. The audio from the other person on the call will not be recorded.
How Can I Stop a Recording Without the Control Centre Popping Up?
To get a clean ending for your video, avoid opening the Control Center. Instead, simply tap the red status bar at the top of your screen (or the red timer in the Dynamic Island on newer iPhones). A small pop-up will ask for confirmation; tap ‘Stop’, and the recording will end cleanly. Alternatively, pressing the side button to lock your screen also stops the recording instantly.
Why Is My Screen Black When I Record Netflix?
If you try to record a show on a streaming service like Netflix or Disney+, you’ll likely end up with a black screen, possibly with audio. This isn’t a bug; it’s intentional. These services use Digital Rights Management (DRM) to prevent piracy, which blocks the video feed from being captured by screen recorders.
Where Do My Screen Recordings End Up?
All your screen recordings are automatically saved directly to your Photos app. You’ll find them in your ‘Recents’ album and conveniently grouped in a dedicated ‘Screen Recordings’ album under the ‘Media Types’ section.
Actionable Takeaways
- Activate the Shortcut First: Go to
Settings > Control Centerand add “Screen Recording” to your included controls. This is a one-time setup. - Long-Press for Audio: To record your voice, you must long-press the record button in the Control Center and tap the microphone icon to turn it on each time.
- Stop Cleanly: Tap the red status bar or Dynamic Island icon at the top of your screen to stop recording without capturing the Control Center menu in your final video.
- Check Storage Before Recording: Ensure you have enough free space on your iPhone, as failed saves are almost always due to a lack of storage.
- Fix Greyed-Out Button in Screen Time: If the record button is disabled, fix it in
Settings > Screen Time > Content & Privacy Restrictions.
Tools & Resources
- RichlyAI: An AI-powered platform for generating text, images, and code to enhance your creative projects.
- Photos App (Built-in): Your iPhone’s native app for trimming, editing, and marking up your screen recordings.
Further Reading
- How to Hide Apps on iPhone in Settings
- How to Create Video Content
- Mastering Vertical Video Dimensions
Ready to create more than just screen recordings? RichlyAI offers a powerful suite of AI tools to generate high-quality text, images, and code in seconds. Streamline your creative workflow and boost your productivity by exploring our platform at RichlyAI Hub.