
Recording your screen on an iPhone X is incredibly useful, but the feature isn’t enabled by default. The first thing you need to do is add the screen recording button to your Control Centre. Once that’s done, you’ll have one-tap access to capture whatever’s on your screen, whether it’s for a work tutorial, a gaming highlight, or a quick how-to for a family member.
Meanwhile, you can go here if are looking for How to Clear Data from App on iPhone: Free Up Storage Quickly
Getting Screen Recording Set Up on Your iPhone X
Before you can start recording, you have to add the tool to your Control Centre. This is a quick, one-time setup that puts the feature just a swipe away. Using the built-in tool is also much safer than downloading third-party apps, which can compromise your privacy or slow down your phone.
Quick Setup for iPhone X Screen Recording
To get the screen record button into your Control Centre, follow these simple, actionable steps.
- Open the Settings App: Find the grey gear icon on your iPhone’s Home Screen and tap it. This is the central hub for all your phone’s configurations.
- Go to Control Centre: Scroll down the main list of settings until you see “Control Centre.” Tap on it. This section lets you customize the shortcuts that appear when you swipe down from the top-right corner of your screen.
- Add Screen Recording: In the Control Centre menu, scroll down to the “More Controls” list. Find “Screen Recording” and tap the green + icon next to it.
- Confirm It’s Added: The “Screen Recording” option will now move up into the “Included Controls” list. You can even drag it up or down to reorder where it appears in your Control Centre.
Once you’ve done this, the button will be ready for you. Think of your Control Centre as your personal quick-access toolkit—you’ve just added a vital tool right where you can grab it instantly.
Why This Feature Is a Game-Changer
The iPhone X, which hit the Nigerian market in late 2017, was one of the first models to really bake this function into the operating system with iOS 11. It completely changed the game, removing the need for external apps.
This image gives you a simple overview of how it works once you’ve set it up.
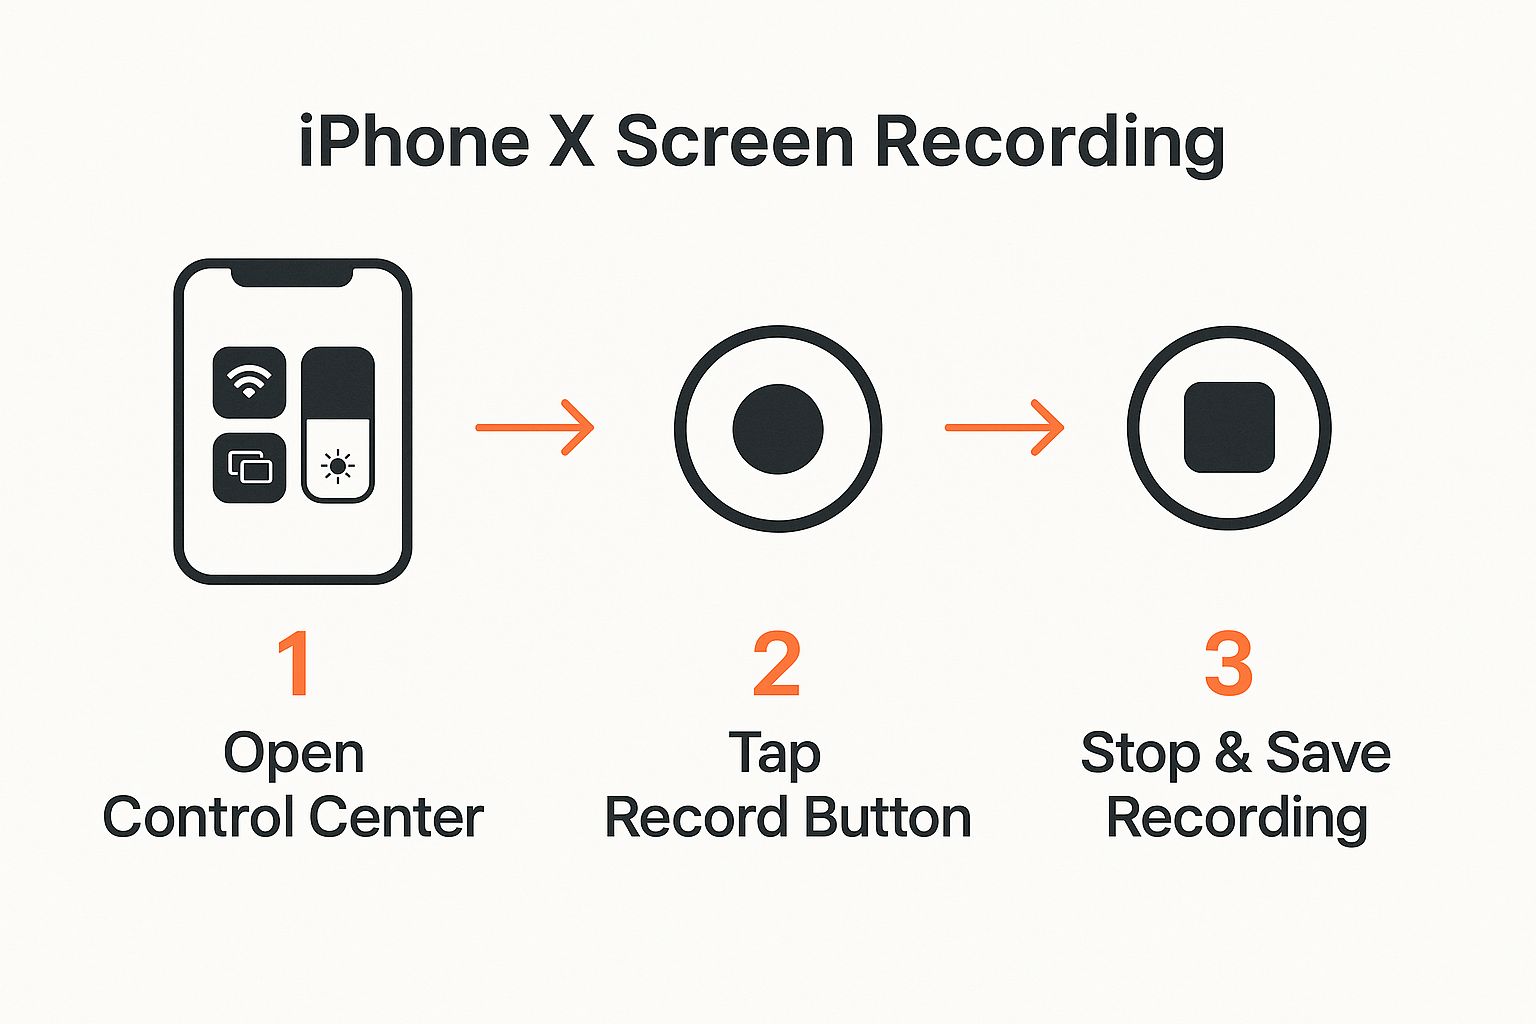
As you can see, after the initial setup, it’s just a matter of swiping and tapping.
I always tell people to add screen recording to their Control Centre the moment they get a new iPhone. You never know when you’ll need to quickly record something—a weird bug you want to show tech support, or a funny video you can’t download. Having it ready saves a lot of hassle later.
This idea of getting your tools in order beforehand applies to so many things. It’s the same foundational thinking needed for bigger projects, like figuring out how to launch an AI startup in 2025, where preparation is everything.
Recording Your Screen with Audio
So, you’ve got the screen record button sitting in your Control Centre. Great. But capturing a silent video is only half the battle. The real magic happens when you add sound, whether it’s from an app or your own voice.
A simple tap on the button starts a silent recording immediately. This is handy for grabbing a quick visual of a bug or creating a silent clip for a GIF. But to unlock its full potential, you need to use the long-press feature.
Choosing Your Audio Source: A Practical Guide
Let’s get into the specifics. Here’s a step-by-step guide to controlling your audio:
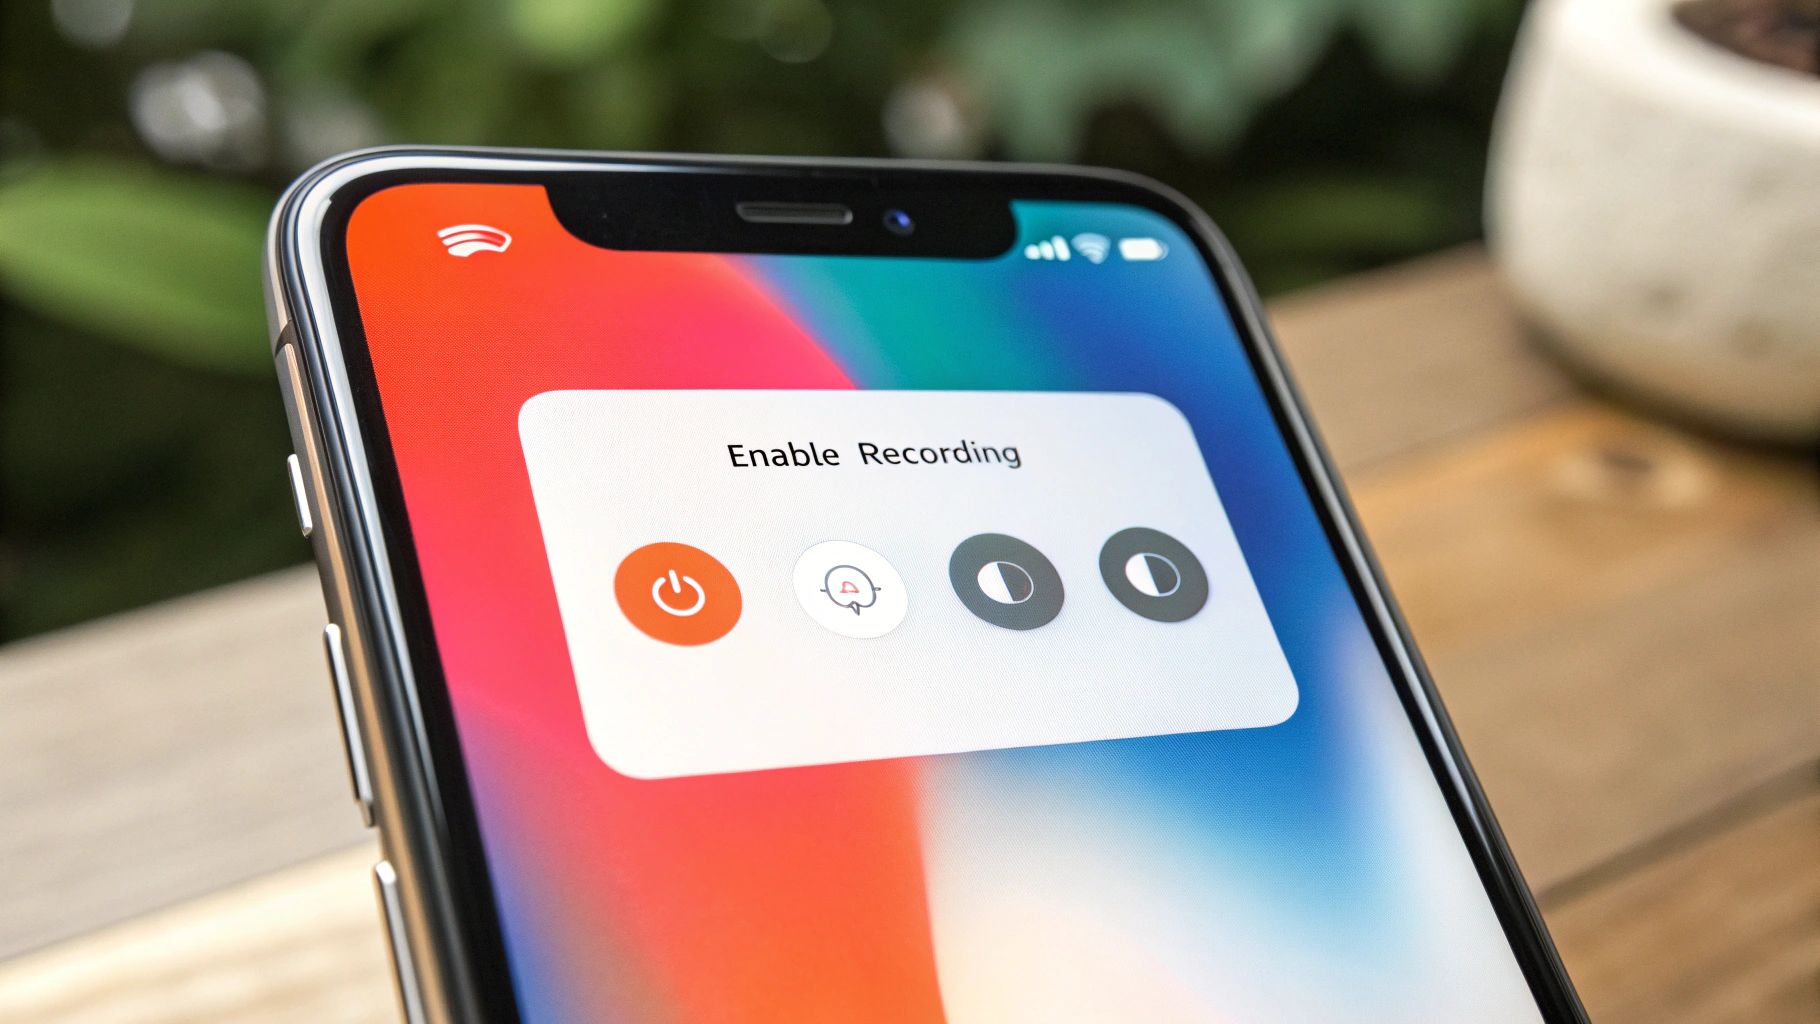
- Open Control Centre: Swipe down from the top-right corner of your screen.
- Access the Audio Menu: Instead of just tapping the record icon (a circle within a circle), press and hold it for a second. This opens a hidden menu.
- Toggle the Microphone: At the bottom of this menu, you’ll see a microphone icon. Tap it to switch between “Microphone Off” and “Microphone On.”
Here are practical examples of when to use each setting:
- Microphone Off (Default): This records only the internal audio from your iPhone.
- Example: You’re recording a clip of your gameplay to show off a new high score. With the microphone off, you capture all the game’s sound effects and music perfectly, without your dog barking in the background.
- Microphone On (Icon is Red): This records your voice and any other external sounds through the iPhone’s microphone, along with the internal audio.
- Example: You’re creating a tutorial for your parents in Abuja to show them how to use a new banking app. Turn the microphone on to provide a clear, step-by-step voiceover as you navigate the app on screen.
The long-press feature is one of those simple but powerful tricks many iPhone users miss. Mastering it transforms the screen recorder from a basic tool into a proper content creation feature, allowing for clear, narrated guides without needing extra software.
Starting and Stopping Your Recording
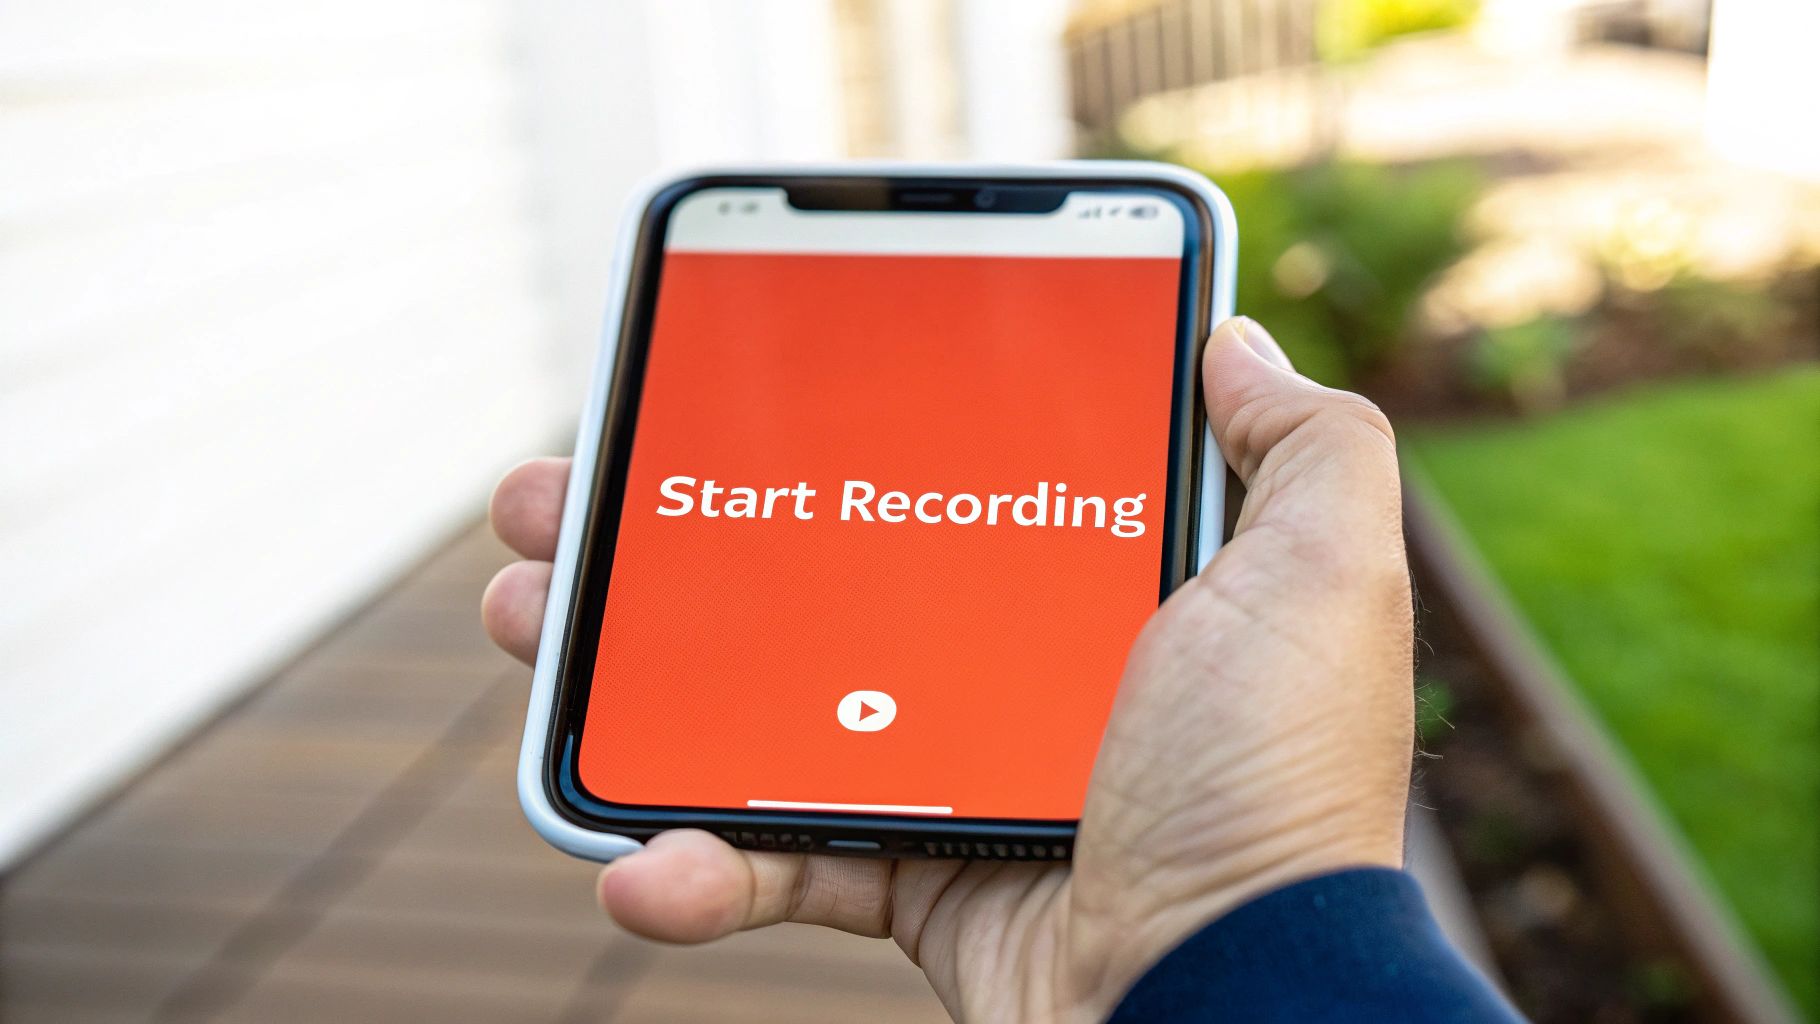
After choosing your audio setting, tap “Start Recording.” A three-second countdown will appear, giving you time to swipe up and navigate to the app you want to record.
You’ll know it’s working because a red bar or bubble will appear at the top-left of your screen. To finish, just tap that red indicator. A prompt will ask if you want to stop; tap “Stop,” and you’re done. Your new video clip saves automatically to your Photos app. This process requires a balance of technical skill and strategic thinking, much like the skills needed to transition into an AI ethics consultant role.
Tips for a Professional-Looking Recording
Getting a great screen recording on your iPhone X involves more than just hitting the record button. To make your videos look clean and professional, a little prep work goes a long way. It’s all about preventing those common little issues that can wreck an otherwise perfect take.
The biggest culprit? Unwanted notifications. Nothing ruins a smooth app tutorial faster than a WhatsApp message or a call from a friend popping up on screen.
Eliminate Interruptions with Do Not Disturb Mode
Before you start recording, make your screen a distraction-free zone. The fix is incredibly simple: Do Not Disturb mode.
Actionable Step: Swipe down from the top-right of your screen to open the Control Centre. Look for the crescent moon icon and tap it. This instantly activates Do Not Disturb, silencing all calls and alerts so your screen stays focused on your recording.
Turning on Do Not Disturb is the single most important habit for creating clean recordings. It takes two seconds but saves you from having to re-record entire videos due to a single, ill-timed notification.
Manage Your iPhone X Resources
The performance of your iPhone X is another critical factor. A long recording, like a gaming session, can be demanding on your battery and storage. It’s incredibly frustrating when a great recording cuts off early because you ran out of space.
Here’s a practical pre-recording checklist:
- Check Storage: Go to Settings > General > iPhone Storage. Ensure you have ample free space. A 10-minute high-quality recording can easily use over 500MB. If you’re low on space, delete old photos or offload unused apps before you begin.
- Preserve Battery: Start with a full or nearly full charge. Recording video, especially at a smooth 60 frames per second, is power-intensive. For creators in Nigeria making longer videos, plugging into a power source during recording is a smart move.
Thinking about resource management and creative output is also central to exploring new fields. For instance, if you are interested in creativity, you can read our guide to understanding generative AI and its creative potential in Nigeria.
How to Edit and Share Your Recordings
So, you’ve finished your screen recording. What now? Your iPhone X automatically saves the video to your Photos app, where you can perform quick edits without needing another app.
Trimming Your Video for a Clean Look: A Step-by-Step Guide
The first thing you’ll probably want to do is trim the start and end of the video to remove the parts where you were fiddling with the Control Centre.
- Open the Photos App: Find your recording in the “Recents” album. It will be the last item.
- Enter Edit Mode: Tap to open the video, then tap the “Edit” button in the top-right corner.
- Trim the Clip: You’ll see a timeline of your video at the bottom. Press and drag the yellow handles at the beginning and end of the timeline inward. This will crop out the unwanted sections.
- Practical Example: Drag the left handle to the point just before the action starts, and drag the right handle to cut out the moment you tapped the red bar to stop recording.
- Save Your Work: Once you’re happy, tap “Done” and choose to either “Save Video” (which overwrites the original) or “Save Video as New Clip.”
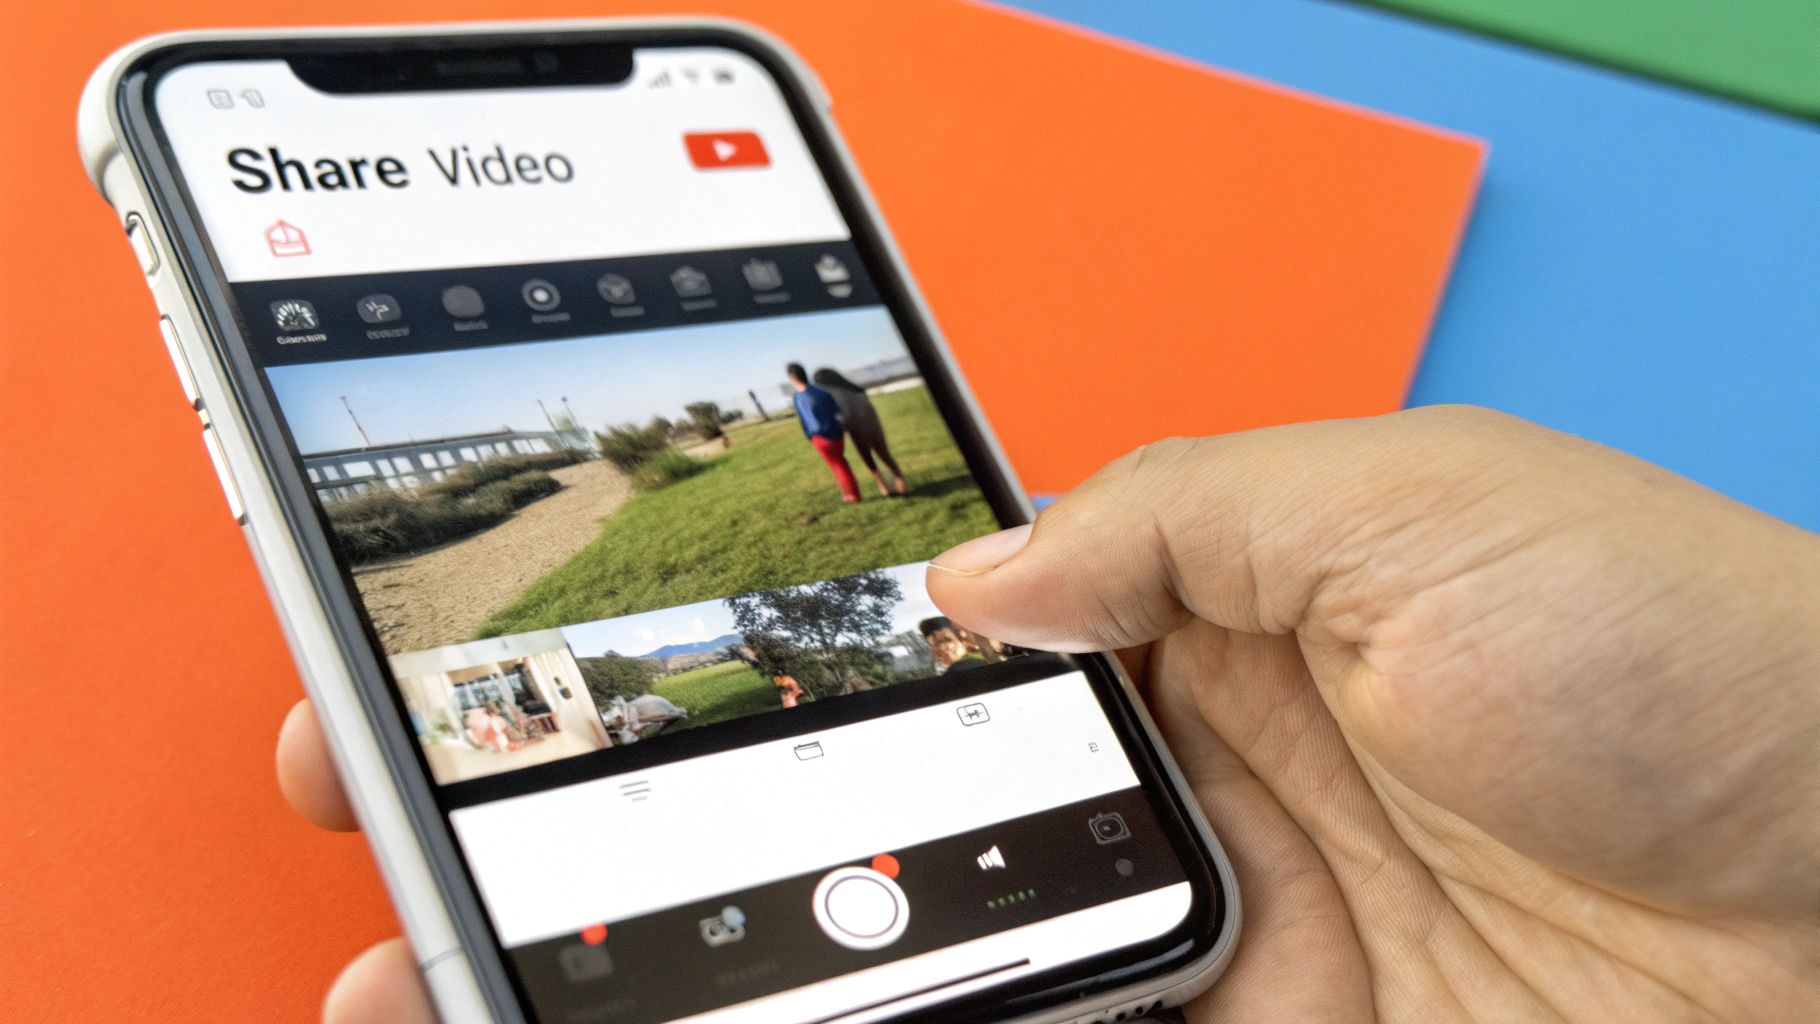
Sharing Your Polished Recording
Now that your video is trimmed and ready, sharing it is easy. From the viewing screen, tap the share icon (the box with an upward-pointing arrow) in the bottom-left corner. This brings up all your sharing options.
From here, you can:
- Send it via iMessage or WhatsApp.
- Upload it directly to Instagram or Facebook.
- Save it to a cloud service like Google Drive for high-quality sharing.
While the built-in editor is great for quick trims, you might eventually want to do more. If you’re looking to level up your edits, it’s worth exploring the best video editing software for beginners to see what’s possible.
Getting these simple editing and sharing workflows down is a great first step. It’s a small but effective example of how automation transforms everyday tasks by making complex processes feel effortless.
Working Through Common Screen Recording Glitches
Even a straightforward feature like screen recording can hit a snag. If your iPhone X isn’t cooperating, don’t panic. The fix is usually simple. Let’s walk through the most common problems with actionable solutions.
Why Is There No Sound in My Recording?
This is the most frequent issue. You’ve recorded a great tutorial, only to find it’s completely silent.
The Fix: The microphone was likely disabled. Before you record, follow these steps:
- Swipe down to open your Control Centre.
- Long-press the screen record icon.
- Tap the microphone symbol so it turns red and says “Microphone On”.
Important Note: Some apps, like Netflix, block audio recording to protect copyrighted content. If you’re trying to record a movie, the lack of sound is intentional by the app, not a problem with your phone.
Why Did My Recording Stop on Its Own?
A recording that cuts out unexpectedly is almost always a sign that your iPhone has run out of storage space.
The Fix:
- Check your space: Go to Settings > General > iPhone Storage. If you only have a gigabyte or two free, that’s the likely culprit.
- Make room: Before a long recording, delete old videos, offload apps you don’t use, or transfer large files to iCloud or your computer. This proactive step can save you a lot of frustration.
A recording that stops itself is your iPhone’s way of telling you its resources are maxed out. Keeping an eye on your storage is the best preventative measure you can take.
What if the Record Button Is Greyed Out?
If you can’t start a recording because the button is greyed out, it’s likely due to a restriction setting.
The Fix: This often happens on work phones or if you’ve set up Screen Time. To check this:
- Go to Settings > Screen Time > Content & Privacy Restrictions > Content Restrictions.
- Scroll down to the “Game Center” section and find Screen Recording.
- Make sure it’s set to “Allow”.
Tackling these few things should solve almost any problem you have when you try to record screen on iPhone X. It’s amazing how powerful these devices have become, a trend reflected in many areas of tech, such as the growth of artificial intelligence in Nigeria.
Common Questions Answered
Even with the steps laid out, a few questions always pop up. Let’s dig into some of the most common ones I hear about screen recording on the iPhone X.
Can I Record a WhatsApp Video Call?
Yes, you can record the video from a WhatsApp call. However, you almost certainly won’t capture the audio from the other person. This is a deliberate privacy feature in iOS to prevent calls from being recorded without consent. If you turn your microphone on before recording, your video will include your voice, but the other person’s audio will be silent.
Is There a Time Limit for Recordings?
Officially, no. Apple doesn’t impose a time limit. The real limits are your iPhone X’s physical hardware:
- Storage Space: High-quality video files are large. A long recording will stop once you run out of free space.
- Battery Life: Screen recording drains the battery quickly. For a long session, plug your phone in.
Practical Insight: If you plan to record for over 30 minutes, ensure you have at least 5-10GB of free space and a nearly full battery to be safe.
Do People Get Notified When I Record?
This depends entirely on the app. For most apps, the answer is no.
Platforms like Instagram, Facebook, and TikTok do not notify users when you screen record their Stories, Reels, or posts. The main exception is Snapchat, which has always notified users when their content is captured.
Regardless of notifications, always be mindful of privacy and copyright.
Why Is My Recording Quality Poor?
Your iPhone X records the screen at its sharp, native resolution. If your video looks blurry, the problem is almost always how it’s being shared, not the recording itself.
The Test: Open the original video in your Photos app. It should look perfectly clear.
The Cause: Messaging apps like WhatsApp and social media platforms like Facebook heavily compress videos to save data, which reduces quality.
The Solution: To share a video in full quality, use a method that doesn’t compress it.
- AirDrop it to another Apple device.
- Upload it to a cloud service like Google Drive and share the link.
Ready to create more than just screen recordings? With RichlyAI, you can generate high-quality text, stunning images, and even chatbots to make your content stand out. Explore RichlyAI’s powerful creative tools today and see how easy content creation can be.