
The software development lifecycle is undergoing a fundamental transformation, driven by a new generation of AI-powered tools that extend far beyond simple code completion. We’re moving from syntax helpers to genuine collaborators capable of architecting solutions, writing complex logic, generating comprehensive unit tests, and even automating entire DevOps pipelines. This explosion of options presents a new challenge: cutting through the noise to find the most effective ai tools for developers that genuinely enhance your specific workflow and technology stack.
This curated guide is for the technical-minded developer who wants results fast. We will move past buzzwords to provide actionable insights and practical examples of the essential platforms reshaping modern software engineering. Instead of generic feature lists, you’ll find a breakdown of each tool’s ideal use case, key features, pricing, and a clear-eyed look at its pros and cons.
Our goal is to help you make informed decisions. By the end of this roundup, you’ll have a clear roadmap for integrating these technologies to build faster, smarter, and more efficiently. We’ll explore everything from foundational API platforms like OpenAI and Google Vertex AI to specialized IDE assistants like GitHub Copilot, ensuring you can find the right solution for your project’s unique demands.
1. RichlyAI
RichlyAI is a comprehensive, multimodal AI ecosystem that consolidates text, image, audio, video, and code generation into a unified workspace. For developers, this reduces context-switching between specialized applications, creating a more streamlined and productive development lifecycle.
The platform’s strength lies in its “all-in-one” philosophy. Instead of piecing together disparate AI services for different tasks—like generating documentation, creating visual assets for a UI, and drafting social media posts for a project launch—developers can manage these workflows within the singular RichlyAI Hub.

Alt text: RichlyAI’s AI Tools Hub directory, showcasing a vast list of AI tools for discovery and comparison.
Why RichlyAI Stands Out
RichlyAI’s unique value is twofold. First, its multimodal generation capabilities are seamlessly integrated. A developer can generate Python boilerplate code, create placeholder images for a front-end mock-up, and produce a video tutorial script without leaving the platform.
Second, the platform includes the AI Tools Hub, a searchable directory of over 11,000 AI tools. This feature is an invaluable resource for market research and competitive analysis, allowing developers to discover and compare other AI solutions, identify integration opportunities, and stay current.
Practical Example: Rapid Prototyping and Content Generation
A developer building a new mobile app can use RichlyAI to accelerate several project stages:
- Generate Code Snippets: Use the code generator to create boilerplate for API integrations or utility functions in Swift or Kotlin.
- Create UI Mock-up Assets: Instantly generate icons, placeholder images, and background textures for the user interface based on simple text prompts like “a minimalist checkmark icon in green.”
- Draft Technical Documentation: Input code blocks and a brief description to automatically generate clear, structured documentation for internal teams or public APIs.
| Feature | Description | Ideal for Developers? |
|---|---|---|
| Multimodal Hub | Generate text, code, images, audio, and video from one interface. | Yes |
| AI Tools Hub | Discover and compare over 11,000 AI tools for market research and tool discovery. | Yes |
| Social Automation | AI-driven tools to automate content scheduling for X, LinkedIn, and Instagram. | Yes |
| Chatbot Training | Customize and train chatbots for personalized user interactions or internal support. | Yes |
Website: https://richlyai.com
Pricing: Offers a powerful free plan with an “Unlimited Text Generation” promotion. The AI Tools Hub has optional one-time premium upgrades for vendors seeking visibility.
Actionable Takeaways
- Use the code generator to create boilerplate for new components or functions.
- Generate placeholder images and icons for UI mockups with text prompts.
- Leverage the AI Tools Hub to research competing products or find new integration partners.
2. OpenAI API (Platform)
The OpenAI API is the gateway for integrating state-of-the-art AI models into applications. It provides programmatic access to OpenAI’s entire suite, including the powerful GPT-4.1 family for advanced reasoning and code generation, o-series for real-time interaction, and models for image and audio processing.
This platform is foundational for building everything from sophisticated code assistants to multimodal applications. It’s a comprehensive ecosystem with robust SDKs (Python, Node.js), detailed documentation, and features like fine-tuning and batch processing to optimize performance and cost.
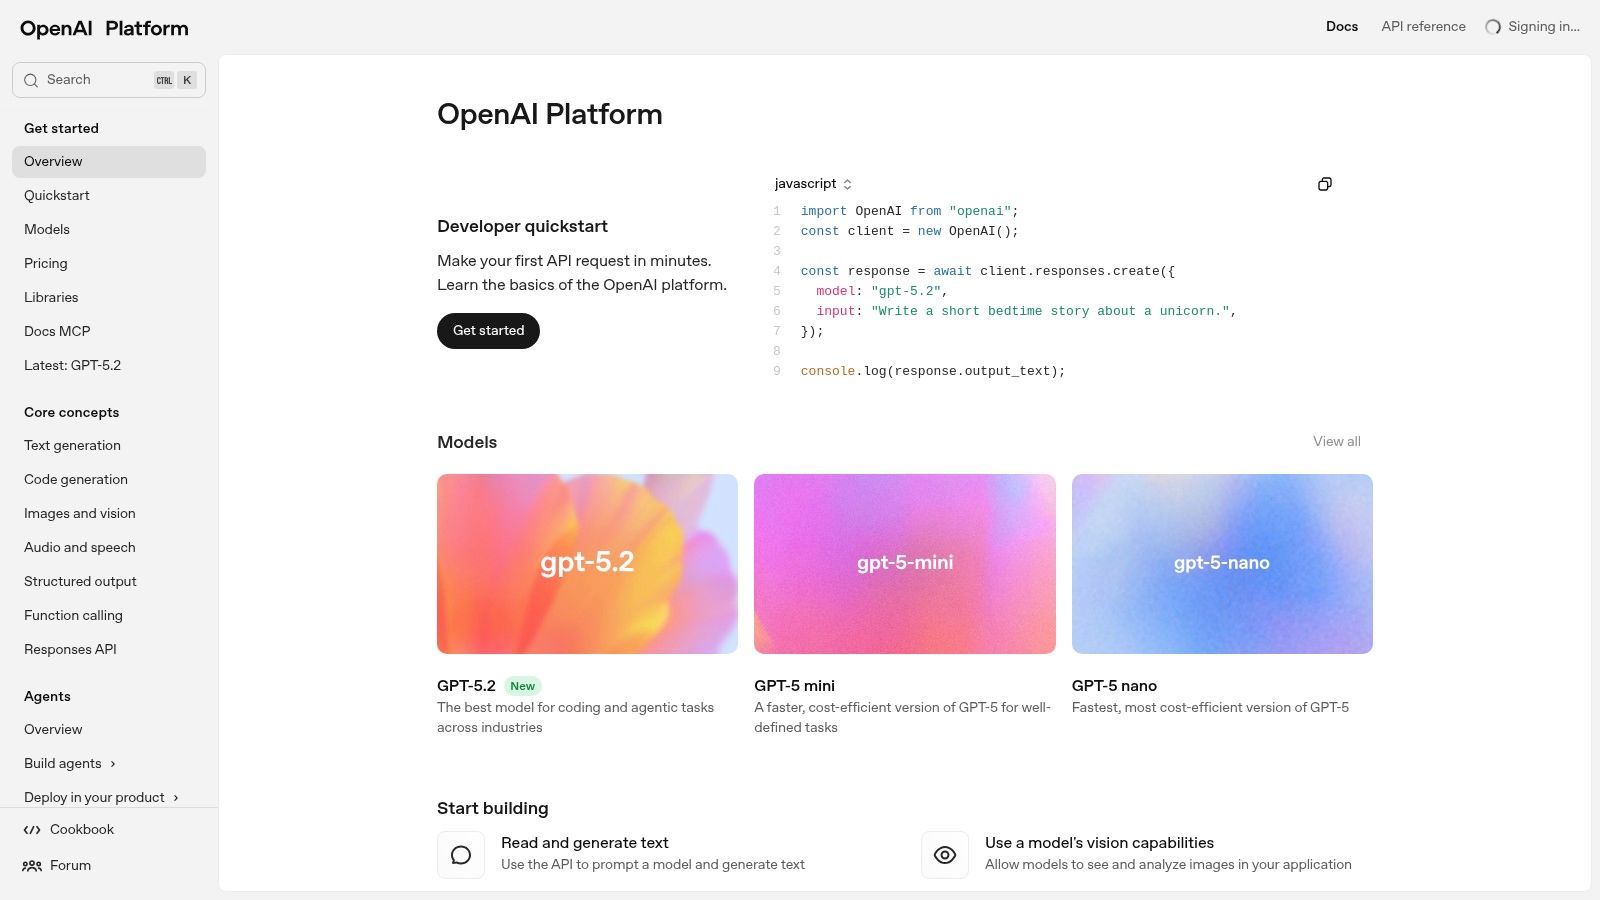
Alt text: The OpenAI API platform dashboard, showing various models and tools available to developers.
Practical Example: Building a Code Refactoring Tool
You can use the OpenAI API to build a tool that automatically refactors Python code. Here’s how you’d do it with the Python SDK:
- Install the SDK:
pip install openai - Set Up the API Call: Write a Python script to call the Chat Completions endpoint.
from openai import OpenAI client = OpenAI() # Assumes OPENAI_API_KEY is set in your environment user_code = "def my_func(data):n result = []n for item in data:n if item % 2 == 0:n result.append(item)n return result" response = client.chat.completions.create( model="gpt-4.1-turbo", messages=[ {"role": "system", "content": "You are an expert Python programmer. Refactor the following code to be more idiomatic and efficient, explaining each change in a markdown block."}, {"role": "user", "content": user_code} ] ) print(response.choices[0].message.content) - Process the Response: The model’s response will contain the refactored code (e.g., a list comprehension) and explanations, which your application can display to the user.
Pricing
OpenAI uses a pay-as-you-go model based on token usage, which varies by model. For example, gpt-4.1-turbo is priced per million input and output tokens. This structure allows you to start small and scale.
Pros & Cons
| Pros | Cons |
|---|---|
| Access to top-tier reasoning and code models | Costs can escalate quickly with high-volume usage |
| Excellent documentation and strong ecosystem | Model behaviors or features can change post-preview |
| Transparent, frequently updated pricing | Potential latency on non-realtime models |
Website: https://platform.openai.com
Actionable Takeaways
- Use the
gpt-4.1-turbomodel for complex tasks like code generation or refactoring. - Leverage the
o1-minimodel for low-latency, real-time applications like interactive chatbots. - Explore fine-tuning to create a custom model trained on your specific data or coding style.
Further Reading
3. Google Cloud Vertex AI (Platform)
Google Cloud Vertex AI is a fully managed platform for building, deploying, and scaling AI applications within the Google Cloud ecosystem. It offers a comprehensive suite of tools, including the Model Garden with access to Google’s Gemini family and open-source models, along with robust infrastructure for training and serving.
Its primary distinction is its focus on providing a unified MLOps environment. Vertex AI streamlines the entire machine learning workflow, from data preparation to deployment and monitoring. This means less time on infrastructure management and more time building AI-powered features.
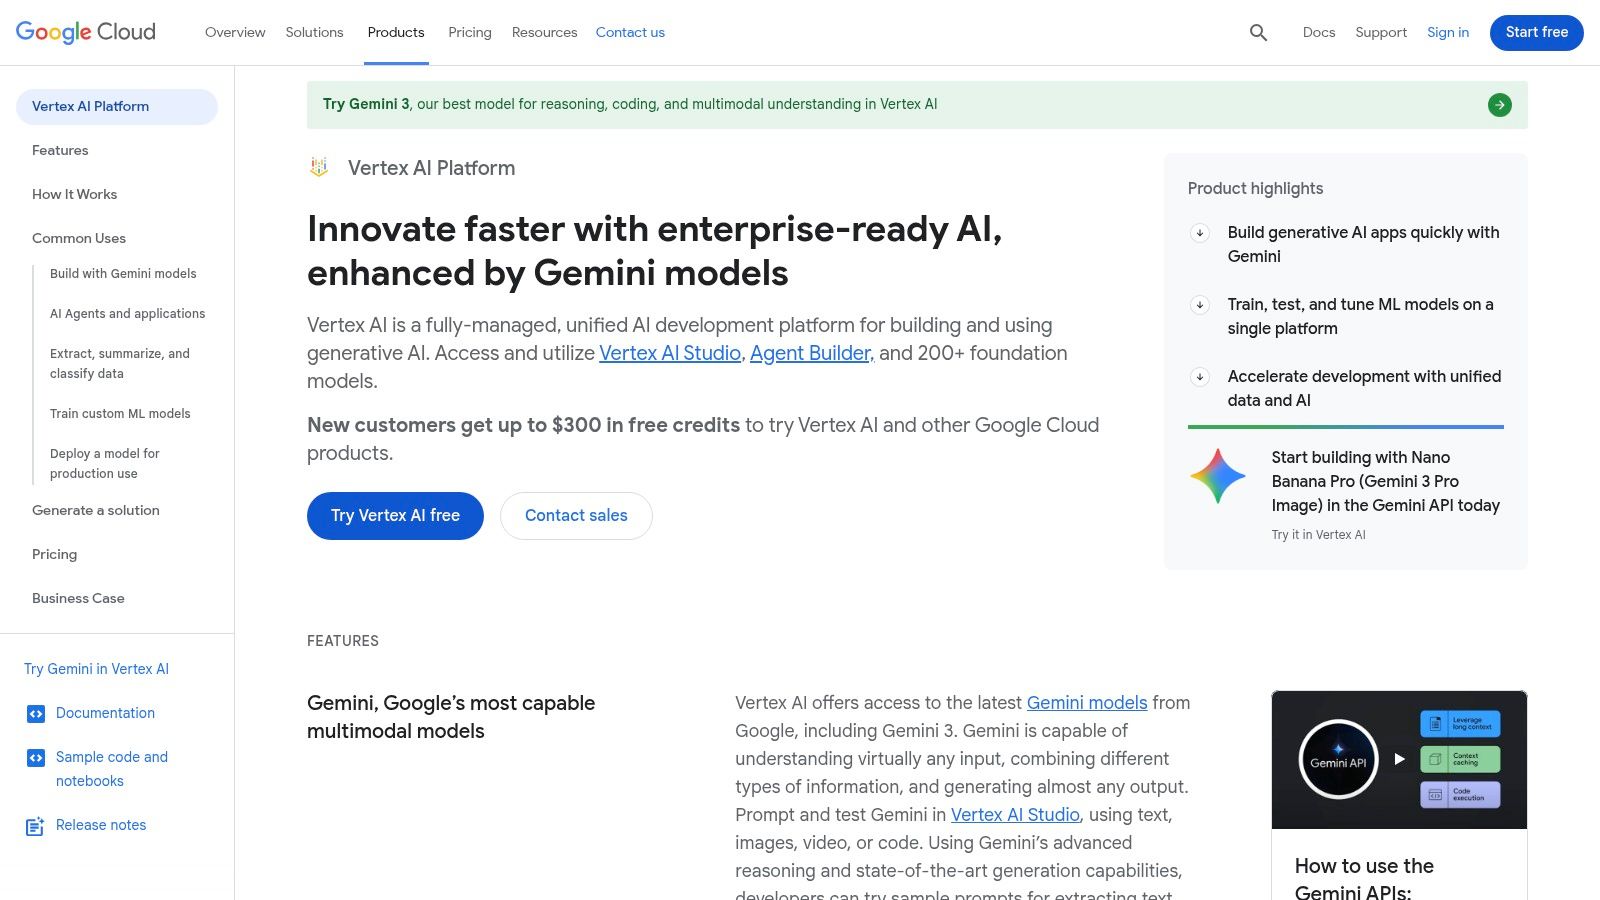
Alt text: The Google Cloud Vertex AI platform dashboard, showcasing its Model Garden and various machine learning tools.
Practical Example: Building a RAG-based Q&A Bot
You can use Vertex AI to build a question-and-answer bot over a private knowledge base. Here are the steps:
- Ingest Data: Upload your corporate documents (e.g., PDFs, TXT files) to a Google Cloud Storage bucket.
- Vectorize Documents: Use the Vertex AI Embeddings API to create vector representations of your document chunks. Store these embeddings in Vertex AI Vector Search, which acts as your knowledge index.
- Deploy an Agent: Use the Agent Builder to create an application. Configure it to take a user query, find relevant document chunks from Vector Search, and pass them as context to a Gemini model to generate a grounded, accurate answer.
Pricing
Vertex AI employs a granular, pay-as-you-go model where you pay for specific services used, such as model training hours, prediction requests, or data storage. It includes a free tier with monthly quotas for certain services, allowing for experimentation at no cost.
Pros & Cons
| Pros | Cons |
|---|---|
| Strong infrastructure depth and hardware choices | Complex pricing matrix can be difficult to estimate |
| Deep integration with the broader Google Cloud ecosystem | Some agent-related charges may begin at future dates |
| Comprehensive MLOps features streamline workflows | Can be overkill for small, simple projects |
Website: https://cloud.google.com/vertex-ai
Actionable Takeaways
- Use the Model Garden to test and compare Google’s Gemini models against open-source alternatives like Llama 3.
- Implement a RAG system using Vertex AI Vector Search to build Q&A bots over your own data.
- Leverage the managed infrastructure for training custom models without worrying about hardware configuration.
4. Microsoft Azure AI (Azure AI Studio / Azure ML / Azure OpenAI)
Microsoft Azure AI provides a comprehensive, enterprise-grade ecosystem for building and managing AI solutions. It consolidates services like Azure AI Studio for application development, Azure OpenAI for accessing powerful models, and Azure Machine Learning for robust MLOps.
Its primary distinction is its deep integration into the Azure cloud, offering unparalleled security, compliance, and identity management. This makes it one of the best ai tools for developers in corporate environments where data privacy is non-negotiable.
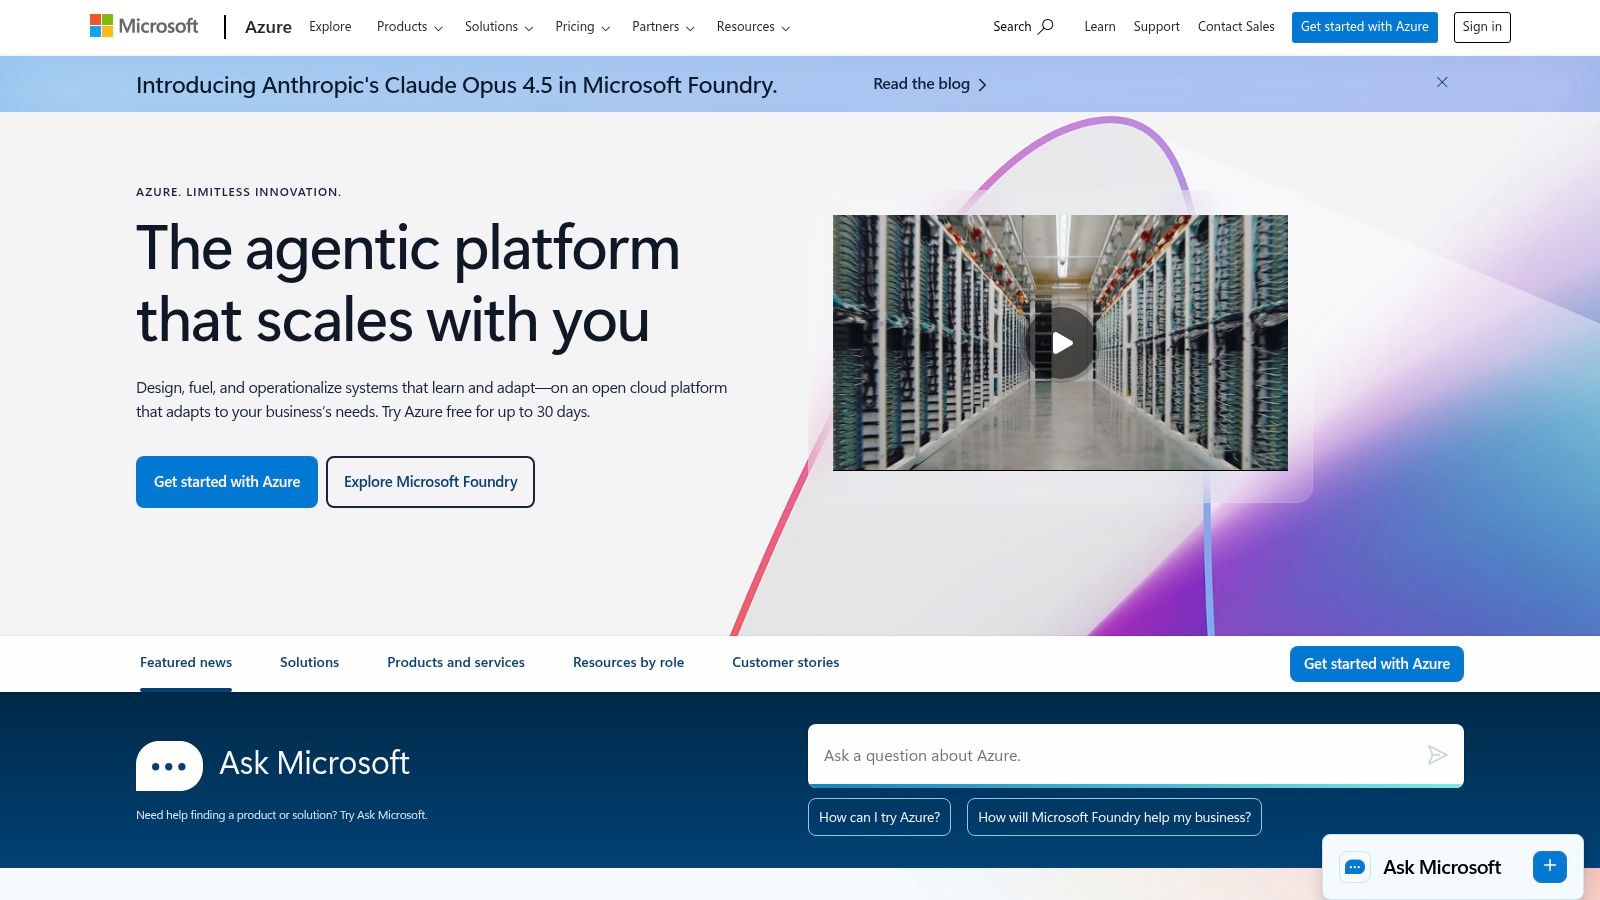
Alt text: The Microsoft Azure AI Studio dashboard, showing various tools and models for building AI applications.
Practical Example: Deploying a Private RAG Application
A developer can use Azure AI to build a secure, internal Q&A system using company documents, ensuring data never leaves their environment.
- Deploy an Azure OpenAI model: In the Azure portal, navigate to the Azure OpenAI Service and provision a
gpt-4model instance. This deploys the model within your secure Azure tenant. - Set up Azure AI Search: Create an Azure AI Search instance and configure it to index your internal company documents from a source like SharePoint or Azure Blob Storage.
- Connect in Azure AI Studio: Use the studio’s graphical interface to create a Retrieval-Augmented Generation (RAG) flow. Connect your deployed model to the search index. The entire application runs within your Azure tenant, maintaining data privacy.
Pricing
Azure AI uses a pay-as-you-go model, with costs varying by resource (e.g., per-token for models, per-hour for compute). It also offers savings plans and reserved instances for predictable workloads. New users often get free credits and a set of always-free services.
Pros & Cons
| Pros | Cons |
|---|---|
| Deep Microsoft stack integration and enterprise features | Pricing spans multiple services and can be complex to consolidate |
| Strong security, compliance, and data privacy controls | Requires careful quota and resource management |
| Cost optimization options like reserved instances | The sheer number of services can be overwhelming for new users |
Website: https://azure.microsoft.com/en-us/solutions/ai
Actionable Takeaways
- Use the Azure OpenAI Service to deploy models like GPT-4 within your own secure cloud environment.
- Integrate Azure AI Search to build powerful, private search and Q&A applications over your company’s data.
- Explore Azure AI Studio to visually build, test, and deploy AI workflows without extensive coding.
5. AWS Marketplace (Machine Learning & SageMaker)
AWS Marketplace is a curated digital catalog for developers to find, test, and deploy third-party machine learning models directly within their AWS environment. Instead of building models from scratch, you can procure pre-trained models for tasks like computer vision or NLP and deploy them seamlessly with Amazon SageMaker.
Its key differentiator is the tight integration with the AWS ecosystem. The marketplace simplifies procurement with consolidated billing and standardized EULAs. For developers already on AWS, it provides a secure and efficient way to enhance applications with specialized AI without managing new vendor relationships.
Alt text: The AWS Marketplace for Machine Learning, showcasing various AI and ML models available for deployment.
Practical Example: Integrating a Sentiment Analysis Model
A developer needs to add sentiment analysis to a customer feedback portal hosted on AWS.
- Find a Model: Go to the AWS Marketplace and search for a pre-trained sentiment analysis model with good reviews and clear pricing.
- Subscribe and Deploy: Click “Subscribe” on the model’s page. This will guide you through the configuration to deploy it as a real-time SageMaker endpoint with a single click.
- Integrate with Application: Use the AWS SDK in your application (e.g., a Lambda function) to invoke the new SageMaker endpoint. You’ll send feedback text as a payload and receive sentiment scores (e.g., positive, negative, neutral) in the JSON response.
Pricing
Pricing combines the third-party software cost (set by the seller) and the underlying AWS infrastructure (e.g., SageMaker instance hours). Models often offer free trials or pay-per-inference options.
Pros & Cons
| Pros | Cons |
|---|---|
| Seamless deployment and integration with AWS workflows | Total cost can be complex to estimate (listing + compute) |
| Large selection of specialized models across many domains | Pricing and performance can vary significantly between listings |
| Simplified procurement and consolidated billing | Primarily benefits developers already within the AWS ecosystem |
Website: https://aws.amazon.com/marketplace
Actionable Takeaways
- Browse the marketplace for specialized, pre-trained models to avoid building them from scratch.
- Use the one-click SageMaker deployment to quickly create a production-ready API endpoint for a chosen model.
- Leverage the consolidated billing to manage all your AI model costs through your existing AWS account.
Further Reading
6. Hugging Face (Hub, Inference Endpoints)
Hugging Face is the definitive open-source hub for the AI community, often called the “GitHub for machine learning.” It provides a vast ecosystem with over 600,000 models, datasets, and collaborative “Spaces” for building AI applications. Hugging Face also offers managed Inference Endpoints, allowing you to deploy these open models into production-ready APIs on major cloud providers.
This dual offering is its primary strength. You can rapidly prototype with a massive selection of open-source models from the Hub and then seamlessly transition them to scalable, production-grade endpoints without deep MLOps expertise.
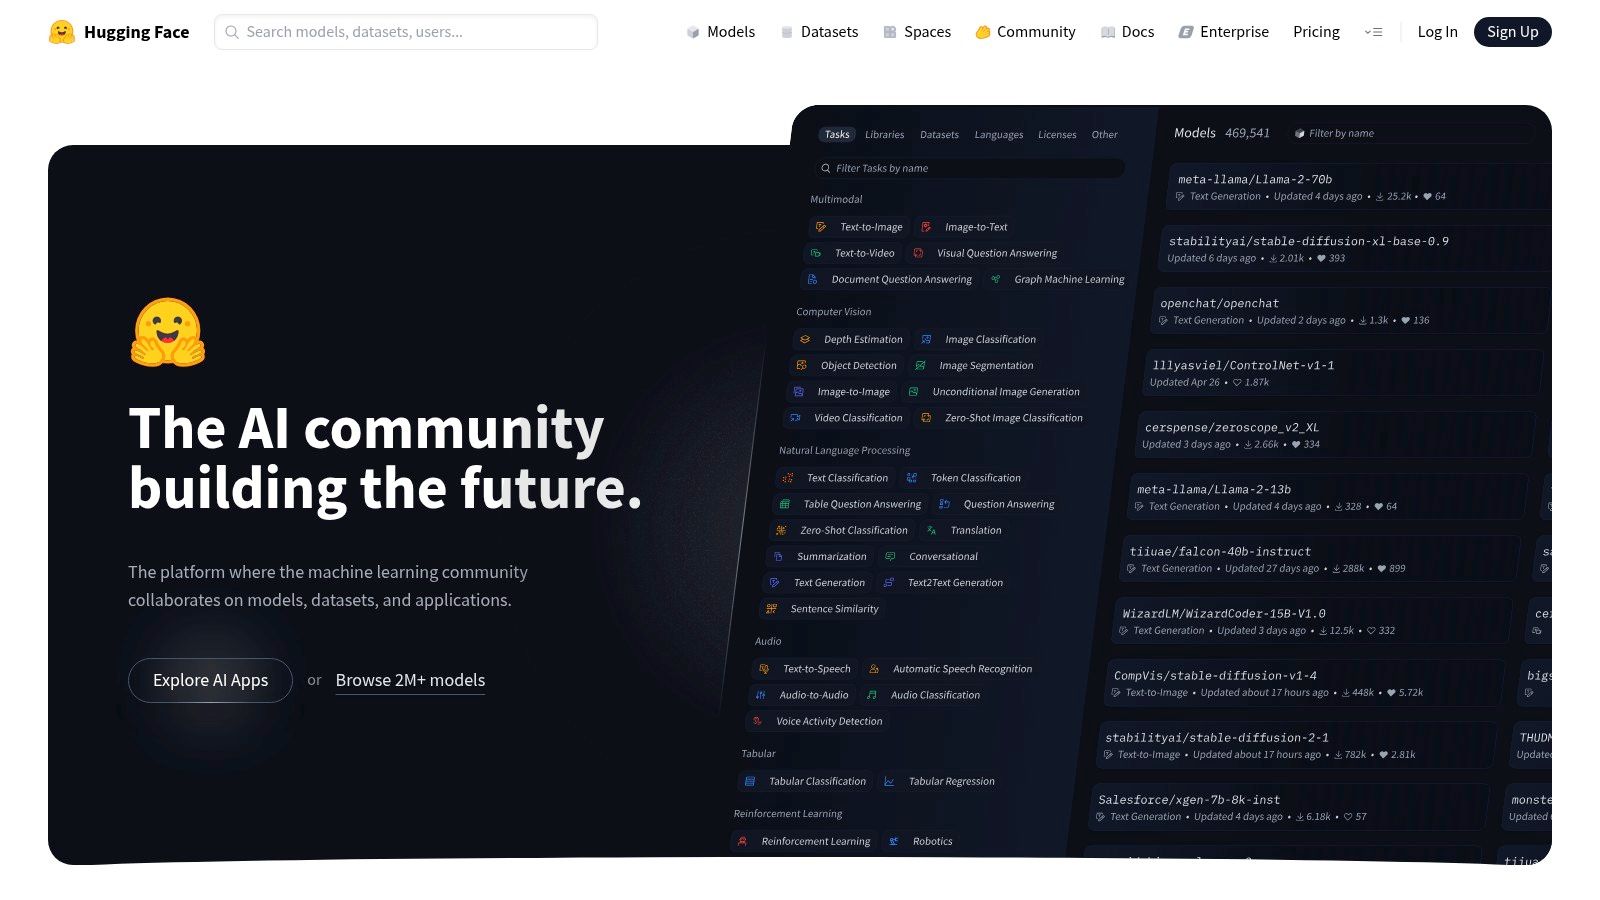
Alt text: The Hugging Face Hub, showcasing a vast library of AI models, datasets, and Spaces available to developers.
Practical Example: Deploying a Custom Code Generation Model
A team can deploy a specialized code generation model fine-tuned on their private codebase.
- Upload the model: Push the fine-tuned model and its tokenizer to a private repository on the Hugging Face Hub using the
huggingface-clitool. - Configure an Inference Endpoint: In the Hugging Face UI, navigate to “Inference Endpoints,” create a new endpoint, select your uploaded model from the repository, and choose an appropriate GPU instance (e.g., NVIDIA A10G).
- Deploy and Integrate: The platform provides a secure API endpoint and an access token. The team can then integrate this endpoint into their IDE extension or CI/CD pipeline to provide custom coding suggestions based on their own model.
Pricing
Hugging Face offers free access to the Hub, with paid PRO ($9/month) and Team ($20/user/month) tiers for advanced features. Inference Endpoints are billed separately based on the underlying cloud instance type, with transparent per-minute pricing.
Pros & Cons
| Pros | Cons |
|---|---|
| Unparalleled access to open-source models | Endpoint costs can grow without careful autoscaling |
| Seamless path from prototyping to production | Cost management requires attention to instance types |
| Fine-grained control over hardware and pricing | The sheer number of models can be overwhelming |
Website: https://huggingface.co
Actionable Takeaways
- Search the Hub for pre-trained open-source models for tasks like translation, summarization, or image classification.
- Use Inference Endpoints to deploy a model as a production-ready API in minutes.
- Contribute your own models or datasets to a private repository for team collaboration.
Further Reading
7. NVIDIA NGC Catalog
The NVIDIA NGC Catalog is a hub for developers building high-performance AI applications, providing a curated collection of GPU-optimized containers, pretrained models, and SDKs. Instead of building complex development environments from scratch, you can pull production-ready containers that are tuned, tested, and secured by NVIDIA for maximum performance on NVIDIA hardware.
Its primary distinction is its focus on performance and deployment readiness. Everything in the NGC Catalog is specifically optimized for NVIDIA GPUs, ensuring you get the most out of your hardware, whether it’s on a local workstation or in the cloud.
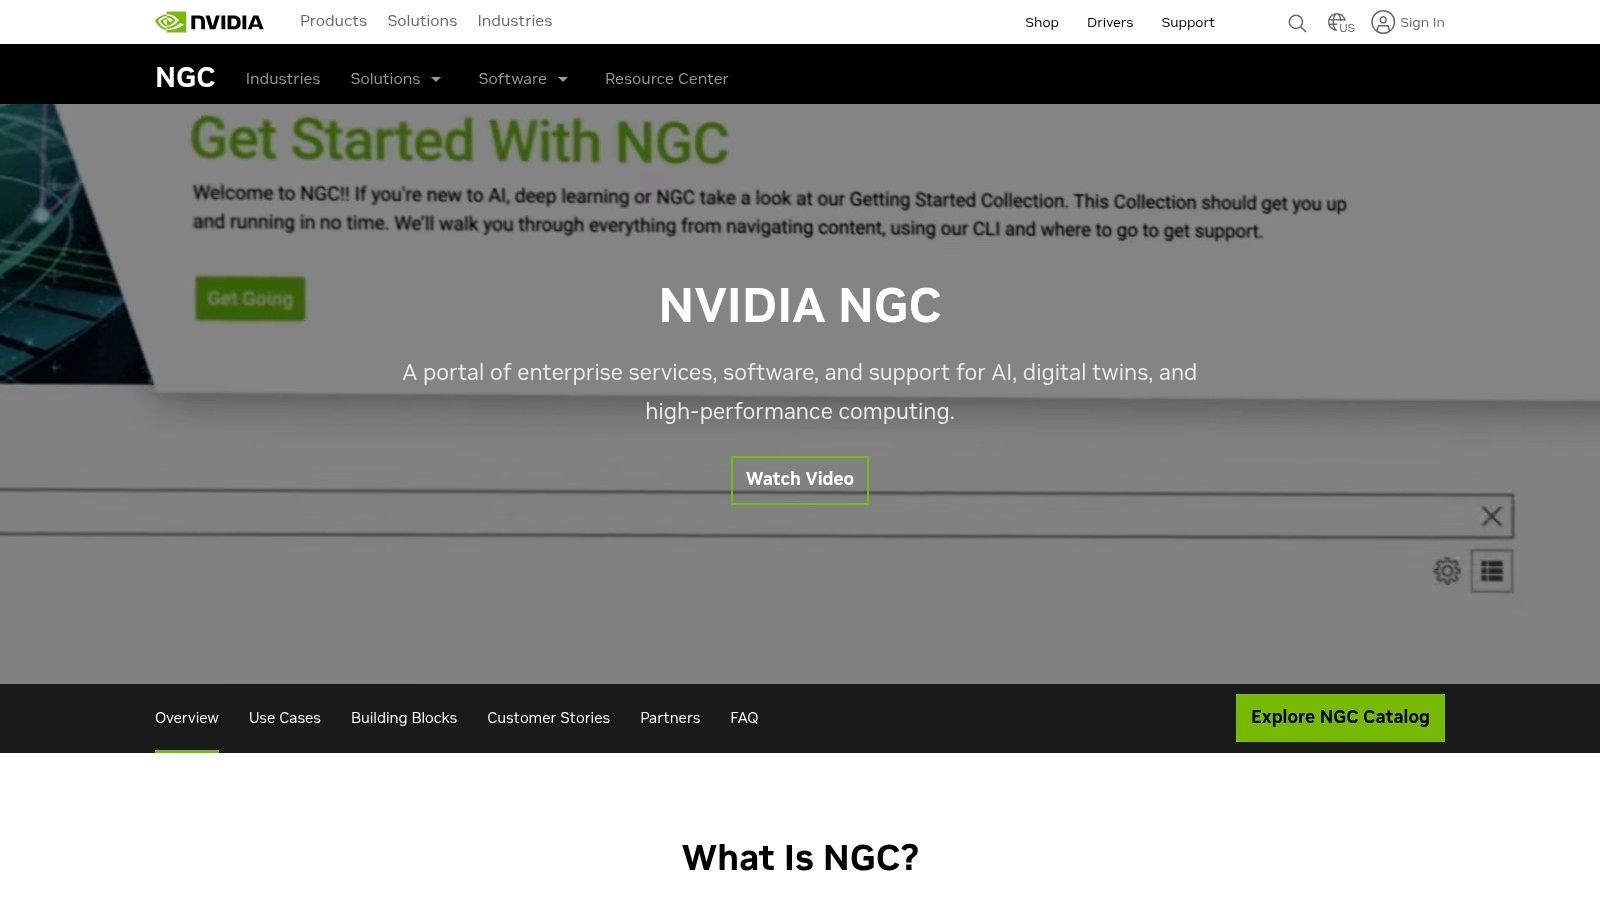
Alt text: The NVIDIA NGC Catalog dashboard showing a variety of available GPU-optimized containers and models.
Practical Example: Setting Up a PyTorch Development Environment
You can use the NGC Catalog to instantly spin up a fully optimized PyTorch environment.
- Prerequisites: Ensure you have Docker and the NVIDIA Container Toolkit installed on a machine with an NVIDIA GPU.
- Pull the Container: Open your terminal and run the command:
docker pull nvcr.io/nvidia/pytorch:24.05-py3 - Run the Container: Start an interactive session with GPU access:
docker run --gpus all -it --rm nvcr.io/nvidia/pytorch:24.05-py3 - Start Developing: You are now inside a container with PyTorch, CUDA, and all necessary libraries installed and configured for optimal GPU performance. You can start writing and running your code immediately.
Pricing
The NGC Catalog is free to use; you can pull public containers and models at no cost. However, you are responsible for the costs of the underlying GPU compute, whether it’s your own on-premise hardware or pay-as-you-go instances from a cloud provider.
Pros & Cons
| Pros | Cons |
|---|---|
| Radically accelerates environment setup with secure, optimized images | Users must manage and pay for their own GPU compute infrastructure |
| No charge to pull public containers and models | Not a fully managed service; operational overhead remains |
| Highly portable across on-prem and multi-cloud environments | Enterprise features and support are priced separately |
Website: https://www.nvidia.com/en-us/gpu-cloud/
Actionable Takeaways
- Pull a pre-configured container for your framework (PyTorch, TensorFlow) to skip manual environment setup.
- Explore the catalog for pre-trained models optimized for specific tasks like object detection or language translation.
- Use the containers as a consistent base image for your CI/CD pipelines to ensure reproducibility.
8. GitHub Copilot (IDE Extensions and Agents)
GitHub Copilot is one of the most widely adopted AI coding assistants, integrating directly into a developer’s workflow. It provides inline code completions, a conversational chat interface, and advanced agent capabilities within IDEs like VS Code, Visual Studio, and the JetBrains suite.
Its primary distinction is its deep, native integration into the developer environment, making it feel like a natural extension of the IDE. This seamless experience minimizes context switching and keeps developers in the flow.
Alt text: The GitHub Copilot chat interface is shown inside the VS Code IDE, answering a developer’s question about a code snippet.
Practical Example: Generating a Unit Test
You can use GitHub Copilot Chat to quickly create a unit test for an existing function.
- Select the Code: In your IDE, highlight the function you want to test.
- Open Copilot Chat: Use the keyboard shortcut (e.g.,
Ctrl+Iin VS Code) or click the Copilot icon to open the chat panel. - Prompt for a Test: Type a simple command:
@workspace /tests generate unit tests for the selected code. The@workspacetag gives Copilot context of your entire project. - Review and Apply: Copilot will generate the test code in the chat window. You can then copy it or have Copilot insert it directly into a new test file.
Pricing
GitHub Copilot offers tiered plans, including a free option for verified students, teachers, and maintainers of popular open-source projects. Paid plans include Copilot Pro for individuals and Copilot Business/Enterprise for teams.
Pros & Cons
| Pros | Cons |
|---|---|
| Fast, familiar workflow integration in major IDEs | Premium model access is quota-metered |
| Broad language and framework support | Additional requests beyond quotas can add cost |
| Clear plan differences and enterprise data controls | Usage limits may constrain heavy development workflows |
Website: https://github.com/features/copilot
Actionable Takeaways
- Use inline suggestions (
Tabto accept) to write boilerplate and repetitive code faster. - Ask Copilot Chat to explain unfamiliar code blocks or suggest refactoring improvements.
- Use the
/testscommand to generate unit tests for functions, saving significant time.
Further Reading
9. Visual Studio Code Marketplace (AI Extensions)
The Visual Studio Code Marketplace is the central hub for developers to discover and integrate AI-powered extensions directly into their editor. It serves as a unified distribution platform for some of the most popular ai tools for developers, including GitHub Copilot, Tabnine, and Cody.
Its key advantage is the seamless, one-click installation and management of extensions. The platform provides a transparent system of community ratings and reviews, helping you vet tools before installation.
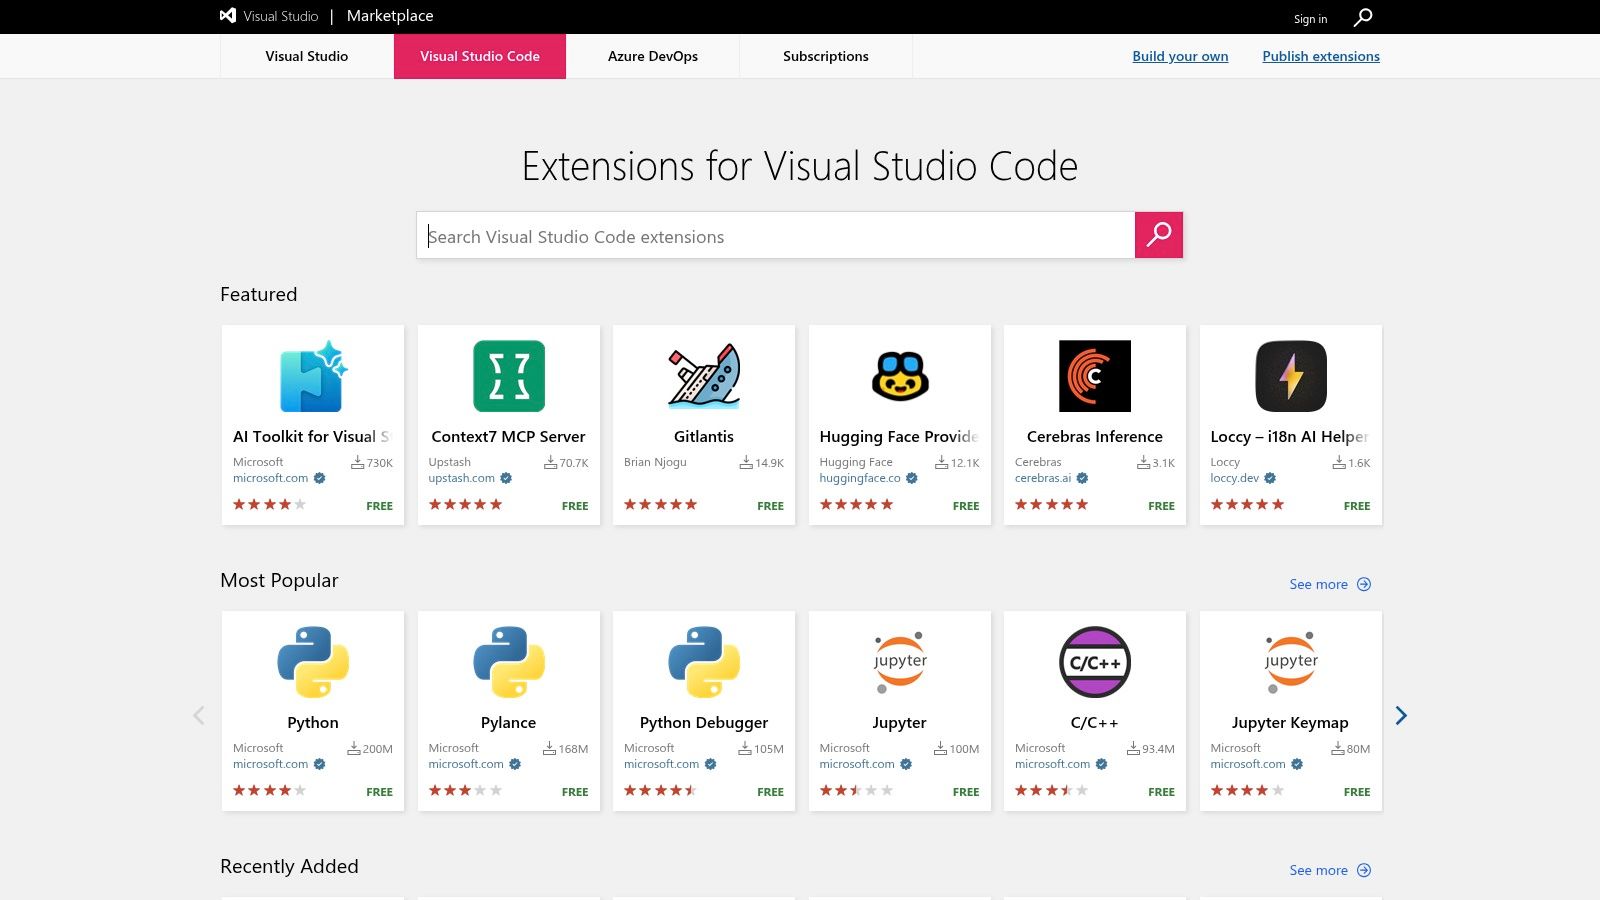
Alt text: The Visual Studio Code Marketplace showcasing various AI-powered extensions available for download.
Practical Example: Installing and Using an AI Code Helper
A developer wants to add an AI-powered code completion tool to their workflow.
- Open the Extensions View: In VS Code, click the Extensions icon in the Activity Bar (or press
Ctrl+Shift+X). - Search for an AI Tool: In the search bar, type “AI code assistant” or a specific tool name like “Tabnine.”
- Install and Authenticate: Review the extension’s publisher and ratings, then click the “Install” button. After installation, you may need to sign in or connect to the service via a browser pop-up. The tool will then start providing code suggestions automatically as you type.
Pricing
The VS Code Marketplace itself is free. However, the extensions have their own pricing models. Many offer generous free tiers, while others are premium, subscription-based services (e.g., GitHub Copilot for Business).
Pros & Cons
| Pros | Cons |
|---|---|
| Instant discovery and installation within VS Code | Security depends on user vigilance; requires vetting publishers |
| Rich community feedback with ratings and reviews | Quality and support can vary widely between extensions |
| Many extensions offer free tiers for evaluation | Over-reliance can lead to an unstable editor experience |
Website: https://marketplace.visualstudio.com/vscode
Actionable Takeaways
- Search the marketplace for extensions that solve a specific pain point, like “AI documentation generator” or “AI refactoring.”
- Read recent reviews and check the publisher’s verification status before installing an extension.
- Start with extensions that offer a free tier to evaluate their impact on your workflow before committing to a paid plan.
Further Reading
10. JetBrains AI Assistant (Plugin + Quotas)
JetBrains AI Assistant is deeply integrated into the company’s suite of IDEs (like IntelliJ IDEA, PyCharm, and WebStorm), providing context-aware AI capabilities directly within your coding environment. It leverages your existing codebase to offer highly relevant code suggestions, refactoring, and documentation generation.
Its main distinction is its “local-first” and context-aware approach. The assistant processes code locally to understand the project structure before optionally sending queries to cloud-based LLMs. This hybrid model ensures suggestions are incredibly precise and relevant to your specific project.
Alt text: The JetBrains AI Assistant interface showing a chat window and code suggestions within the IDE.
Practical Example: Generating a Unit Test
You can use the AI Assistant to automatically generate a unit test for an existing function in PyCharm.
- Select the Function: Right-click on the name of the function you want to test within the editor.
- Invoke AI Assistant: From the context menu, navigate to AI Actions > Generate Unit Tests.
- Review and Apply: The assistant will open a new test file with relevant, context-aware test cases (e.g., it will know to import necessary modules from your project). You can then review, modify, and save the generated test.
Pricing
JetBrains offers a tiered licensing model. A free tier provides basic local functionality. The Pro tier, often bundled with subscriptions like the All Products Pack, includes a monthly allotment of AI Credits for cloud-based features. Additional credits can be purchased.
Pros & Cons
| Pros | Cons |
|---|---|
| Unparalleled, seamless IDE integration | Cloud features rely on a finite credit system |
| Highly context-aware across entire projects | Heavy usage may require purchasing credit top-ups |
| Free tier and Pro bundling offer great value | Primarily benefits users already in the JetBrains ecosystem |
Website: https://www.jetbrains.com/ai
Actionable Takeaways
- Use the “Generate Commit Message” action to create well-formatted, descriptive commit messages based on your staged changes.
- Leverage the AI Chat to ask questions about your codebase; its project-aware context provides more accurate answers.
- Use the “Explain Code” feature on complex or unfamiliar functions to get a clear, natural-language description.
11. Rapid API Hub (Market for AI/ML APIs)
Rapid API Hub is a massive API marketplace that simplifies finding, testing, and integrating thousands of APIs, including a vast collection of AI services. It allows you to evaluate multiple AI tools from different providers under one unified interface, without managing separate subscriptions or API keys.
The platform’s primary value is its abstraction layer. Instead of signing up for multiple services to test different OCR or text-to-speech models, you can subscribe to them all through Rapid API Hub, consolidating everything into a single dashboard and a single monthly bill.
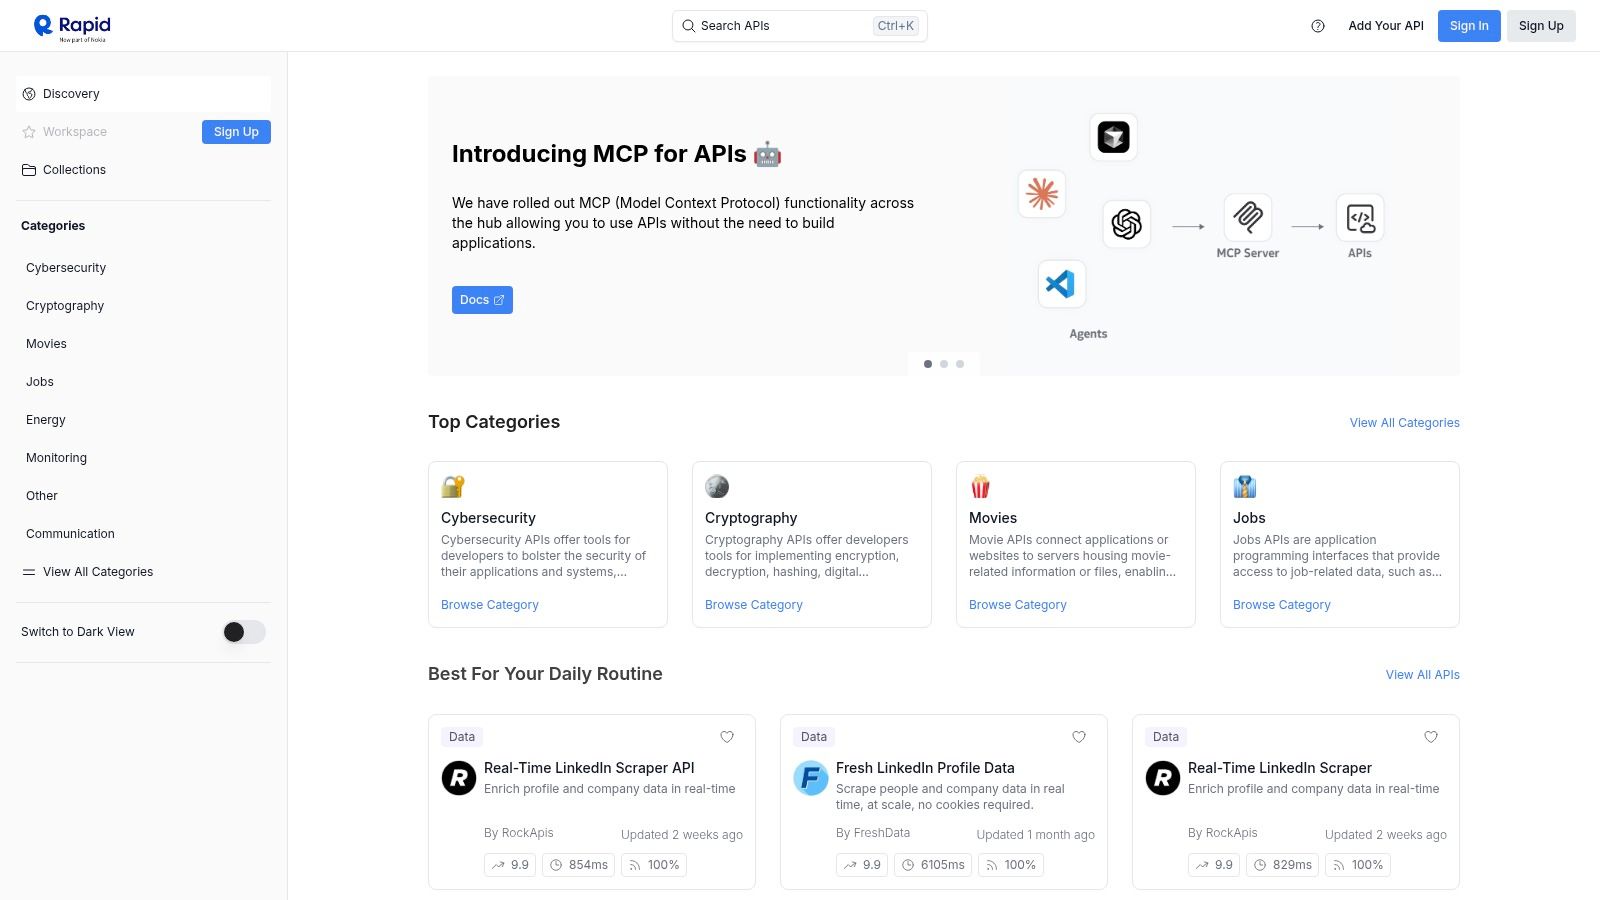
Alt text: The Rapid API Hub marketplace, showcasing various AI and Machine Learning APIs available for developers to integrate.
Practical Example: Integrating a Sentiment Analysis API
You need to add sentiment analysis to a customer feedback tool and want to compare a few providers quickly.
- Discover APIs: Search for “sentiment analysis” on the Rapid API Hub and identify two or three promising APIs based on popularity and pricing.
- Subscribe and Test: On each API’s page, subscribe to its free or freemium tier with a single click. Use the in-browser testing tool on the “Endpoints” tab to send a sample text (“This product is amazing!”) and compare the JSON responses directly.
- Integrate the Best Fit: Once you choose the best-performing API, copy the auto-generated Python (or other language) code snippet and integrate it into your application using the single API key provided by Rapid API Hub.
Pricing
Pricing is set by individual API providers and varies widely. Rapid API Hub supports Free, Freemium, Pay-per-use, and Subscription models. All charges are consolidated into one monthly payment.
Pros & Cons
| Pros | Cons |
|---|---|
| Simplifies evaluation of multiple AI services | Acts as an intermediary; provider features may lag the native console |
| Unified subscription and billing streamlines procurement | Some providers require a credit card even for certain ‘free’ tiers |
| Excellent for rapid prototyping with diverse APIs | Performance and support are dependent on the third-party API provider |
Website: https://rapidapi.com/hub
Actionable Takeaways
- Use the in-browser testing feature to validate an API’s functionality before writing any code.
- Compare multiple providers for the same task (e.g., image recognition) on their free tiers to benchmark performance.
- Monitor all your API usage and costs from a single dashboard to stay within budget.
12. OpenRouter (Multi‑Model API Aggregator)
OpenRouter is a universal gateway that provides a single API key to access hundreds of AI models from providers like OpenAI, Anthropic, Google, and Mistral. Instead of managing multiple API integrations, you can use OpenRouter to seamlessly switch between models, benchmark performance, and optimize costs.
Its primary distinction is its role as a smart router. It simplifies the complex landscape of AI models by offering a unified, OpenAI-compatible interface and a simple credit system. This empowers you to select the best model for any task based on performance, cost, or latency, without vendor lock-in.
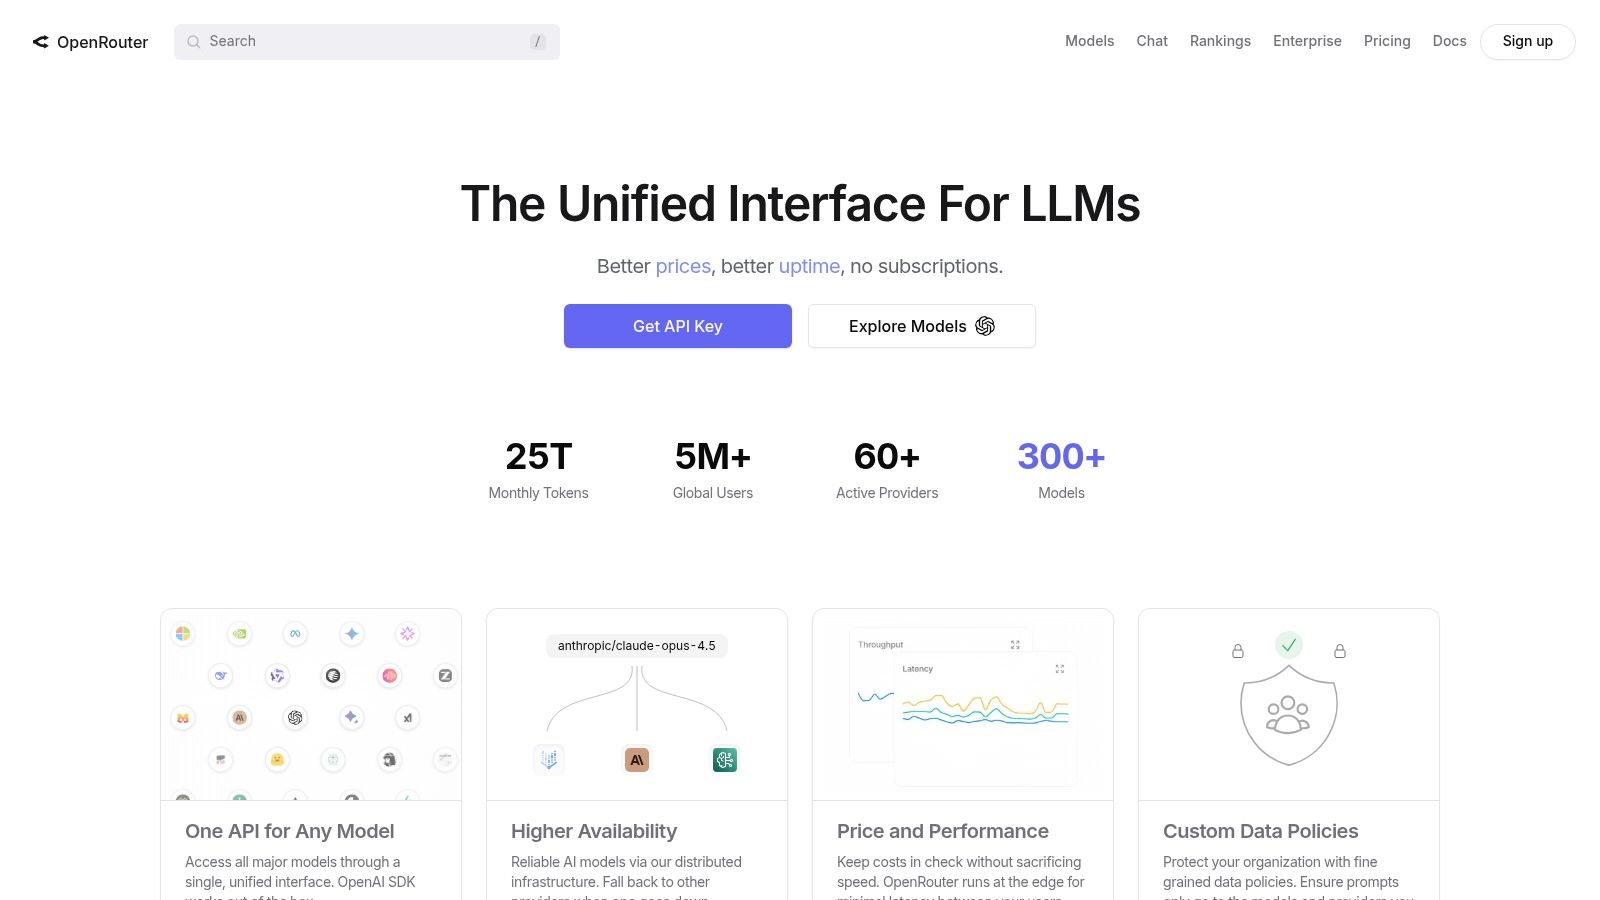
Alt text: OpenRouter’s model catalog, showcasing a wide variety of available AI models with their respective pricing.
Practical Example: Implementing a Cost-Effective Chatbot with Fallbacks
You can build a chatbot that prioritizes a low-cost model but falls back to a more powerful one for complex queries.
- Initial API Call: Send the user’s prompt to a fast, inexpensive model like
mistral-7b-instructvia the OpenRouter API. All you need to do is change themodelparameter in your API call.# In your application code response = client.chat.completions.create( model="mistralai/mistral-7b-instruct", # Cheaper model first messages=[{"role": "user", "content": user_prompt}] ) - Implement Fallback Logic: If the initial model’s response is inadequate (e.g., contains “I can’t help with that”) or the API call fails, your application automatically retries the request.
- Route to a Premium Model: The retry is sent to a more capable model like
claude-3.5-sonnetby simply changing themodelstring. This is handled in your application code, using the same OpenRouter API key and endpoint.# Inside your retry/fallback logic response = client.chat.completions.create( model="anthropic/claude-3.5-sonnet", # More powerful fallback messages=[{"role": "user", "content": user_prompt}] )
Pricing
OpenRouter uses a pay-as-you-go model based on prepaid credits. It offers pass-through pricing that matches the underlying providers’ rates, with a small platform fee added.
Pros & Cons
| Pros | Cons |
|---|---|
| Simplifies access to hundreds of models via one API | Adds a middle layer, which may impact latency slightly |
| Excellent for benchmarking, routing, and fallbacks | Platform and payment method fees apply on top of model costs |
| Competitive pass-through pricing with a unified credit system | Reliance on a third-party for SLAs and data handling |
Website: https://openrouter.ai
Actionable Takeaways
- Use OpenRouter to test the same prompt across multiple models and find the best price/performance balance.
- Implement model fallbacks in your application to improve reliability.
- Take advantage of access to new and open-source models as soon as they are released, without needing a new API key.
12 AI Tools for Developers — Side-by-Side Comparison
| Product | Core Capabilities | Quality ★ | Price/Value 💰 | Ideal Users 👥 | Unique Strengths ✨ |
|---|---|---|---|---|---|
| RichlyAI 🏆 | Multimodal hub: text, images, audio, video, real‑time voice, chatbots, code + AI Tools Hub marketplace | ★★★★☆ — intuitive prompt workflow, variable outputs | 💰 Free plan + optional one‑time vendor upgrades; accessible | 👥 Marketers, creators, solopreneurs, developers, educators | ✨ All‑in‑one multimodal + 11k tool discovery + social automation |
| OpenAI API (Platform) | API access to SOTA text/code/image/audio/realtime models; SDKs, fine‑tuning, Realtime | ★★★★★ — best‑in‑class models & docs | 💰 Transparent per‑token pricing; can be costly at scale | 👥 Developers, startups, enterprises needing top models | ✨ Leading models, realtime low‑latency & strong tooling |
| Google Cloud Vertex AI | Managed training/serving, Model Garden, Agents, RAG tooling, GPU/TPU options | ★★★★☆ — enterprise ML infra & tooling | 💰 Pay‑as‑you‑go with granular hardware pricing; complex | 👥 ML teams, enterprises on GCP | ✨ H100/H200/TPU support, integrated GCP security & scale |
| Microsoft Azure AI | Azure AI Studio, Azure ML, Azure OpenAI; MLOps, governance, enterprise features | ★★★★☆ — deep enterprise integration | 💰 Pay‑as‑you‑go, savings/reserved options; enterprise billing | 👥 Enterprises, Microsoft stack customers, regulated orgs | ✨ Microsoft ecosystem integration & procurement controls |
| AWS Marketplace (SageMaker) | Marketplace for model packages, one‑click SageMaker deploy, product pages & reviews | ★★★☆☆ — broad catalog; variable listing quality | 💰 Listing price + AWS compute — total cost varies | 👥 AWS customers, deployers of third‑party models | ✨ Seamless SageMaker deploy & consolidated billing |
| Hugging Face | Model hub (600k+), datasets, Spaces, managed inference endpoints, minute billing | ★★★★☆ — huge community & open models | 💰 PRO/Team tiers; transparent instance/minute pricing | 👥 Researchers, ML engineers, rapid prototypers | ✨ Massive open catalog + multi‑cloud inference endpoints |
| NVIDIA NGC Catalog | GPU‑optimized containers, pretrained models, SDKs, enterprise add‑ons | ★★★★☆ — performance‑tuned containers | 💰 Containers free to pull; pay for chosen compute | 👥 ML engineers, HPC teams, on‑prem/cloud GPU users | ✨ Optimized GPU containers & curated model collections |
| GitHub Copilot | IDE assistant: inline completions, chat, code review, agent mode across major IDEs | ★★★★☆ — seamless IDE productivity | 💰 Tiered plans (Free→Enterprise); quotaed premium access | 👥 Developers using VS Code/Visual Studio/JetBrains | ✨ Inline coding flow, multi‑model backing & team controls |
| VS Code Marketplace (AI Exts) | Catalog of AI extensions, one‑click install, auto‑updates, reviews | ★★★☆☆ — fast discovery; extension quality varies | 💰 Many free tiers; paid extensions vary by publisher | 👥 Developers exploring AI tooling in VS Code | ✨ Quick trial/install + community ratings |
| JetBrains AI Assistant | Context‑aware chat, multi‑file edits, testing/refactor support inside JetBrains IDEs | ★★★★☆ — strong IDE integration | 💰 Free/Pro/Enterprise tiers + monthly AI credits | 👥 JetBrains users, teams needing deep code context | ✨ Multi‑file edits, refactor helpers & bundled plans |
| RapidAPI Hub | Centralized API marketplace, unified billing, keys, quotas, analytics | ★★★☆☆ — simplifies multi‑API evaluation | 💰 Free/freemium/pay‑per‑use models; unified billing | 👥 Developers comparing/consuming many APIs | ✨ Centralized subscription, quotas & analytics |
| OpenRouter | Single API/key to 200+ models for benchmarking, routing, failover | ★★★☆☆ — convenient multi‑model gateway | 💰 Prepaid credits + platform fees; pass‑through pricing | 👥 Developers benchmarking or routing models | ✨ Unified access to many vendors + routing/fallbacks |
Your Next Move: Integrating AI into Your Daily Workflow
We’ve covered a wide landscape of AI tools for developers, from foundational platforms like Azure AI to specialized assistants like GitHub Copilot. The central theme is clear: AI is now a core component of modern software development. The most effective developers will be those who master these tools to augment their skills, accelerate their workflows, and amplify their creative output.
The goal is to move from awareness to active application. The real advantage comes from integrating these tools into your daily habits. This means making AI a first-resort solution for routine, repetitive, and complex tasks.
A Phased Approach to Adoption
Adopting new technology can be overwhelming. Instead of a complete overhaul, a phased approach works best.
- Start with an IDE Assistant: Begin with a low-friction tool like GitHub Copilot or the JetBrains AI Assistant. The learning curve is minimal, and the feedback loop is immediate. Use it for a week for everything: writing boilerplate, generating docstrings, refactoring a function, or drafting commit messages. This builds “muscle memory” and demonstrates tangible productivity gains.
- Identify a Workflow Bottleneck: Once you’re comfortable, find a larger bottleneck in your team’s workflow. Does writing unit tests take too long? Is API documentation always out of date? Is prototyping new features a slow process?
- Choose a Targeted Solution: Select a more powerful tool to solve that specific problem.
- For Repetitive Tasks: A platform with strong code generation like the OpenAI API can automate test creation or documentation.
- For New Features: API aggregators like OpenRouter or marketplaces like Rapid API Hub provide the building blocks to experiment with models for semantic search, content generation, or data analysis.
- For Scalability and Control: For large enterprises, a major cloud platform like AWS SageMaker or Azure AI Studio provides the end-to-end tooling for training, deploying, and managing models at scale.
Final Thoughts: The Developer as an AI Conductor
The developer’s role is evolving from a pure code author to a conductor, orchestrating AI-powered tools to build better software, faster. The tools we’ve covered are the instruments. Your skill and judgment are what bring them together.
The key is to remain curious, experiment constantly, and treat AI as an intelligent partner. Start small, measure your results, and scale what works. The most profound impact of these AI tools for developers lies not in what they can do on their own, but in what they empower you to achieve.
Ready to discover the perfect AI tool for your next project without spending hours on research? The RichlyAI platform offers a comprehensive, up-to-date directory of AI solutions, complete with user reviews and detailed comparisons. Stop guessing and start building with the right tools today at RichlyAI.
