
Baking a simple cake from scratch comes down to four key stages: preparing your ingredients, mixing the batter correctly, baking, and cooling. This guide provides a step-by-step process you can follow to bake a delicious homemade cake, even if it’s your first time.
Your First Steps to Baking a Simple Cake at Home
Welcome to home baking! This guide will show you how to make a light, fluffy cake in your own kitchen. The best part is that you control the ingredients, freshness, and flavour.
alt text: A delicious slice of simple homemade cake on a white plate, ready to be eaten.
By following these steps, you’ll be ready to tackle the full recipe with confidence.
Why Bake a Cake at Home?
Baking your own cake is a rewarding experience with several practical benefits.
- Control Quality: You choose every ingredient. For example, you can use fresh, local eggs and real butter instead of commercial shortenings. This directly impacts the taste and quality of your cake.
- Customise Flavour: You can easily adapt the recipe. Want a hint of citrus? Add the zest of one lemon to your sugar before mixing. This simple action infuses the entire cake with bright flavour.
- Maximum Freshness: Nothing compares to the taste and aroma of a cake that is still warm from your own oven.
Understanding local ingredient availability is also useful. In Nigeria, for example, high-quality wheat flour is easy to find because it’s the main ingredient in commercially produced bread, which accounts for 62% of domestic wheat use. This availability makes it a reliable and affordable starting point for home bakers.
You can find out more about the Nigerian bakery market and how it affects ingredient availability.
This guide provides actionable steps to make the baking process enjoyable and successful. Let’s start by gathering your equipment and ingredients.
Getting Your Tools and Ingredients Ready
Proper preparation, known as mise en place (“everything in its place”), is the first step to a stress-free baking experience. Before you begin mixing, measure all your ingredients and arrange your tools on the counter. This prevents mid-recipe scrambling and ensures a smooth process.
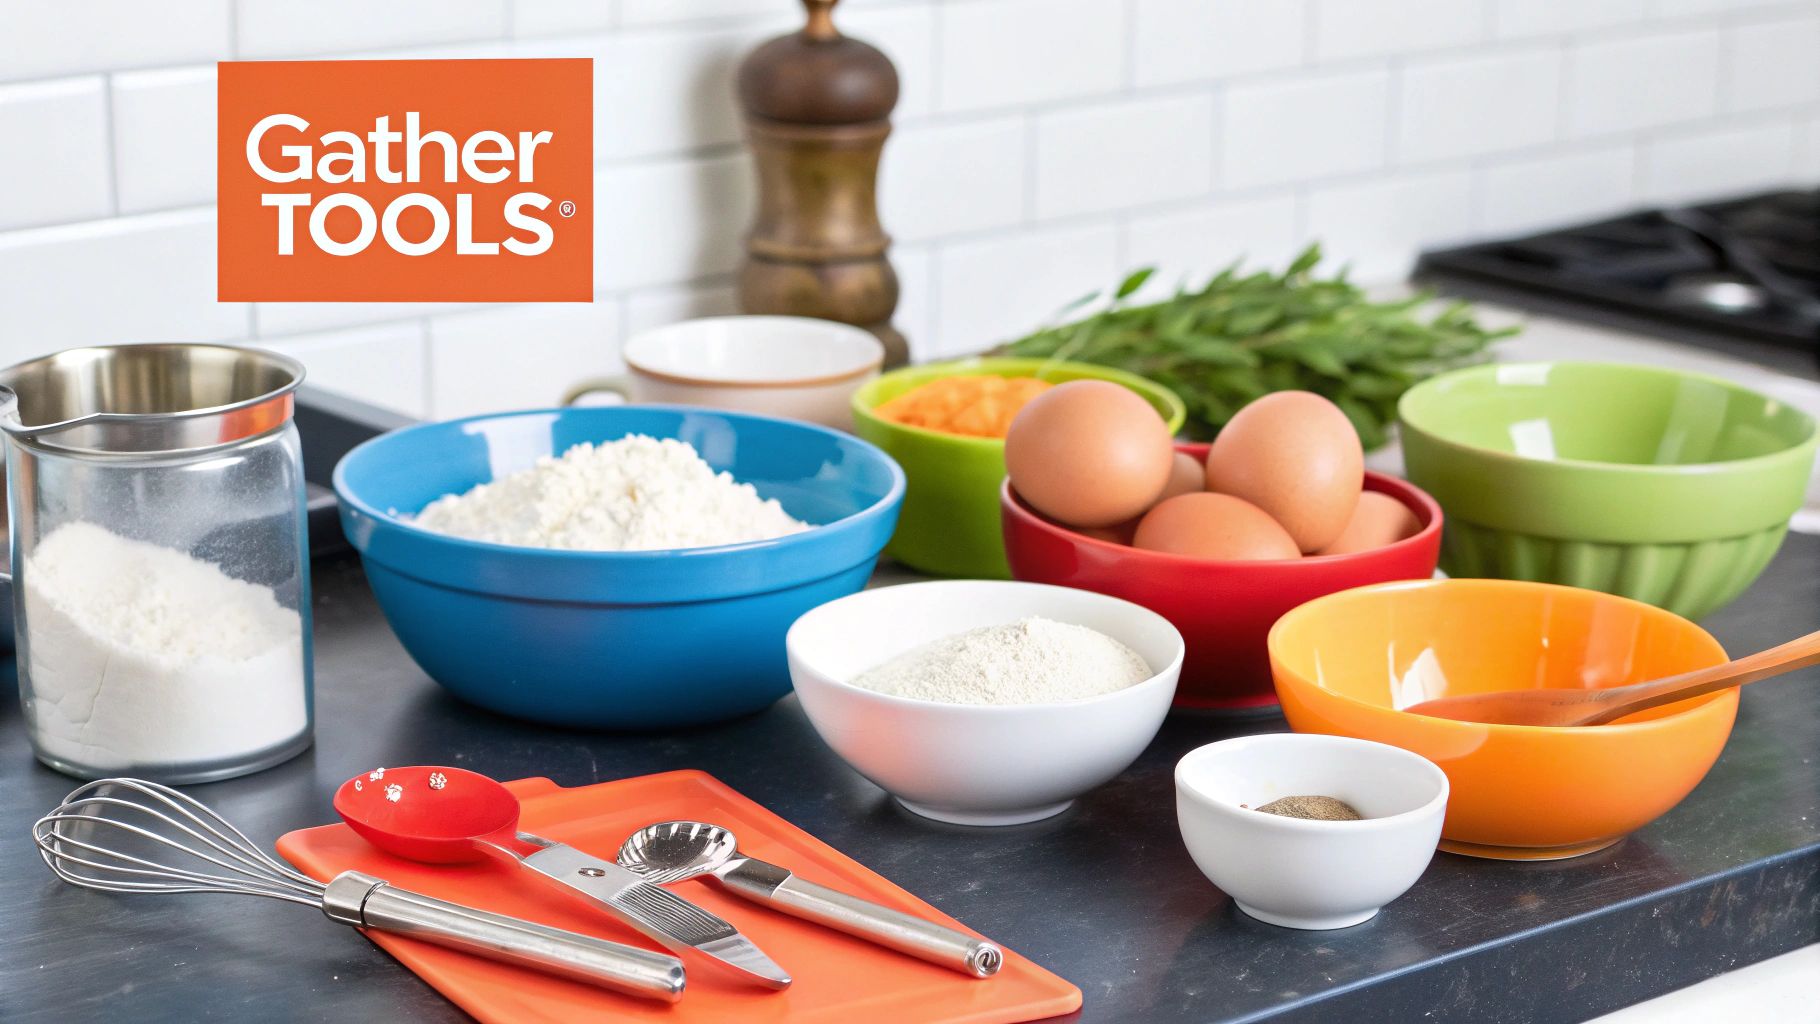
alt text: A collection of baking ingredients like flour, sugar, and eggs neatly arranged on a wooden surface.
Once everything is ready, you can focus entirely on the baking process itself.
Your Baking Toolkit
You don’t need professional-grade equipment for this simple cake. Here are the essential tools to get started:
- Large Mixing Bowl: Provides ample space for combining ingredients without spills.
- Whisk or Electric Mixer: An electric mixer is recommended for efficiently creaming butter and sugar, but a whisk can also be used.
- Measuring Cups and Spoons: Accurate measurements are critical for consistent results in baking.
- 8-inch Round Baking Pan: A standard size suitable for most simple cake recipes.
- Spatula: Use it to scrape down the sides of the bowl, ensuring all ingredients are fully incorporated into the batter.
The Heart of Your Cake: The Ingredients
This recipe uses basic ingredients that are likely already in your pantry.
- Flour: All-purpose flour is ideal. In Nigeria, brands like Golden Penny or Dangote are reliable choices.
- Sugar: Standard granulated sugar provides sweetness and contributes to a tender texture.
- Butter: Use unsalted butter that has been brought to room temperature.
- Eggs: Act as a binder and add richness.
- Baking Powder: The leavening agent that makes the cake rise and become fluffy.
- Milk: Adds necessary moisture for a soft cake.
- Vanilla Extract: Provides the classic, warm cake flavour.
Pro Tip: Always use room-temperature ingredients. Cold butter, eggs, and milk do not combine evenly, which can result in a dense, lumpy batter. To bring eggs to room temperature quickly, place them in a bowl of warm (not hot) water for 5-10 minutes.
The cost and availability of ingredients can be influenced by global markets. For instance, much of Nigeria’s bakery supply is imported, which can affect local prices. You can explore Nigeria’s bakery trade data for more context.
Bringing Your Simple Cake to Life: A Step-by-Step Guide
With your tools and ingredients prepared, you are ready to mix the batter. Following these steps in order will help you create a smooth batter and a perfectly textured cake.
Step 1: Prepare Your Oven and Pan
First, preheat your oven to 180°C (350°F). An oven that is at the correct temperature from the start ensures the cake bakes evenly. While the oven heats, prepare your 8-inch cake pan by greasing it with butter or cooking spray and then lightly dusting it with flour. This creates a non-stick surface that helps the cake release easily after baking.
Step 2: Combine Dry Ingredients
In a large bowl, use a sifter or a fine-mesh sieve to combine your flour, baking powder, and salt. Sifting removes lumps and aerates the flour, which is a key step for achieving a light and fluffy final texture. Set this bowl aside.
Step 3: Cream the Butter and Sugar
This is the most critical step for creating a tender cake. In a separate large bowl, use an electric mixer to beat the room-temperature butter and granulated sugar together on medium-high speed for 3-5 minutes.
- Practical Example: When you begin, the mixture will be a dense, buttery yellow. As you continue to beat it, you are whipping tiny air pockets into the butter. The target outcome is a mixture that has visibly lightened in colour to a pale cream and has a fluffy, almost whipped texture. These air pockets will expand in the oven, giving your cake its lift.
Rushing this step is a common mistake that leads to a dense, heavy cake. The goal is not just to combine the ingredients but to dissolve the sugar and incorporate air. This creates the foundation for a light crumb structure.
Step 4: Mix the Batter
Now, you will combine the wet and dry ingredients. The key is to do this gently and methodically to avoid over-mixing.
- Add Eggs: Beat in the room-temperature eggs one at a time, mixing thoroughly after each addition until it is fully incorporated. This gradual process helps the batter emulsify properly. Add the vanilla extract with the last egg.
- Alternate Dry and Wet Ingredients: Add about one-third of your sifted flour mixture to the creamed butter and mix on low speed until just combined. Then, add half of your milk and mix until just incorporated.
- Repeat and Finish: Add another third of the flour mixture, followed by the remaining milk. Finish by adding the last of the flour mixture.
- Do Not Over-mix: Stop mixing as soon as you no longer see streaks of dry flour. Over-mixing develops gluten, which will make your cake tough and chewy rather than soft and tender.
Pour the finished batter into your prepared pan and use a spatula to spread it evenly. Your cake is now ready for the oven.
Getting That Perfect Bake and Cooling Your Cake
The final stages—baking and cooling—are just as important as the mixing process for achieving a tender, moist cake.
alt text: A golden-brown baked cake cooling on a wire rack with a kitchen towel nearby.
A Step-by-Step Baking and Cooling Process
Follow these timed steps to ensure your cake cooks perfectly and doesn’t break when you remove it from the pan.
- Bake the Cake: Place the pan in the center of your preheated oven. Bake for 30-35 minutes. Since oven temperatures can vary, start checking for doneness at the 25-minute mark.
- Test for Doneness: Insert a toothpick or thin skewer into the center of the cake. If it comes out clean or with a few moist crumbs attached, the cake is done. If you see wet batter, it needs a few more minutes in the oven. Avoid opening the oven door too early, as the sudden drop in temperature can cause the cake to sink.
- Initial Cooling (In the Pan): Once baked, remove the cake from the oven and let it cool in the pan on a wire rack for exactly 10 minutes. This allows the cake to become firm enough to handle without falling apart.
- Final Cooling (On the Rack): After 10 minutes, carefully run a thin knife around the edge of the pan to loosen the cake. Invert the pan to release the cake onto a wire rack. Let it cool completely to room temperature. This step is crucial as it allows air to circulate, preventing the bottom from becoming soggy. Do not attempt to frost the cake until it is completely cool.
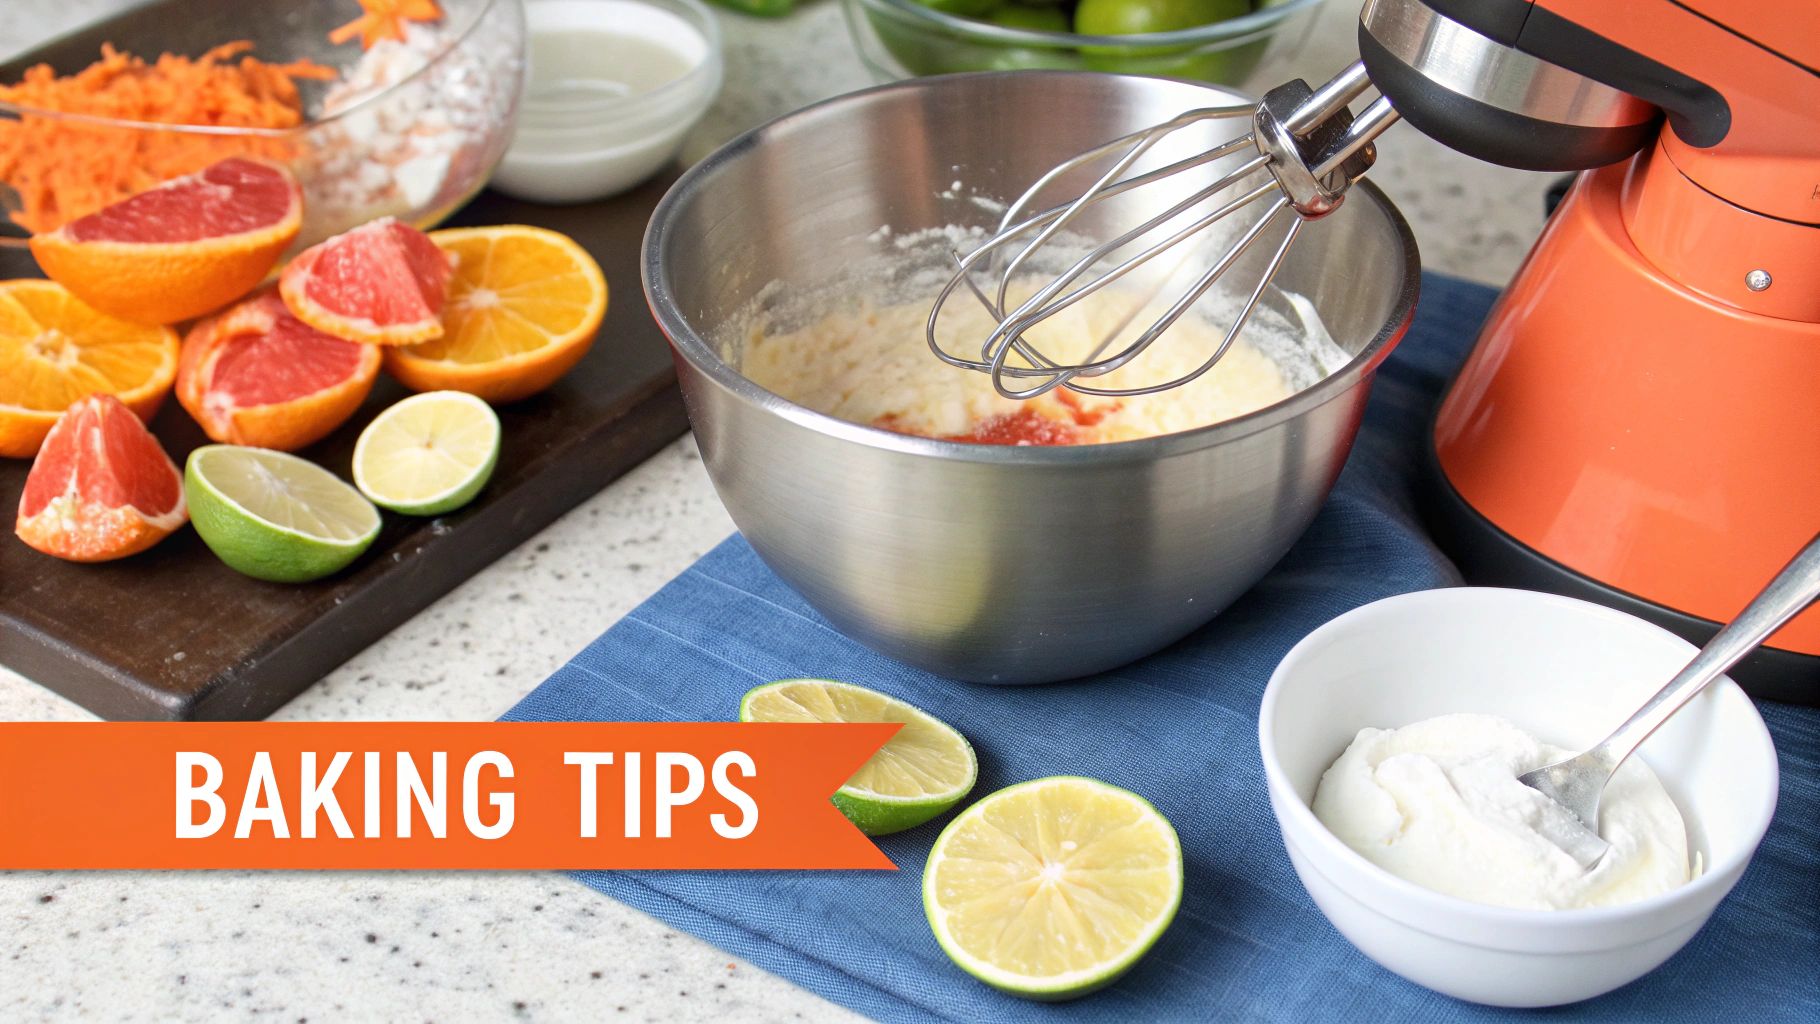
Little Tricks for a Perfect Cake, Every Single Time
Once you’ve mastered the basic recipe, you can use these simple techniques to improve the texture and flavour of your cakes.
alt text: A perfectly baked simple cake with a dusting of icing sugar, showcasing a flawless, even top.
How to Achieve a Moist Crumb and Even Bake
A common issue with homemade cakes is dryness or an uneven, domed top. Here’s what to do about it:
- For a Moister Crumb: Swap regular milk for buttermilk or add a tablespoon of plain yogurt to your batter. The acidity in these ingredients helps to tenderize the gluten, resulting in a softer, more moist cake.
- For a Flatter Top: To prevent the cake from doming in the center, you can wrap damp fabric cake strips around the outside of the pan. This insulates the sides, forcing the cake to bake more evenly. Alternatively, lower the oven temperature to 160°C and increase the baking time slightly.
Flavor Tip: To infuse your cake with a bright citrus flavor, add the zest of a lemon or an orange to the granulated sugar before creaming it with the butter. Use your fingertips to rub the zest into the sugar. This releases the fragrant oils and distributes them throughout the batter.
Economic factors can also influence baking. In Nigeria, the rising cost of ingredients like flour and sugar impacts home bakers. While nearly 80% of wheat flour is used for bread, those making cakes at home must adapt to market prices. You can learn more about these factors from reports on Nigerian bakery market trends on Research and Markets.
Common Questions About Making a Simple Cake
Here are answers to some frequently asked questions that can help you troubleshoot common baking issues.
Why Did My Cake Sink in the Middle?
A sunken center is often caused by one of three things:
- Opening the oven door too early: This causes a sudden temperature drop, making the unset batter collapse.
- Underbaking: If the cake’s internal structure isn’t fully set, it can’t support itself as it cools. Always use the toothpick test to confirm doneness.
- Over-mixing: Beating the batter too much after adding the flour develops excess gluten, which can cause the cake to rise rapidly and then fall.
Can I Use Margarine Instead of Butter?
Yes, you can substitute margarine for butter, a common practice in Nigeria due to cost-effectiveness. For the best results, use a firm block margarine intended for baking, not a soft, spreadable tub margarine. While butter provides a richer flavor, quality baking margarine will still yield a tender, moist cake. Treat it the same as butter: ensure it is at room temperature before you begin creaming.
What Is the Best Way to Store My Homemade Cake?
Proper storage keeps your cake fresh. First, ensure the cake has cooled completely.
- Unfrosted Cake: Store in an airtight container at room temperature for up to three days.
- Frosted Cake: If the frosting contains dairy (like cream cheese or whipped cream), the cake must be refrigerated.
- Freezing: For long-term storage, wrap individual unfrosted layers tightly in plastic wrap, then a layer of aluminum foil. It will keep in the freezer for up to three months.
Actionable Takeaways
- Cream Butter and Sugar for 3-5 Minutes: Do not rush this step. Cream until the mixture is pale and fluffy to incorporate air for a light cake.
- Use Room Temperature Ingredients: Ensure butter, eggs, and milk are at room temperature for a smooth, evenly mixed batter.
- Alternate Dry and Wet Ingredients: Add your flour mixture and milk in alternating batches, starting and ending with the dry ingredients.
- Stop Mixing When Flour is Combined: To prevent a tough cake, stop your mixer as soon as the last streaks of flour have disappeared.
- Cool the Cake in Two Stages: Let the cake cool in the pan for 10 minutes before turning it out onto a wire rack to cool completely.
Tools and Resources
- Baking Blogs: For more recipes and techniques, explore baking blogs like Welcome Home.
- Technical Guides: To understand the science behind baking methods, King Arthur Baking offers an excellent guide to the creaming method.
At RichlyAI, we believe that creating something wonderful—whether it’s a blog post or a simple cake—should be an enjoyable and rewarding process. Our AI tools can help you generate creative ideas, write recipes, or even design marketing materials for your own baking business.
Discover how our platform simplifies creation at RichlyAI Hub.