
Got a new iPhone and need to bring your contacts over from your old SIM card? Good news: Apple makes this incredibly simple right within the Settings app. It’s the most direct way to get your address book up and running without needing cables or third-party apps. This guide will walk you through the process step-by-step.
Why Bother With the SIM Import Feature?
When you’re setting up a new iPhone, getting your contacts sorted is job number one. While most of us rely on cloud services like iCloud or Google Contacts these days, the good old SIM import function is a lifesaver, especially if you’re coming from an older Android or a basic feature phone. It’s a reliable, no-fuss way to get your essential numbers onto your device immediately.
This direct approach is particularly handy in places where people are rapidly upgrading to Apple devices. Take Nigeria, for instance, where the iPhone market is booming. In August 2024, iPhone shipments saw a massive 63% year-on-year increase. This surge means more people are making the switch and looking for simple ways to transfer their data. If you’re curious, you can learn more about Nigeria’s growing smartphone market to see just how big this trend is.
When Is SIM Import the Right Move?
This simple visual guide can help you figure out if importing from your SIM is the best starting point for your situation.
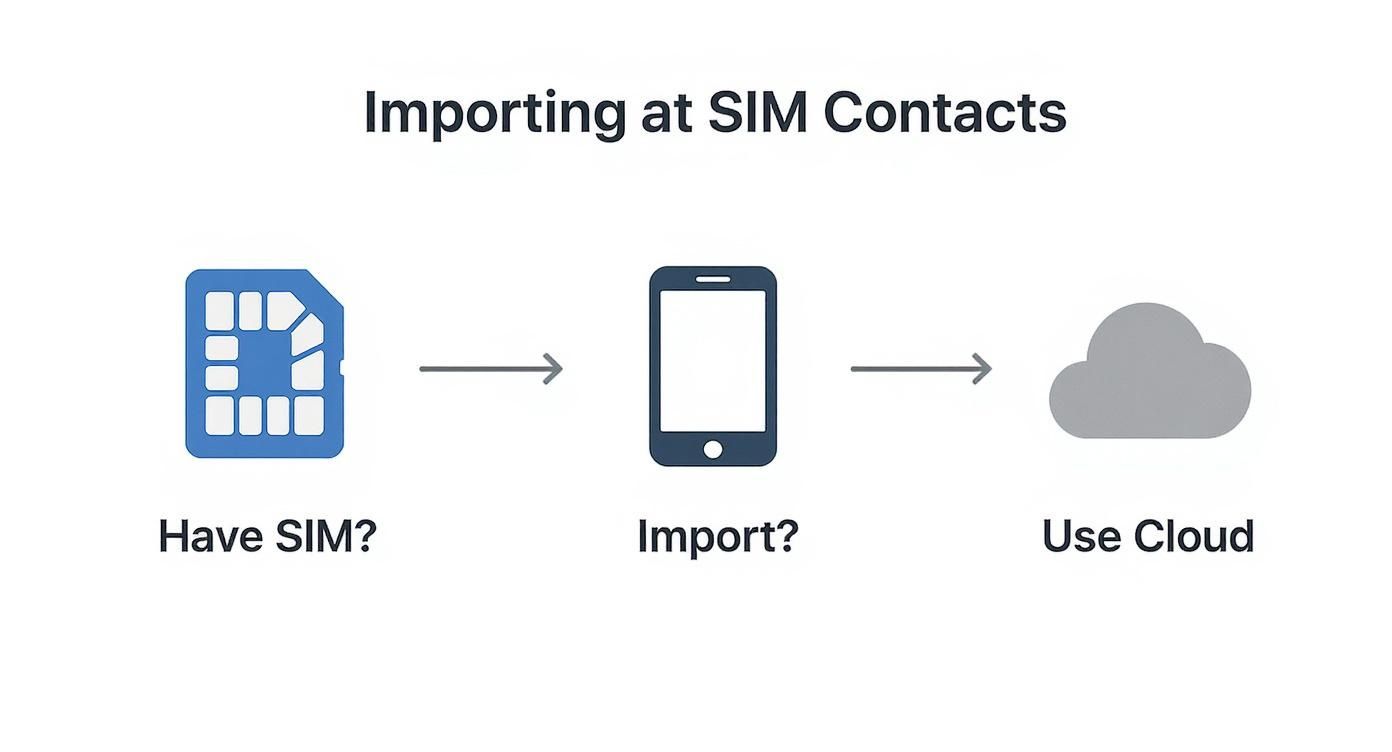
As you can see, it boils down to one question: do you have the old SIM with your contacts on it? If the answer is yes, importing is the most straightforward path. If not, you’ll need to turn to your cloud backups.
A Detailed Walkthrough of the Import Process
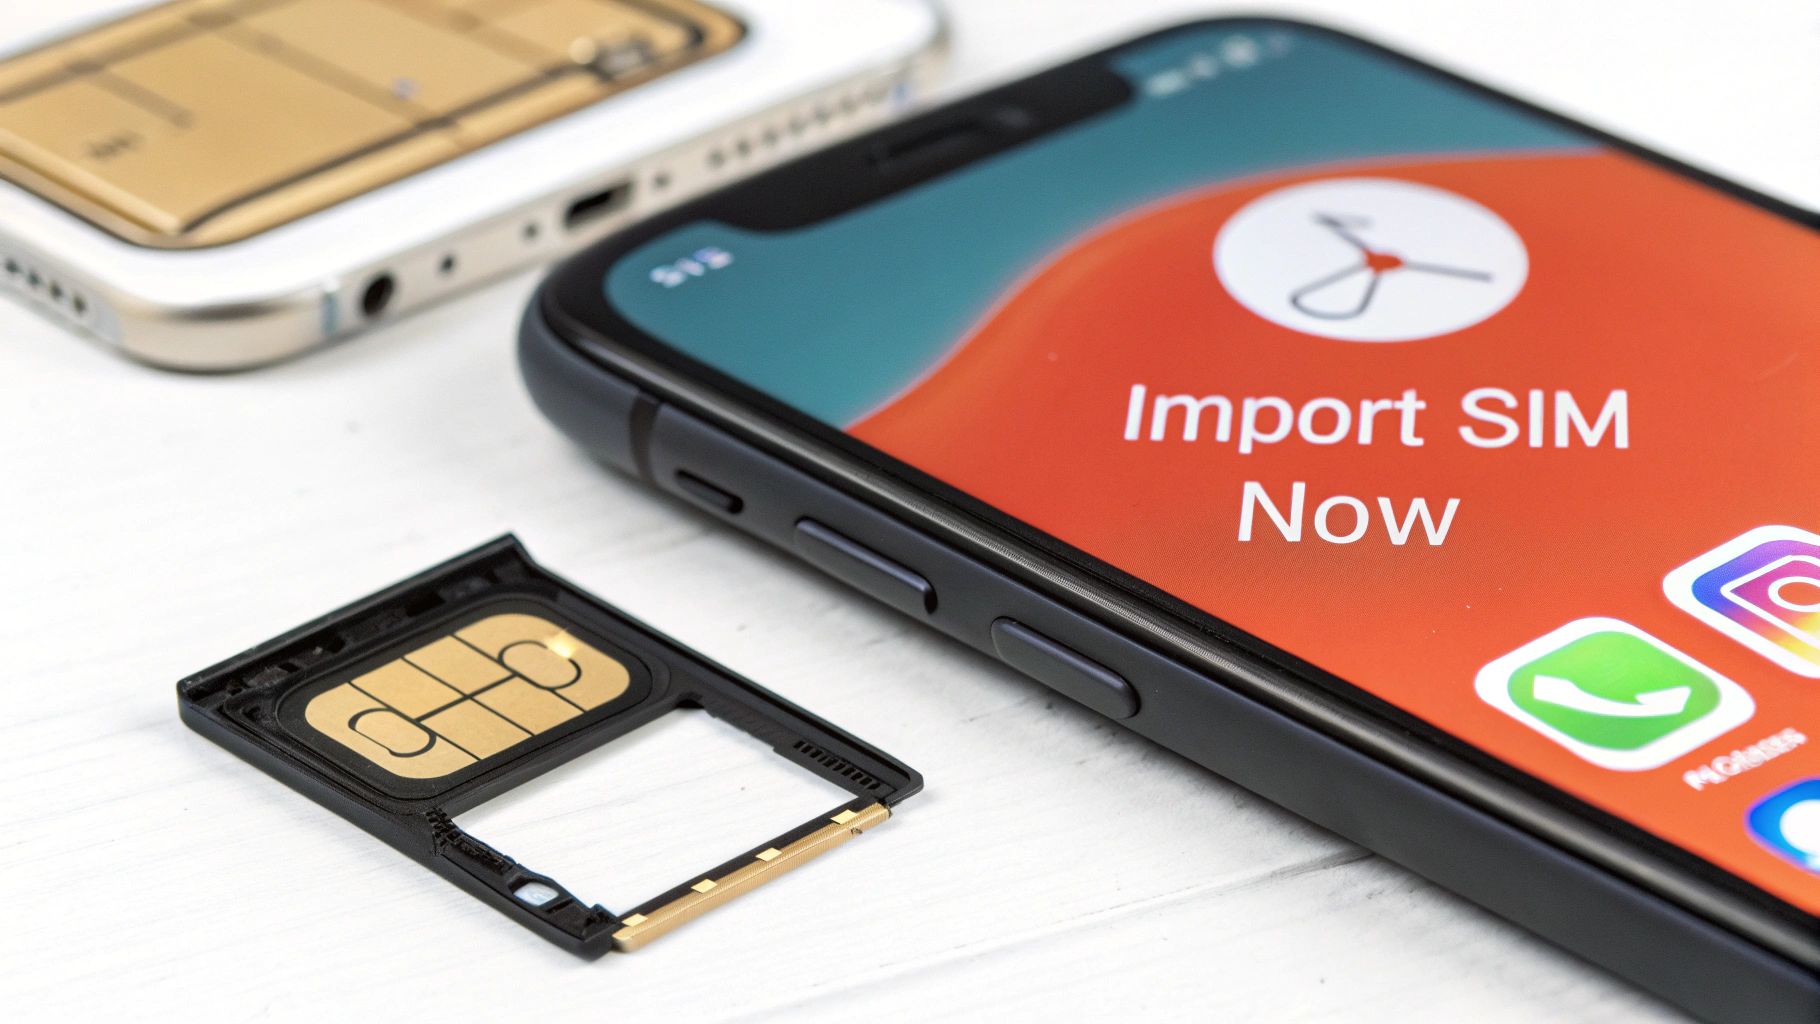
Let’s get those contacts off your SIM card and onto your iPhone. The official Apple method is built right into the iOS settings, so you won’t need to download anything extra.
Before you start, make sure your SIM card fits and is properly seated in the tray. Most issues I’ve seen come from a SIM that’s not quite clicked into place, especially if you’ve just swapped it from an older phone.
Once that’s sorted, the rest is a piece of cake.
Step-by-Step Instructions to Import Your Contacts
Here’s exactly how to perform the import. Follow these numbered steps to get your contacts transferred in under a minute.
- Insert the SIM Card: If you haven’t already, use a SIM ejector tool to open the tray on your iPhone. Place the SIM card containing your contacts into the tray and slide it back in.
- Open the Settings App: Tap the grey gear icon on your home screen to open Settings.
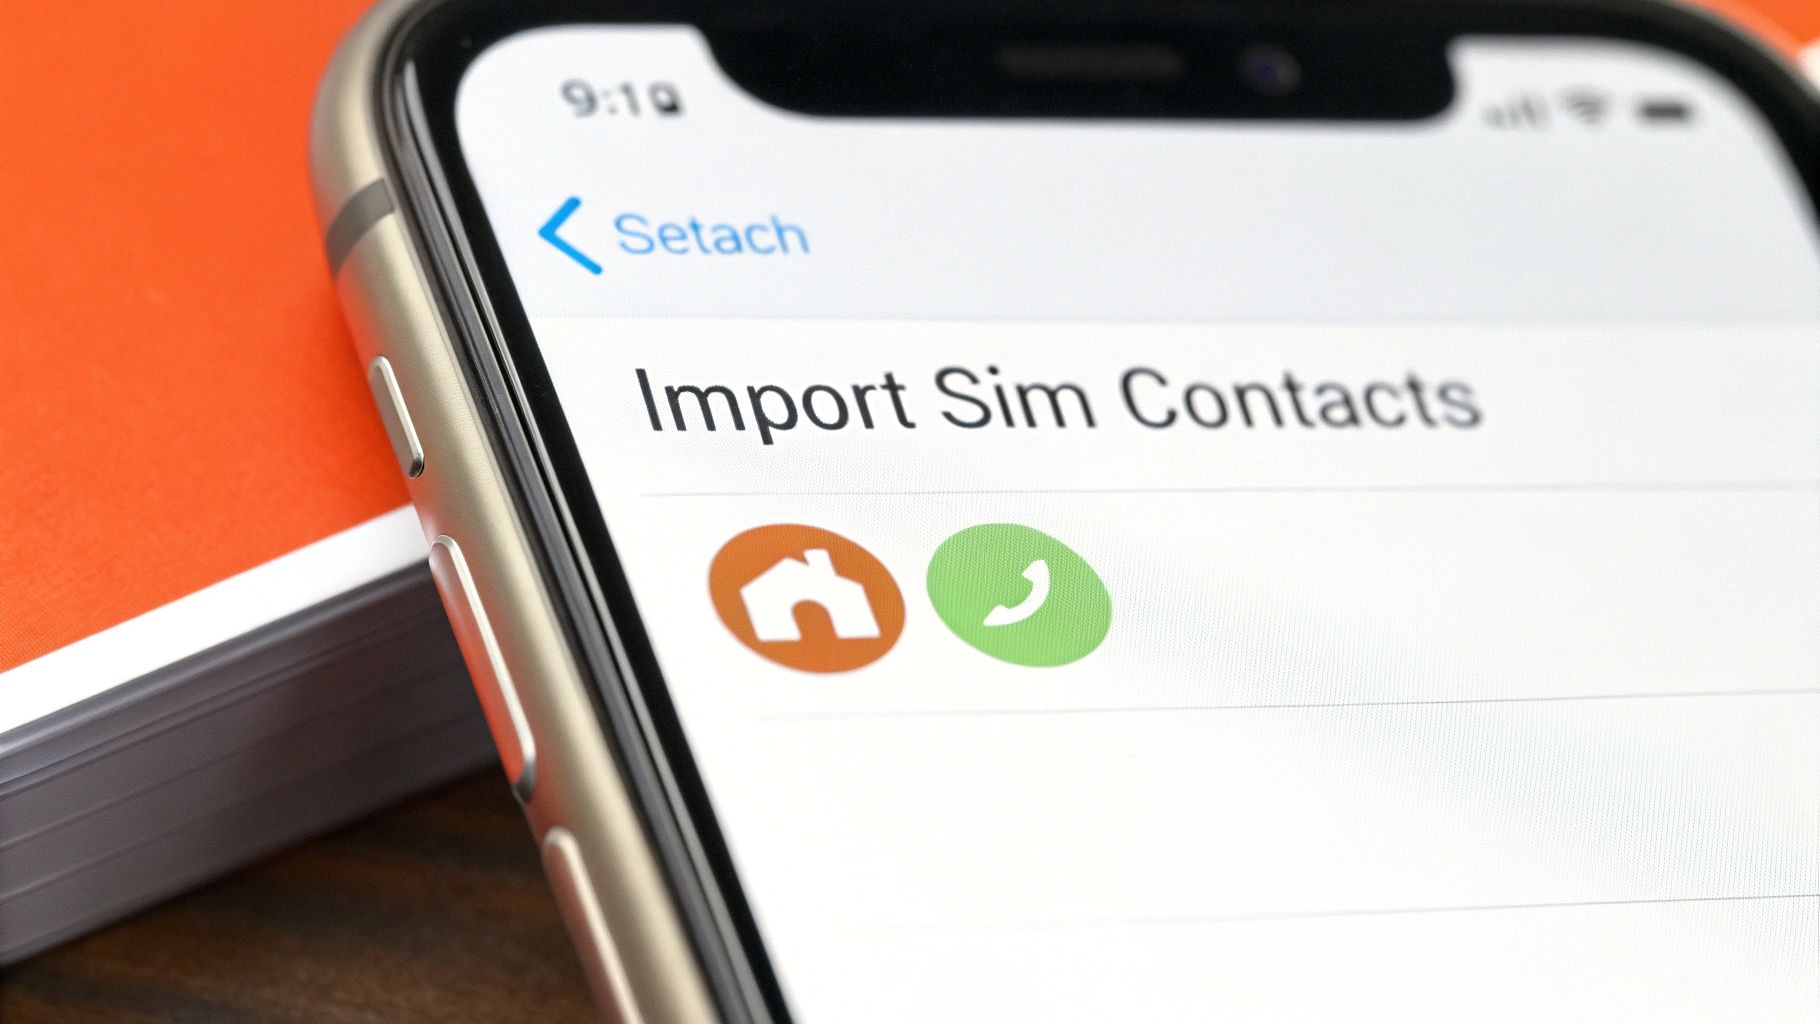
- Navigate to Contacts: Scroll down the list of settings until you find Contacts and tap on it.
- Initiate the Import: Tap the blue text that says Import SIM Contacts. This option will only be visible if your iPhone detects contacts on the inserted SIM card.
- Choose a Destination: Your iPhone will ask where you want to save the contacts. You’ll likely see options for iCloud and any other email accounts (like Gmail) you have set up.
- Practical Example: Let’s say you’re logged into both your personal iCloud and a work Gmail account. The prompt will let you choose. Selecting iCloud is best for personal use, as it syncs contacts across all your Apple devices. If these were strictly work contacts, you might choose Gmail.
That’s it! Your iPhone will copy the contacts from the SIM to your chosen account. The process is usually instant. To verify, open the Contacts app and you should see all your names and numbers.
This simple feature is a lifesaver, especially for people upgrading from older, non-smart devices. In a place like Nigeria, where many are making the jump to their first smartphone, this is often the very first thing they need to do. It’s a small detail, but with the Nigerian smartphone market expected to reach $10.54 billion by 2025, having a smooth transition is key. You can dig into more stats about Nigeria’s smartphone market growth on Statista.
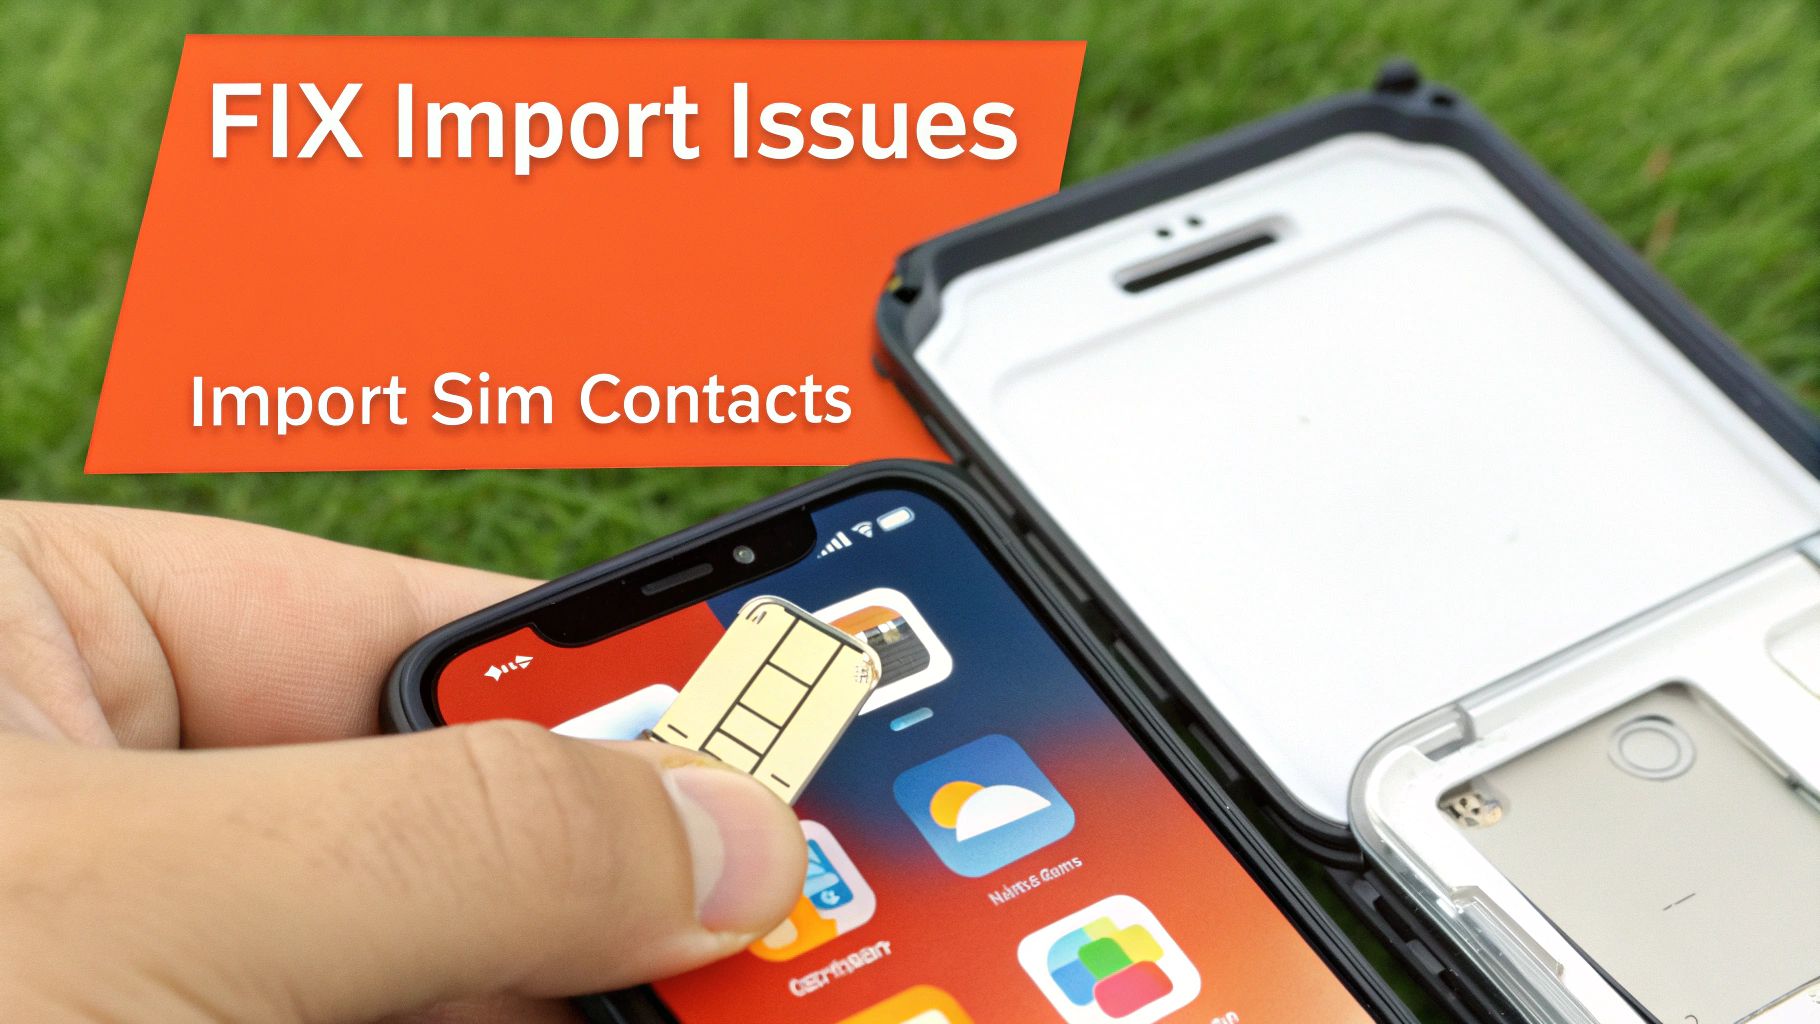
Tackling Common SIM Import Problems
Even a simple process can hit a snag. If you’ve tried to import your SIM contacts and it’s not working, don’t worry. Most of the time, the fix is quick and easy. The most common issue is the “Import SIM Contacts” button being greyed out or missing entirely. This means your iPhone can’t see the SIM card properly or detects no contacts on it.
What To Do When The Import Button Is Missing
Before you get frustrated, try the classic solution: a simple restart and reseat.
- Power Down: Completely shut down your iPhone.
- Reseat the SIM: Use a SIM ejector tool to pop open the tray.
- Inspect and Re-insert: Take the SIM card out, give it a gentle wipe with a soft cloth, and place it back in the tray. Make sure it clicks securely into place.
- Power Up: Turn your iPhone back on and navigate to Settings > Contacts. The import button should now be available.
If it’s still missing, the SIM card itself might be damaged, or the contacts were never saved to it from your old phone. A quick way to check is to put the SIM into another compatible phone and see if the contacts show up there.
Troubleshooting SIM Import Issues
Here’s a quick-reference table to help you solve the most common issues fast.
| Problem | Potential Cause | Actionable Solution |
|---|---|---|
| “Import SIM Contacts” is greyed out | iPhone isn’t detecting the SIM properly. | Power down the iPhone, remove and re-insert the SIM tray firmly, then restart. |
| No contacts appear after import | Contacts were never saved to the SIM. | Test the SIM in another phone to verify if contacts are actually on it. |
| Only some contacts imported | SIM card memory is full or data is corrupted. | Try importing again. If it fails, the SIM data may be unrecoverable. Use a cloud-based alternative if possible. |
| Contacts are duplicated | The same contacts exist on the SIM and in a synced account (e.g., iCloud). | Open the Contacts app, tap the “Duplicates Found” banner at the top, and choose to merge them in one click. |
| Can’t select an account to import to | You may be signed out of your iCloud or other accounts. | Go to Settings, sign in to your Apple ID, and ensure Contacts are enabled for iCloud sync. |
Occasionally, the problem is less about the SIM and more about your Apple account. If you’re stuck, our guide on how to get an Apple ID password has some helpful pointers.
Exploring Better Alternatives to SIM Transfer
Pulling contacts from a SIM card gets the job done, but it’s old-school tech. Think of it like a rolodex—it holds names and numbers, and that’s about it. If your contacts have photos, email addresses, birthdays, or notes attached, a SIM transfer will leave all that rich information behind.
Fortunately, there are far better ways to move your entire address book to your new iPhone, ensuring every last detail comes along for the ride.
Method 1: Sync with a Cloud Service (Recommended)
For a truly seamless and future-proof setup, syncing with a cloud service like Google Contacts or iCloud is the gold standard. This doesn’t just transfer your contacts; it keeps them constantly backed up and synchronized across any device you sign into.
How to Do It (from Android):
- On your old Android phone, go to Settings > Accounts and ensure your contacts are set to sync with your Google Account.
- On your new iPhone, go to Settings > Contacts > Accounts > Add Account.
- Select Google, sign in with the same account, and make sure the Contacts toggle is switched on.
- Your contacts will automatically appear in your iPhone’s Contacts app.
Method 2: Use a vCard File for a Manual Transfer
A vCard file (.vcf) is a universal digital business card that can bundle your entire contact list into a single file. It’s a great one-off solution.
How to Do It (from Android):
- On your old Android phone, open the Contacts app.
- Find the settings menu and look for an “Import/Export” option.
- Choose to Export to .vcf file.
- Email this
.vcffile to yourself. - Open the email on your new iPhone, tap the attachment, and choose Add All Contacts.
This method preserves much more detail than a SIM ever could. Beyond just contacts, it’s always a good idea to have a complete backup strategy. Learning how to back up your iPhone data to iCloud will save you a massive headache down the line.
Managing Your iPhone Contacts Like a Pro
So, you’ve pulled all your contacts over. Fantastic. But the job isn’t done if you want to keep that address book clean and accessible for the long run. A little organization now will save you a world of frustration later.
The most critical first step is to enable iCloud syncing. Think of it as your digital safety net. It automatically backs up all your contacts and makes them available on your iPad, Mac, or any new iPhone you get.
Fine-Tuning Your Address Book
With the import sorted, it’s time to tweak a few settings to keep things tidy. One of the best things you can do is set your default account for new contacts.
- Go to Settings > Contacts > Default Account.
- Select iCloud from the options.
This simple change ensures any new person you add goes straight to your cloud account, rather than being stuck locally on your phone. It’s a set-and-forget fix that makes a huge difference.
If you ever plan on selling or giving your phone away, proper data handling is non-negotiable. You’ll want to know how to totally wipe an iPhone to ensure your personal information is left behind.
Actionable Takeaways
- Enable iCloud Sync: Go to Settings > [Your Name] > iCloud and ensure the Contacts toggle is green. This is your best long-term backup.
- Set Your Default Account: In Settings > Contacts > Default Account, select iCloud to keep all new contacts stored safely in the cloud.
- Merge Duplicates: After importing, open the Contacts app. If duplicates are found, a banner will appear at the top. Tap it to merge them instantly.
- Use Cloud Sync for Future Transfers: For your next phone upgrade, sync with Google or iCloud instead of relying on a SIM card to preserve all contact details.
Tools & Resources
- iCloud Contacts: Manage and organize your contacts on the web. icloud.com/contacts
- Google Contacts: A powerful tool for managing contacts, especially if you’re coming from Android. contacts.google.com
Further Reading
- Apple Support: Official guide on moving content from Android to iPhone. Move from Android to iPhone, iPad, or iPod touch
- RichlyAI Blog: How to Change Email Password on iPhone
Ready to create compelling content, generate code, or automate your social media? Explore the powerful tools available at RichlyAI and see how our AI platform can transform your workflow. Visit us at RichlyAI Hub to get started for free.