
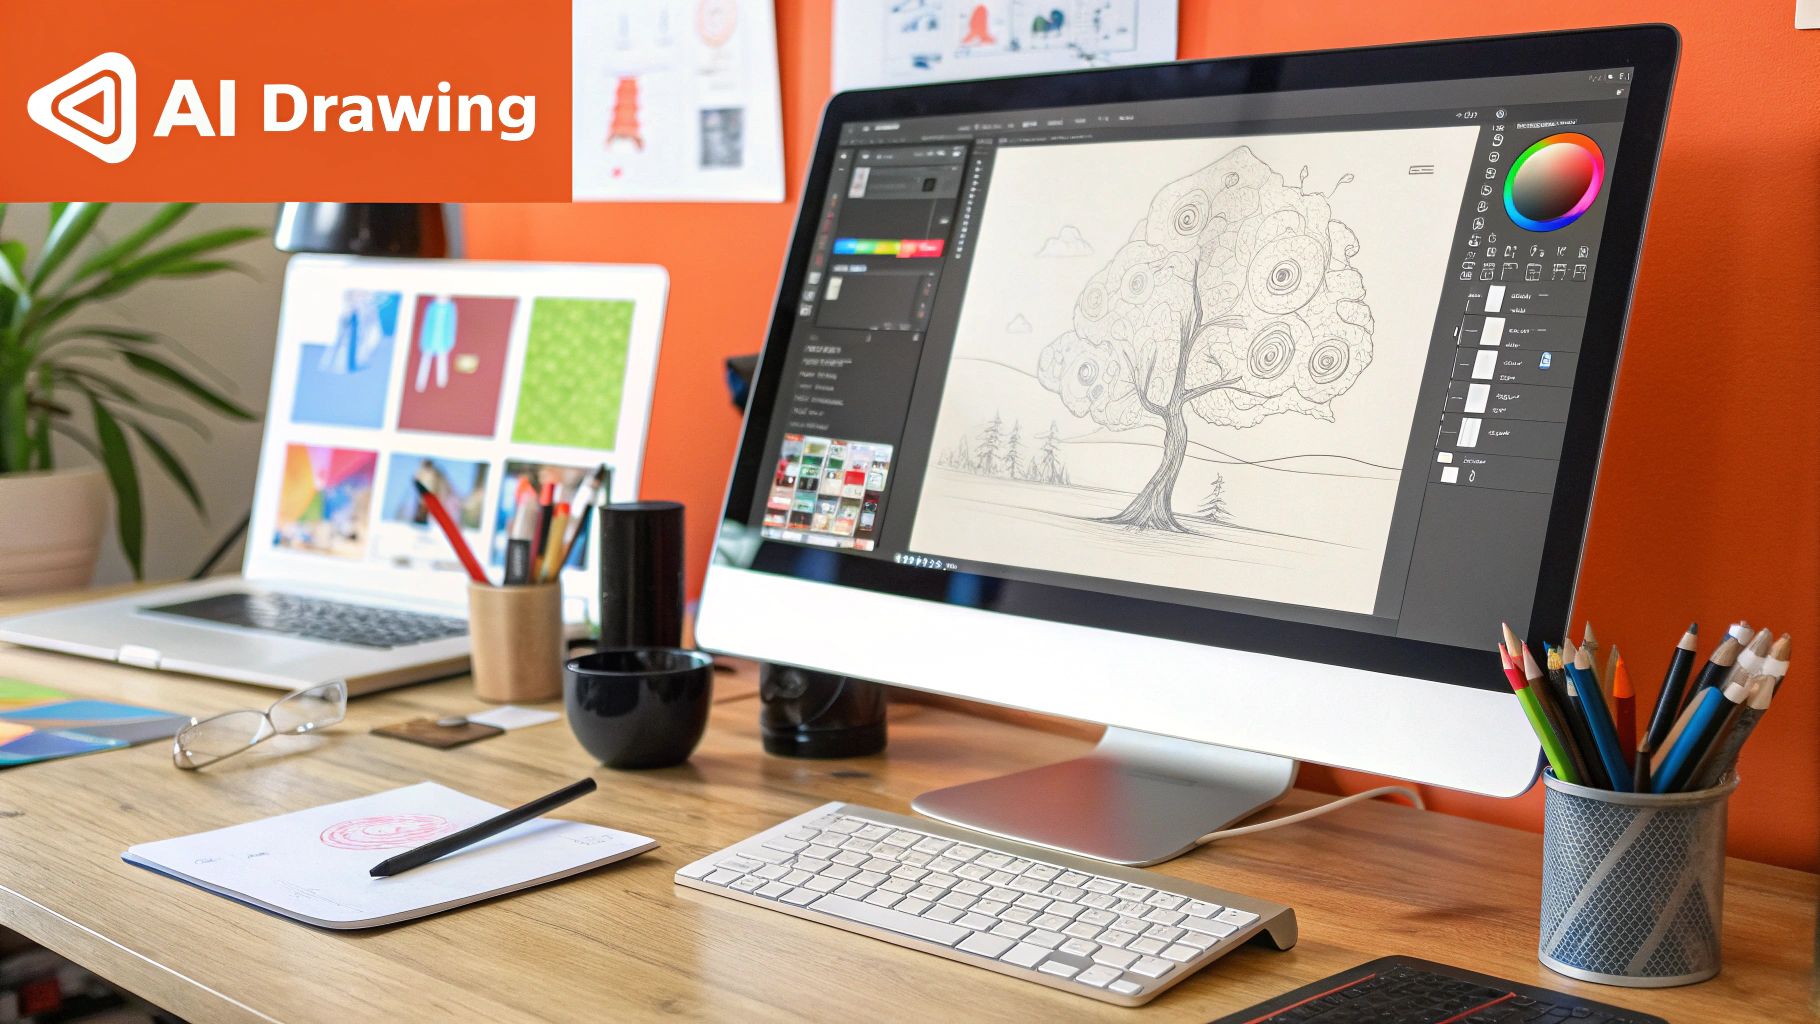
When we talk about artificial intelligence drawing, we aren’t talking about a robot with a paintbrush. Instead, imagine giving a simple text instruction, and a sophisticated algorithm—trained on billions of images—crafts a completely unique piece of art just for you.
It’s like having an impossibly fast artist on standby, one who has studied every artistic style throughout history and is ready to bring your ideas to life in seconds.
What Is Artificial Intelligence Drawing?
At its heart, AI drawing is a partnership between your imagination and a machine’s ability to execute. You supply the concept, and the AI does the heavy lifting of creating it visually. Think of it as your new creative partner. You describe a scene, and the AI model draws upon its vast internal library of concepts to translate those words into a picture.
This process is powered by complex systems called text-to-image models. These models aren’t just searching for images that match your words. They have learned the intricate connections between language and visual elements. When you type in a prompt, the model breaks it down and builds a brand-new image from the ground up, pixel by pixel.
From Words to Visuals: Your First Prompt
The magic starts when you write a descriptive “prompt.” This is the set of instructions you give the AI. A prompt can be as simple as “a lion,” but the best ones are rich with detail, guiding the AI toward a specific result.
Here’s a practical, step-by-step example of how to build a powerful prompt:
Let’s watch a simple idea evolve into a detailed instruction.
- Start with your core subject:
a fox - Add an action and a setting:
a fox reading a book in a cozy library - Define the artistic style and mood:
a fox reading a book in a cozy library, warm and inviting, digital painting - Add lighting and detail for a professional touch:
a fox reading a book in a cozy library, warm and inviting, digital painting, cinematic lighting, highly detailed
Each layer of detail you add gives you more control, refining the final image to better match your vision. You don’t need any coding skills or an art background. Your primary skill becomes communicating your ideas clearly and creatively.
If you’re curious about the bigger picture, you can learn more about what exactly AI-generated content is, as this technology extends far beyond just images.
The quality of your input directly dictates the quality of your output. The more specific and imaginative your prompt, the closer the AI will get to creating the image you envision.
Getting a feel for this relationship between your words and the AI’s creation is the first major step. Once you grasp that, you’re on your way to mastering this technology.
Key AI Drawing Concepts at a Glance
To help you get started, here’s a quick rundown of the essential ideas you’ll encounter when using AI art tools. Think of this as your cheat sheet for taking action.
| Concept | Simple Explanation | What You Do With It |
|---|---|---|
| Prompt | The text description you give the AI. | This is your main tool for controlling the final image. Action: Write detailed prompts to get better art. |
| Model | The specific AI system trained to create images. | Different models have unique styles (e.g., realistic, anime). Action: Choose a model that matches your desired aesthetic. |
| Negative Prompt | A list of things you don’t want in the image. | It helps you remove unwanted elements. Action: Use --no extra fingers, blurry background to clean up images. |
| Seed Number | A starting number for the image generation. | It lets you recreate an image exactly. Action: Use the same seed with the same prompt to generate consistent variations. |
| Sampling Steps | How many refinement steps the AI takes. | More steps can mean more detail. Action: Increase steps for higher detail, but expect longer generation times. |
| Resolution | The size and quality of the final image. | Higher resolution means a bigger, clearer picture. Action: Select a high resolution for images you plan to print or display large. |
These terms might seem technical at first, but you’ll get the hang of them as you start creating. They are the basic levers you’ll pull to steer the AI in the right direction.
How AI Models Actually Learn to Create Art
AI-generated art doesn’t just appear out of thin air. The process is built on intense training, where AI models are fed colossal datasets. You can think of an AI model as an apprentice artist that has spent countless hours studying millions, sometimes billions, of images and the text used to describe them. This is how it learns the subtle connections between a word like “forest” and all the visual elements that make up a forest—the trees, the dappled light, and the texture of bark.
This deep training is what allows the AI to develop a nuanced understanding of concepts. It learns to connect styles with objects and actions with settings, which is why it can generate entirely new images from scratch instead of just mashing existing ones together. The entire field is moving at a breakneck pace. The AI market in Southeast Asia, for example, is expected to climb to around US$8.22 billion in 2025 and keep growing to roughly US$33.29 billion by 2031, with generative AI being a major driver.
This concept map breaks down the fundamental link between the data an AI learns from and the art it ultimately creates.
As you can see, the quality and sheer variety of that initial training data are everything. It’s what gives the AI the ability to produce art that is both accurate and wildly imaginative. To get these incredible results, developers tend to rely on two main types of models.
GANs: The Artist and The Forger
One of the original powerhouse methods for AI art is the Generative Adversarial Network, or GAN. The easiest way to understand a GAN is to picture a duel between two separate AIs: one is the Generator (the forger), and the other is the Discriminator (the expert art critic).
- The Generator’s Mission: To create images so convincing that they completely fool the Discriminator.
- The Discriminator’s Mission: To tell the difference between the fakes from the Generator and real images from the training data.
This back-and-forth competition is the magic ingredient. Every time the Discriminator spots a fake, the Generator learns and refines its technique. After millions of rounds, the Generator gets so good that its creations can be virtually indistinguishable from real photos. For a deeper dive, check out this guide on how neural networks mimic the human brain.
Diffusion Models: The Digital Sculptor
Lately, though, Diffusion Models have taken over as the go-to technology behind popular tools like Midjourney and DALL-E 3. This approach works in a completely different way—think of it like a sculptor chipping away at a block of marble to reveal a statue hidden inside.
The process begins with a canvas of pure digital noise. Then, guided by your text prompt, the model starts a step-by-step refinement.
With each step, the AI gently removes some of the noise, gradually sculpting the chaos into a coherent and detailed image that aligns with your description. It’s like watching a blurry photograph slowly sharpen until every detail snaps into focus.
This methodical “denoising” is what allows Diffusion Models to achieve an astonishing level of detail and artistic flair. They are particularly brilliant at interpreting complex, abstract, and imaginative prompts, giving you immense creative control.
Actionable Takeaways
- Experiment with different AI tools. Some may use GANs, great for realism, while most newer platforms use Diffusion Models for creative flexibility.
- Refine your prompts iteratively. Build on your prompt piece by piece, just like the AI learns in steps, to zero in on the image you want.
- Embrace randomness for creativity. The initial noise in Diffusion Models means the same prompt can yield different results. Run it multiple times to explore variations.
- Use model-specific keywords. Some AIs respond better to “photorealistic” (a GAN strength), while others excel with “fantasy digital art” (a Diffusion Model specialty).
Choosing the Right AI Drawing Tool
With so many AI drawing tools available, picking the right one can feel overwhelming. The secret is to think about what you want to create. Are you after photorealistic portraits, cinematic landscapes, or quirky illustrations?
Every platform has its own personality and excels in different areas. Your choice will likely come down to balancing creative control, ease of use, and the specific look you’re going for. Some are incredibly simple, letting you jump right in through a web browser. Others offer a much deeper toolkit for those who love to tinker with every detail.
Let’s break down the top contenders to help you find the perfect match.
Comparing the Top Contenders
We’re going to look at the big three: Midjourney, DALL-E 3, and Stable Diffusion. Each has a different philosophy and attracts a different crowd.
- Midjourney: If you’ve seen stunning, painterly AI images online, they likely came from Midjourney. It’s a favorite among artists for its highly artistic and cinematic style. It runs through the chat app Discord, fostering an active community. Its outputs are known for a strong, polished aesthetic.
- DALL-E 3: This is OpenAI’s latest model. DALL-E 3 is fantastic at understanding long, complicated prompts with high accuracy. It’s built into tools like ChatGPT Plus and Microsoft Copilot, making it one of the most accessible options for getting high-quality results without a steep learning curve.
- Stable Diffusion: For tinkerers and those who want ultimate control, Stable Diffusion is the answer. As an open-source model, it offers maximum freedom. You can run it on your own computer (with a powerful graphics card), tweak it endlessly, and even train it on your own images. This power comes with complexity—it’s the most challenging to set up.
As you explore, you’ll find even more specialised tools, like an AI avatar creator designed specifically for generating unique profile pictures.
Here’s a practical look at the DALL-E 3 interface inside a chat conversation.
This screenshot shows how it can take a creative prompt—in this case, “An astronaut riding a horse in a photorealistic style”—and generate several distinct visual interpretations in seconds.
Making an Informed Decision
So, how do you choose? It boils down to what matters most to you. If you’re just starting, a simple interface is a top priority. If you’re a pro, you’ll want advanced controls.
Comparing Popular AI Art Generators
To make it easier, here’s a side-by-side look at leading AI drawing tools to help you find the best fit.
| Tool | Best For | Key Feature | Ease of Use |
|---|---|---|---|
| Midjourney | Highly artistic, stylised, and cinematic images. | Produces a distinct, polished aesthetic that often feels “epic.” | Intermediate (Requires Discord) |
| DALL-E 3 | Beginners and users who need to follow complex text prompts accurately. | Exceptional natural language understanding and prompt adherence. | Very Easy (Web/API) |
| Stable Diffusion | Maximum control, customisation, and open-source flexibility. | Can be run locally and trained on custom datasets for unique styles. | Difficult (Requires setup) |
Ultimately, the best advice is to dive in and experiment.
The best way to find your perfect tool is to experiment. Many platforms offer free trials or credits, giving you a chance to see which one “clicks” with your creative style before committing.
Actionable Takeaways
- For quick, high-quality results from text, start with DALL-E 3. Its integration with ChatGPT makes it incredibly powerful and simple to use.
- If you want artistic, cinematic visuals, try Midjourney. You’ll need to get comfortable with its Discord-based workflow, but the results are often worth it.
- For ultimate control and customisation, explore Stable Diffusion. This is the best path for technical users who want to build their own models or tweak every part of the image.
- Use free trials to your advantage. Test each platform to see which style and workflow feel most natural for you and your projects.
Creating Your First AI Masterpiece Step by Step
Ready to go from theory to practice? Let’s walk through the process of generating your first piece of AI art, showing you just how fast you can turn an idea into a stunning visual.
For this guide, we’ll use Midjourney, known for its high-quality, artistic results. It runs entirely through the chat app Discord.
https://www.youtube.com/embed/zf4z8A-OWBY
Step 1: Join the Midjourney Server on Discord
First, you need to get into the creative workspace on Discord, a free app for text and voice chat.
- Create a Discord Account: If you don’t have one, sign up on the Discord website.
- Join the Midjourney Beta: Go to the Midjourney website and click “Join the Beta.” This will send an invite to their official Discord server. Accept it.
- Find a “Newbies” Channel: Once in the server, look at the channel list on the left. You’ll see channels named
#newbie-21or#newbie-47. Pick any one of them to get started.
This is your digital studio. You’ll see a stream of images from other users, which is a great way to get inspired and learn how others write prompts.
Step 2: Write Your First Simple Prompt
Now you’re ready to give the AI its first instruction. In Midjourney, every command starts with /, and the main one you’ll use is /imagine.
- Click into the text box at the bottom of the newbie channel you joined.
- Type
/imagine. A small box will appear with “prompt” written in it. Click on that. - Inside the prompt box, type a simple description. Let’s start with:
a cat. - Hit Enter.
Midjourney will take a moment, and in about a minute, it will produce four unique image variations based on your prompt. You’ve just commanded an AI to create something new from your words.
Step 3: Refine Your Prompt with Details
A simple prompt is a great start, but the magic happens when you add descriptive detail. Let’s build a more powerful prompt, piece by piece:
- Subject: Instead of
a cat, trya photorealistic tabby cat sleeping. - Environment: Add a setting.
a photorealistic tabby cat sleeping in a sunbeam on a wooden floor. - Lighting & Mood: Define the feeling.
a photorealistic tabby cat sleeping in a sunbeam on a wooden floor, cinematic lighting, warm and cozy. - Technical Details: Add final touches for quality.
a photorealistic tabby cat sleeping in a sunbeam on a wooden floor, cinematic lighting, warm and cozy, detailed fur, 8k.
Now, run the /imagine command with this richer prompt. The difference in the results will be significant.
The core skill in AI art is learning to translate the image in your head into a vocabulary the AI understands. Each new word is like another brushstroke on the canvas.
This screenshot from the Midjourney community feed shows the varied and high-quality outputs possible.
Every one of these images started as a simple text prompt, proving the direct link between descriptive words and visual results.
Step 4: Upscale and Finalise Your Image
Once Midjourney delivers your grid of four images, you’ll see two rows of buttons underneath: U1, U2, U3, U4 and V1, V2, V3, V4.
- ‘U’ stands for Upscale. Clicking one of these (U1 is top-left, U2 is top-right) tells Midjourney to generate a larger, more detailed version of your favorite image.
- ‘V’ stands for Variation. Clicking a V button creates four new images similar in style to the one you selected. It’s perfect for when you’re close but not quite there.
To finish your piece, click the ‘U’ button for the image you like best. Midjourney will generate a final, high-resolution version you can save. Congratulations, you’ve just created your first AI masterpiece.
Actionable Takeaways
- Start Simple, Then Add Layers: Begin with a basic idea and progressively add details about style, lighting, and setting to steer the AI.
- Use the
/imagineCommand: This is your primary command for creating anything in Midjourney. - Learn from the Crowd: Watch the newbie channels to see what prompts others are using. It’s one of the fastest ways to learn.
- Upscale Your Favorite: Use the ‘U’ buttons to generate a high-resolution version of the best image from the initial grid.
- Experiment with Variations: If a concept is almost perfect, use the ‘V’ buttons to explore similar options without starting from scratch.
Mastering the Art of the Perfect Prompt
The secret to creating stunning AI drawings isn’t the tool—it’s how you talk to it. Learning to “speak its language” is what prompt engineering is all about. A great prompt feels less like a command and more like a detailed creative brief for a very literal-minded artist.
A well-crafted prompt is your blueprint. It’s what guides the AI to render the exact vision in your head. When you move beyond simple descriptions, you unlock a new level of creative control, dictating everything from artistic style to the specific camera lens used.
The Anatomy of a Powerful Prompt
Think of your prompt as a recipe. You don’t always need every ingredient, but combining them gives you a more precise result. Here’s a practical way to build a prompt from the ground up:
- Subject: Start with the main focus. Be specific. Instead of
a car, trya vintage 1967 red sports car. - Action & Environment: What is happening, and where? Build on it:
A vintage 1967 red sports car racing through a winding mountain pass at sunrise. - Style & Medium: Define the artistic feel. Is it a photo? A watercolor?
...in the style of an impressionist oil painting. - Lighting & Mood: Describe the atmosphere.
...dramatic morning light, long shadows, epic and adventurous mood. - Technical Details: Get granular with camera specs or quality.
...shot on 35mm film, detailed brushstrokes, 8k resolution.
The final prompt becomes: A vintage 1967 red sports car racing through a winding mountain pass at sunrise, in the style of an impressionist oil painting, dramatic morning light, long shadows, epic and adventurous mood, shot on 35mm film, detailed brushstrokes, 8k resolution. That level of detail is what separates a generic image from a masterpiece.
Advanced Techniques: Negative Prompts and Parameters
Once you’ve got the basics, you can use more advanced tools. One of the most useful is the negative prompt. This is where you tell the AI what you don’t want. It’s a powerful way to clean up common AI mistakes.
Practical Example: To avoid common issues, you might add --no blurry background, extra fingers, text to your prompt. This helps ensure you get a clean, focused image.
Another powerful technique is using parameters. These are short codes added to the end of your prompt to control technical aspects. For example, in Midjourney, you can use --ar 16:9 to set the aspect ratio to a widescreen format.
The goal of prompt engineering is to close the gap between the vision in your mind and the image on your screen. Every word is a tool to make that vision clearer for the AI.
Actionable Takeaways for Better Prompts
- Be Hyper-Specific: Vague prompts yield generic images. Use descriptive adjectives to give the AI clear instructions.
- Layer Your Details: Build your prompt by starting with the subject, then adding the environment, style, lighting, and technical specs.
- Use Negative Prompts: Tell the AI what to leave out (
--no text, ugly, watermark) to refine your work and avoid common errors. - Specify an Artist or Art Movement: Go beyond “painting.” Try
in the style of Van Goghor art movements likeCubismorSurrealism. - Control the “Camera”: Use terms like
shot on a Canon EOS 5D,35mm film, orwide-angle shotto influence realism and composition. - Set the Aspect Ratio: Use parameters like
--ar 16:9(widescreen) or--ar 2:3(portrait) to frame your image correctly from the start.
Where Is Creative AI Heading Next?
AI-powered drawing is graduating from a novelty to a foundational tool in the creative world. Professionals are weaving these systems into their work, not as replacements, but as powerful creative partners, fundamentally changing how we get from an idea to a finished piece.
Concept artists can now generate dozens of visual starting points for a new character in minutes—a task that once took days. Graphic designers can rapidly mock up campaign assets, speeding up production and freeing them to focus on high-level strategy. The work is shifting from manual execution to creative direction. Our guide on using AI for content creation digs into how essential these tools are becoming.
New Capabilities on the Horizon
The technology is giving creators far more precise control. We’re seeing new features that transform AI drawing from a simple generator into a sophisticated editing tool.
- Intelligent Inpainting: This lets you select a specific part of an AI-generated image—like a character’s face—and regenerate just that area with a new prompt. It’s surgical precision for making tweaks.
- Consistent Characters: A huge challenge has been getting the same character to appear consistently across different images. Newer models are finally cracking this with “character locking” features, which is massive for storyboarding or sequential art.
These updates represent a major leap forward, making AI a more practical partner for complex projects.
The Artist’s Role is Changing, Not Disappearing
As these tools get more powerful, the artist’s job is evolving. The future isn’t about AI taking over; it’s about augmenting human talent. The emphasis is shifting from technical drawing skill toward prompt engineering, curation, and the unique creative vision that only a person can bring.
This shift is accelerated by global innovation. Singapore’s National AI Strategy, launched in 2019, aims to become a world leader in AI solutions by 2030. This kind of focused investment builds the infrastructure that fuels creative AI development. You can read more about this in the overview of AI advancements in Southeast Asia.
The artist of the future is a creative director, guiding powerful AI systems to bring a vision to life. The most important skills will be imagination, taste, and the ability to articulate an idea clearly.
This new partnership empowers creators to think bigger, tackling projects that were once too time-consuming or technically demanding.
Actionable Takeaways
- Brainstorm with AI: Use image generators at the start of a project to create mood boards and explore visual directions quickly.
- Master Inpainting: Get comfortable with tools that have inpainting or “generative fill” features to refine and fix parts of your images.
- Think Like a Director: Shift your mindset from being the sole creator to being a curator who directs the AI’s output. Your vision matters most.
- Stay Updated on New Features: Follow updates from major AI models, as new capabilities like character consistency are rolling out all the time.
Got Questions About AI Drawing?
Diving into the world of AI art usually sparks a few questions. It’s a new frontier, after all. Let’s tackle some of the most common ones so you can start creating with confidence.
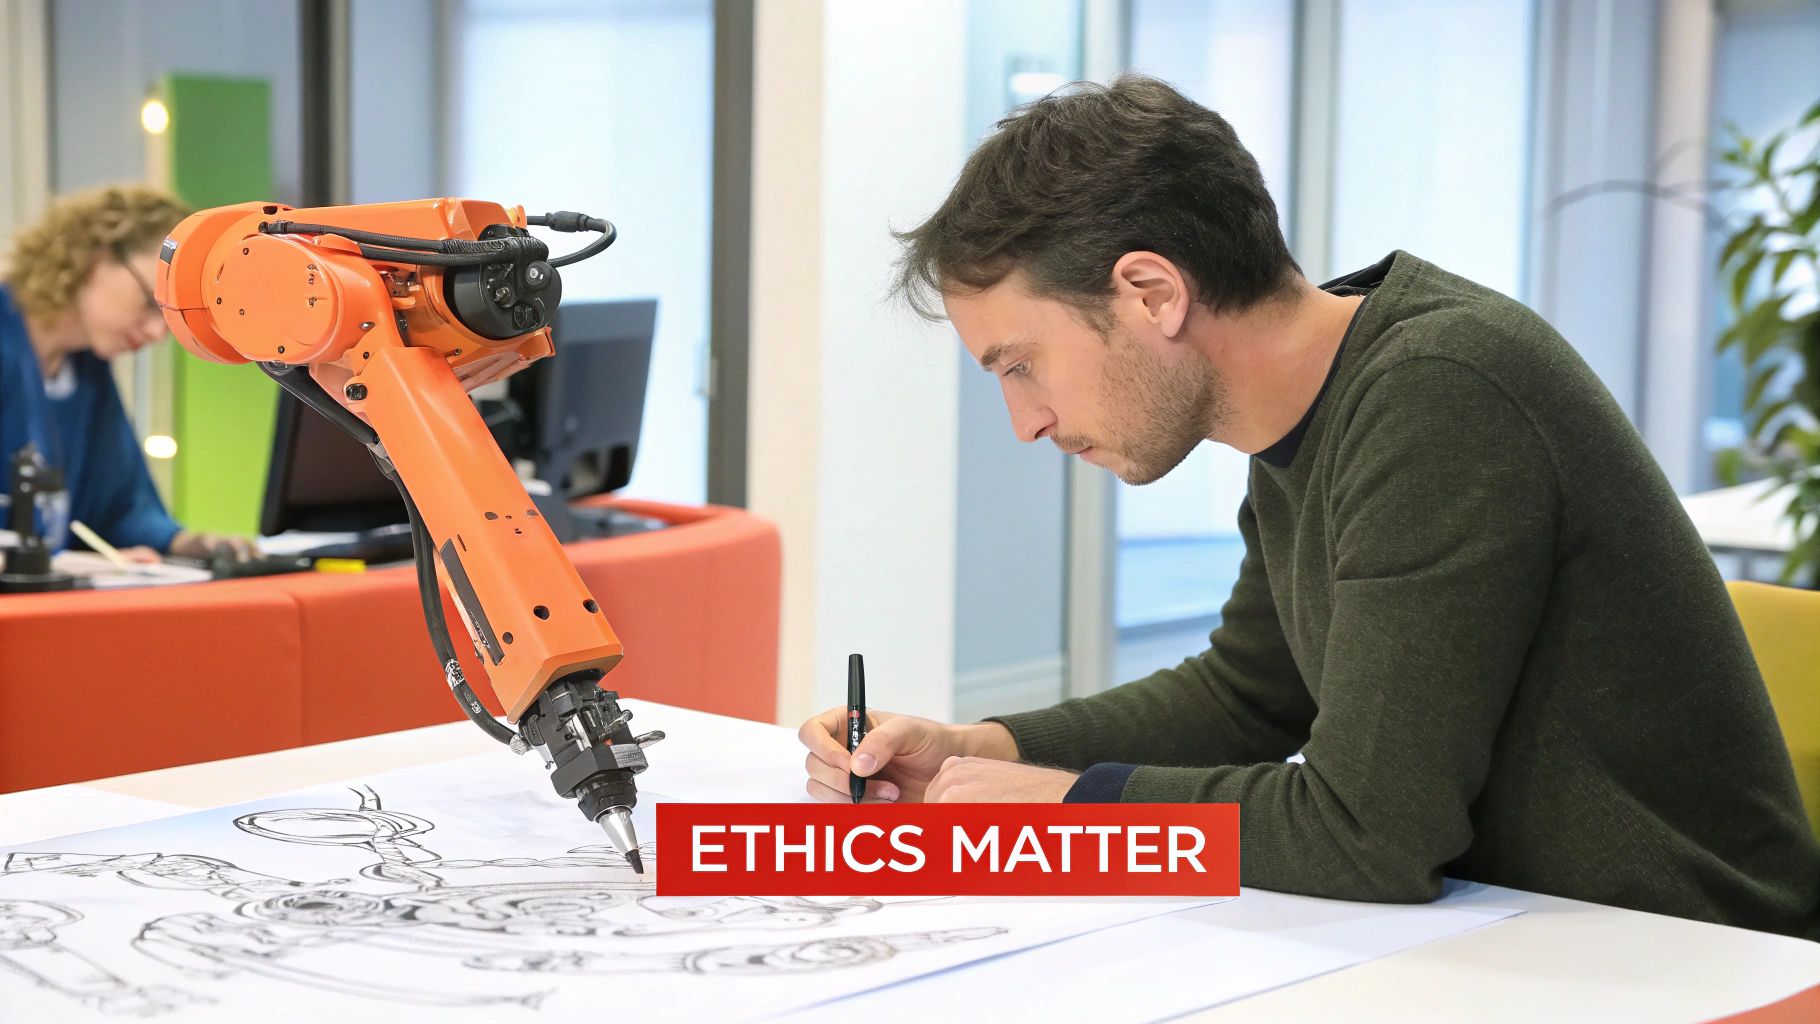
Can I Actually Use These Images for My Business?
Yes, but it depends entirely on the tool’s terms of service. You must read them.
For instance, a paid Midjourney subscription generally allows commercial use of the images you generate. However, free tools or other platforms might have stricter rules. The legal landscape for AI art is still evolving, so always check the terms of service before using an image commercially.
Think of it like stock photography—the license is everything. Always check the policy, as they are constantly being updated.
Do I Need to Be an Artist to Do This?
No, and that’s what makes this so exciting. You don’t need to know how to draw or paint. AI art tools empower everyone to create, regardless of their artistic background.
The skill here is about imagination and communication. Your talent lies in your ability to translate a vision into words. Crafting a descriptive prompt is the new art form.
Why Do My AI Pictures Look… Weird Sometimes?
The classic six-fingered hands and slightly-off faces! These quirks are a side effect of how AI learns, though they are becoming rarer. The AI learns from patterns across millions of images but can still get confused by things with a lot of variation, like human hands.
If you run into flaws, here’s what to do:
- Rerun the prompt: Simply trying again will often give you a better result.
- Use negative prompts: Add
--no extra fingers, distorted face, blurry handsto tell the AI what to avoid. - Use inpainting: Advanced tools have features where you can select the flawed area and have the AI regenerate just that section.
Actionable Takeaways
- Review the Terms of Service: Before using any AI-generated image for business, read the platform’s commercial use policy carefully.
- Focus on Prompting Skills: You don’t need to be a traditional artist. Invest your time in learning how to write clear, descriptive prompts to guide the AI.
- Iterate to Fix Flaws: Don’t settle for the first result. Rerun prompts, use negative prompts, and leverage inpainting tools to correct any strange artifacts.
- Start with Free Trials: Test different platforms to see which one’s style and workflow you prefer before committing to a subscription.
- Join a Community: Engage with user communities on platforms like Discord or Reddit to learn new techniques and get inspiration from other creators.
- Stay Curious: The technology is evolving rapidly. Keep learning about new features and models to stay at the forefront of creative AI.
Tools and Resources
- AI Art Generators: Midjourney, DALL-E 3 (via ChatGPT or Microsoft Copilot), Stable Diffusion.
- Community & Learning: Midjourney’s Discord server, Reddit communities like r/StableDiffusion.
- Prompting Guides: Websites like prompthub,
prompthero.comandllms.txtoffer inspiration and examples.
Further Reading
- Learn more about AI for content creation to see how this technology applies beyond images.
- Understand the underlying tech with this guide on how neural networks mimic the human brain.
- Explore the global impact with this overview of AI advancements in Southeast Asia.