
In today’s data-saturated world, the ability to quickly and accurately analyze large, complex datasets has become a decisive competitive advantage. Traditional analytics methods often struggle to keep up with the scale, speed, and variety of modern data. This is where Artificial Intelligence is transforming the landscape — automating data preparation, uncovering hidden patterns, and generating predictive insights at unprecedented speed and scale.
But with dozens of platforms promising smarter dashboards, automated insights, and AI-powered workflows, choosing the right solution can feel overwhelming. Finding the best AI tools for data analysis means looking beyond marketing claims and focusing on real capabilities, practical use cases, and how well each tool fits your team’s workflow.
That’s exactly what this guide delivers.
In this updated 2026 edition, we provide a comprehensive, hands-on review of 13 of the best AI tools for data analysis available today — from enterprise-grade platforms like Azure Machine Learning and Amazon SageMaker to specialized analytics workspaces and modern AI-native solutions. Each tool is evaluated based on real-world usefulness, not hype.
For every platform, you’ll find:
- Practical examples — how the tool solves real business problems.
- Key feature breakdowns — what makes it different.
- Pros and cons — strengths and limitations at a glance.
- Actionable takeaways — quick ways to get started.
- Screenshots and direct links — so you can see each tool in action.
- Tools & resources — for deeper exploration.
Our goal is simple: help you confidently compare options and choose the right platform to turn raw data into clear, strategic, and actionable insights.
1. Amazon SageMaker (AWS)
Amazon SageMaker is a comprehensive, fully managed platform from AWS designed for building, training, and deploying machine learning (ML) models at scale. It’s not just a single tool but an entire ecosystem that provides data scientists and developers with everything needed to take a project from initial concept to full production deployment. For teams already invested in the AWS cloud, SageMaker is a natural and powerful extension, making it one of the best AI tools for data analysis within an enterprise context due to its scalability and deep integration.
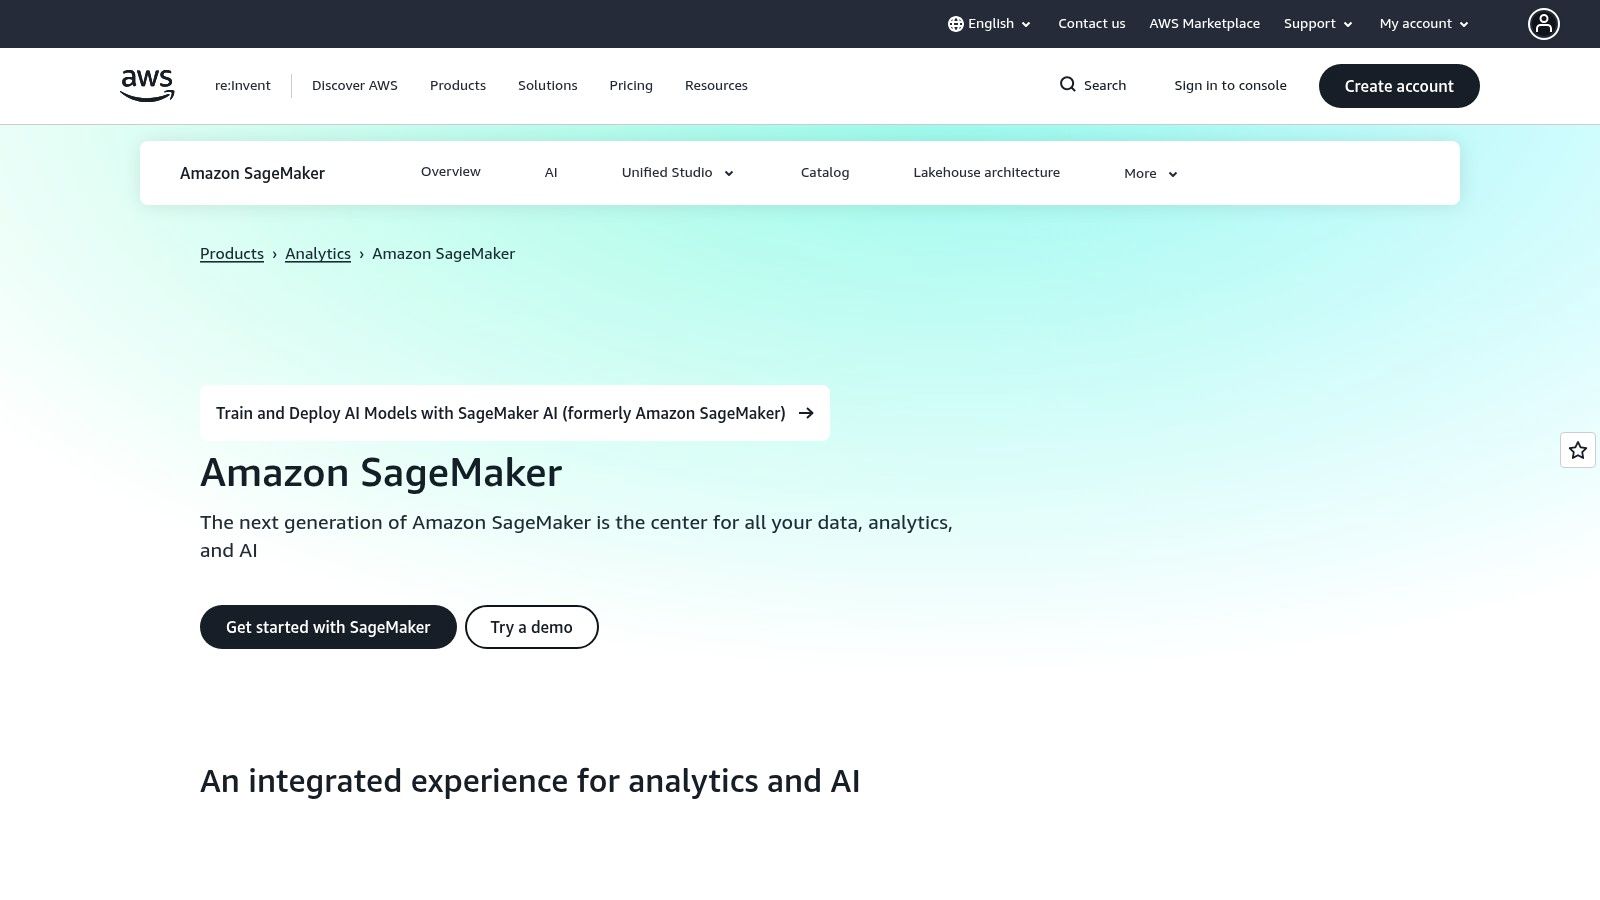
Its strength lies in its integrated SageMaker Studio, which combines a JupyterLab-based notebook environment with tools for data preparation, experiment tracking, and model debugging. This unified experience streamlines the entire ML workflow, from exploratory data analysis to production monitoring, eliminating the need to stitch together disparate services.
Practical Example: Building a Churn Prediction Model
A common business use case is predicting customer churn. Here is a step-by-step guide on how to implement this using SageMaker.
- Prepare Data: Use SageMaker Data Wrangler to connect to customer data in an Amazon S3 bucket. Visually apply transformations like one-hot encoding for categorical features and normalization for numerical ones. Export the processed data back to S3 as a feature-engineered dataset.
- Train Model: Launch a SageMaker Studio Notebook. Using the SageMaker Python SDK, point to the S3 location of your training data.
- Launch Training Job: Instead of running the training on the local notebook instance, instantiate a SageMaker Estimator for a built-in algorithm like XGBoost. Call the
.fit()method to launch a managed SageMaker Training Job on a dedicated compute instance. SageMaker handles provisioning the infrastructure, running the training script, and tearing it down after completion. - Deploy Endpoint: Once the model is trained, deploy it with a single command:
xgb_predictor = xgb.deploy(initial_instance_count=1, instance_type='ml.m5.large'). This creates a real-time, auto-scaling HTTPS endpoint for live predictions.
Core Features & Pricing
| Feature | Description |
|---|---|
| SageMaker Studio | An integrated development environment (IDE) for the entire ML workflow, from notebooks to deployment. |
| MLOps & Governance | Tools for building automated model pipelines, tracking lineage, and managing model versions in a central registry. |
| One-Click Deployment | Simplifies deploying models to scalable endpoints for real-time or batch inference. |
| AWS Integration | Native connectivity with AWS data sources like S3, Redshift, Glue, and Kinesis. |
Pricing: SageMaker follows a pay-as-you-go model. Costs are broken down by component (e.g., notebook instance usage, training job duration, endpoint hosting), which offers flexibility but requires careful cost monitoring. AWS provides a free tier for initial exploration.
Pros and Cons
- Pros: Unmatched scalability and integration within the AWS ecosystem. Robust security, governance, and MLOps capabilities for enterprise-grade applications. Consumption-based billing provides fine-grained cost control.
- Cons: The complexity and sheer number of features can present a steep learning curve, especially for users new to AWS. The granular pricing structure, while flexible, can be difficult to forecast and manage without dedicated oversight.
Actionable Takeaways
- Start with Studio Notebooks: Use the familiar Jupyter environment to begin your exploratory data analysis.
- Leverage Data Wrangler: For initial data prep, use the visual interface to quickly clean and transform your dataset without writing boilerplate code.
- Use Built-in Algorithms: For common tasks like classification (XGBoost) or forecasting (DeepAR), start with SageMaker’s optimized, built-in algorithms to get a baseline model quickly.
Tools & Resources
- Platform Link: Amazon SageMaker
- Further Reading: AWS SageMaker Examples on GitHub – A repository of example notebooks.
2. Google Cloud Vertex AI
Google Cloud Vertex AI is a unified machine learning platform that streamlines the process of building, deploying, and scaling ML models. It provides a managed environment for the entire data analysis and machine learning lifecycle, from data preparation to production monitoring. For organizations already leveraging Google Cloud services like BigQuery and Google Cloud Storage, Vertex AI offers seamless integration, making it one of the best AI tools for data analysis due to its powerful data tooling and access to Google’s state-of-the-art models.
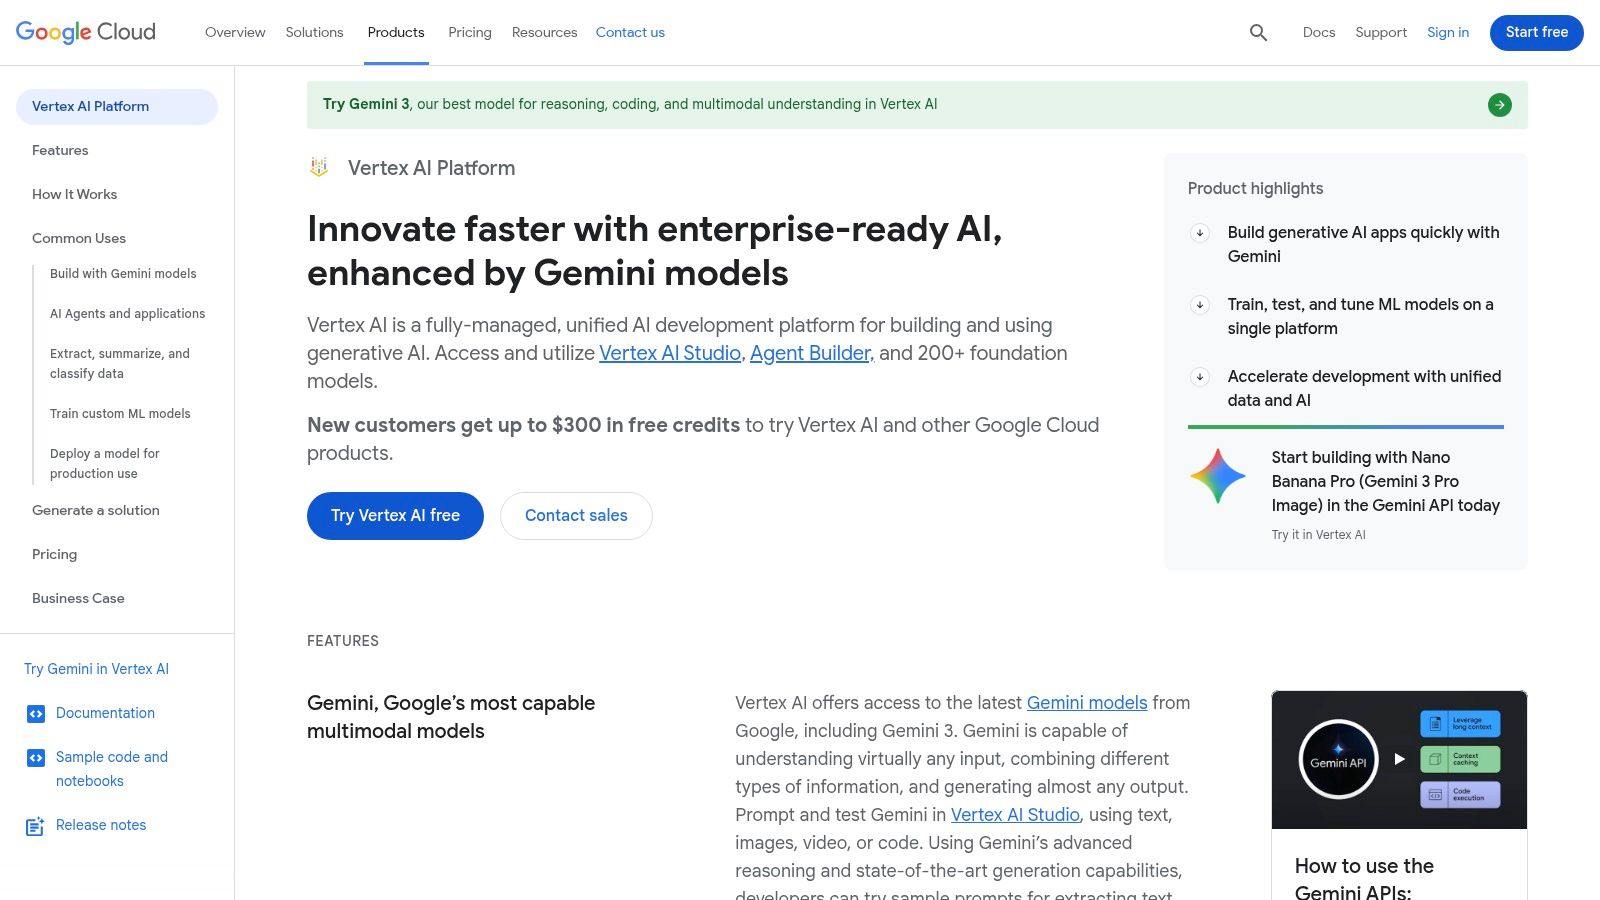
Its key differentiator is the deep integration with Google’s broader data and AI ecosystem, including direct access to the Gemini family of multimodal models through its Model Garden. This allows analysts and data scientists to move from large-scale data processing in BigQuery to sophisticated model training and deployment within a single, cohesive platform.
Practical Example: Creating a Product Recommendation System
A retail company can use Vertex AI to build a real-time product recommendation engine. Here’s a simplified process.
- Prepare Data: Connect directly to historical sales data stored in BigQuery. Use a Vertex AI Workbench (a managed Jupyter notebook environment) to explore and preprocess the data using SQL and Python libraries without moving it.
- Train with AutoML: In the Vertex AI console, navigate to “Training” and create a new AutoML training job for recommendations. Select your BigQuery table as the data source and specify the user, item, and event type columns.
- Launch Training Job: Configure the model objective (e.g., “Predicted Rating”) and budget (number of node hours for training). Start the training job. Vertex AI manages the underlying infrastructure, performs feature engineering, and tunes hyperparameters automatically.
- Deploy Endpoint: After training completes, find the finished model in the “Models” section. Click “Deploy to Endpoint,” give it a name, and deploy. This creates a scalable, low-latency API that the company’s e-commerce site can call to get personalized product recommendations for users in real-time.
Core Features & Pricing
| Feature | Description |
|---|---|
| Vertex AI Workbench | Managed Jupyter notebook environment for interactive data exploration and model development. |
| Model Garden & Gemini | A central repository of foundation models, including Google’s Gemini, for tasks like summarization and chat. |
| BigQuery Integration | Train models directly on data in BigQuery using SQL commands, minimizing data movement. |
| Vertex AI Pipelines | A serverless MLOps tool for orchestrating and automating ML workflows using Kubeflow Pipelines. |
Pricing: Vertex AI employs a granular, pay-as-you-go pricing model where you pay for specific services used (e.g., training hours, prediction requests, notebook uptime). Google offers a generous free tier that includes a certain amount of monthly runtime resources.
Pros and Cons
- Pros: Unparalleled integration with Google Cloud data services, especially BigQuery. Access to cutting-edge Gemini models and a comprehensive Model Garden. Mature and powerful MLOps tooling for automation.
- Cons: The component-based pricing can be complex to predict and manage without careful monitoring. Some features and pricing models can vary significantly by region, requiring extra attention during setup.
Actionable Takeaways
- Explore the Model Garden: Before building a custom model, check the Model Garden for a pre-trained foundation model (like Gemini) that can solve your problem with simple prompting.
- Train in BigQuery ML: If your data is already in BigQuery, use BigQuery ML to train models with simple SQL queries, which is faster for analysts.
- Use Vertex AI Pipelines for Automation: For recurring tasks, define your workflow as a pipeline to automate data prep, training, and deployment.
Tools & Resources
- Platform Link: Google Cloud Vertex AI
- Further Reading: Google Cloud AI Samples on GitHub – Code samples and tutorials for Vertex AI.
3. Querio
Querio.ai is an AI-native analytics workspace that helps teams explore live warehouse data using natural language while keeping every result grounded in real, inspectable SQL and Python. It blends AI-assisted query generation with a governed context layer so metrics remain consistent and trustworthy. This makes it a strong fit for teams that want faster insights without sacrificing transparency or control.
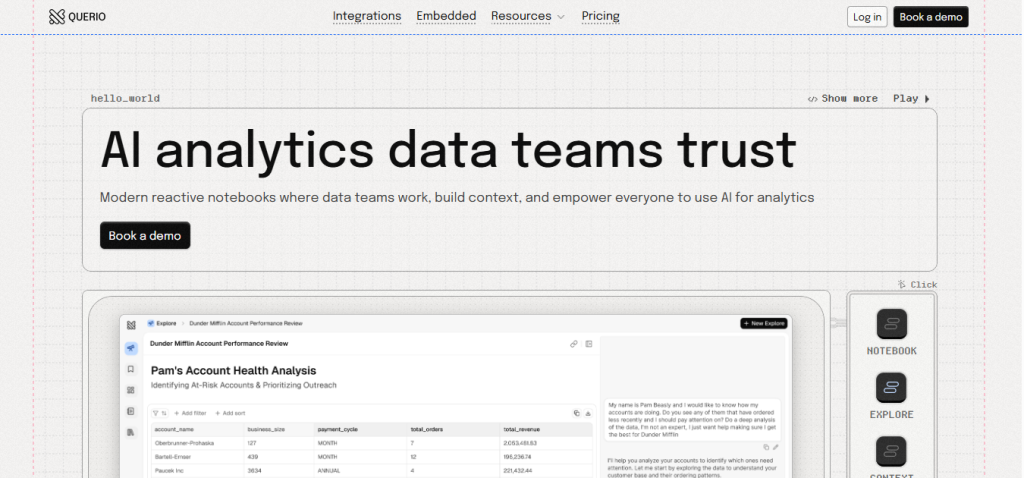
Its core differentiator is its use of reactive notebooks as the system of record for analytics work. All analysis runs as SQL and Python inside notebooks, where logic and business context accumulate naturally as teams work. Querio stores this logic as versioned, governed context, which AI agents then use directly when generating queries or answering questions. This approach allows AI to operate within established data team standards instead of acting as a black box. Querio is a strong choice for organizations that need AI data analysis without sacrificing correctness or governance.
Practical Example: Enabling Self-Service Analytics on Warehouse Data
A common use case is enabling non-technical teams to ask questions of warehouse data while keeping data teams in control. Data teams start by working in Querio notebooks connected directly to their data warehouse. They write SQL and Python to define metrics, joins, and transformations, storing this logic as reusable context over time.
Core Features
| Feature | Description |
|---|---|
| Reactive Analytics Notebooks | SQL and Python notebooks for exploratory and production analytics work |
| Governed Context Layer | Versioned logic and metrics that AI agents and users share consistently. |
| Natural Language Analytics | AI-assisted query generation that produces real, inspectable code. |
| Live Warehouse Connectivity | Direct querying of production data without extracts or duplication. |
Pros and Cons
- Pros: Strong alignment with existing data team workflows. Transparent AI behavior grounded in real code. Supports both exploratory analysis and downstream analytics delivery.
- Cons: Code-first approach may be less suitable for teams looking for fully no-code BI experiences. Requires some SQL or Python familiarity to set up governed context effectively.
Actionable Takeaways
- Use notebooks as the primary place to define and evolve business logic.
- Let AI operate on top of existing context rather than generating standalone queries.
- Share or embed analytics directly from the same notebooks used by data teams.
Tools & Resources
- Platform: Querio
- Blog: Querio Blog
4. Microsoft Azure Machine Learning
Microsoft Azure Machine Learning is a cloud-based service for building, training, deploying, and managing machine learning models at scale. As a core part of the Microsoft Azure ecosystem, it is designed for enterprises seeking robust, compliant, and integrated AI solutions. It caters to a wide spectrum of users, from data analysts using its no-code visual interface to data scientists leveraging its code-first notebooks, making it one of the best AI tools for data analysis for teams embedded in the Microsoft stack.
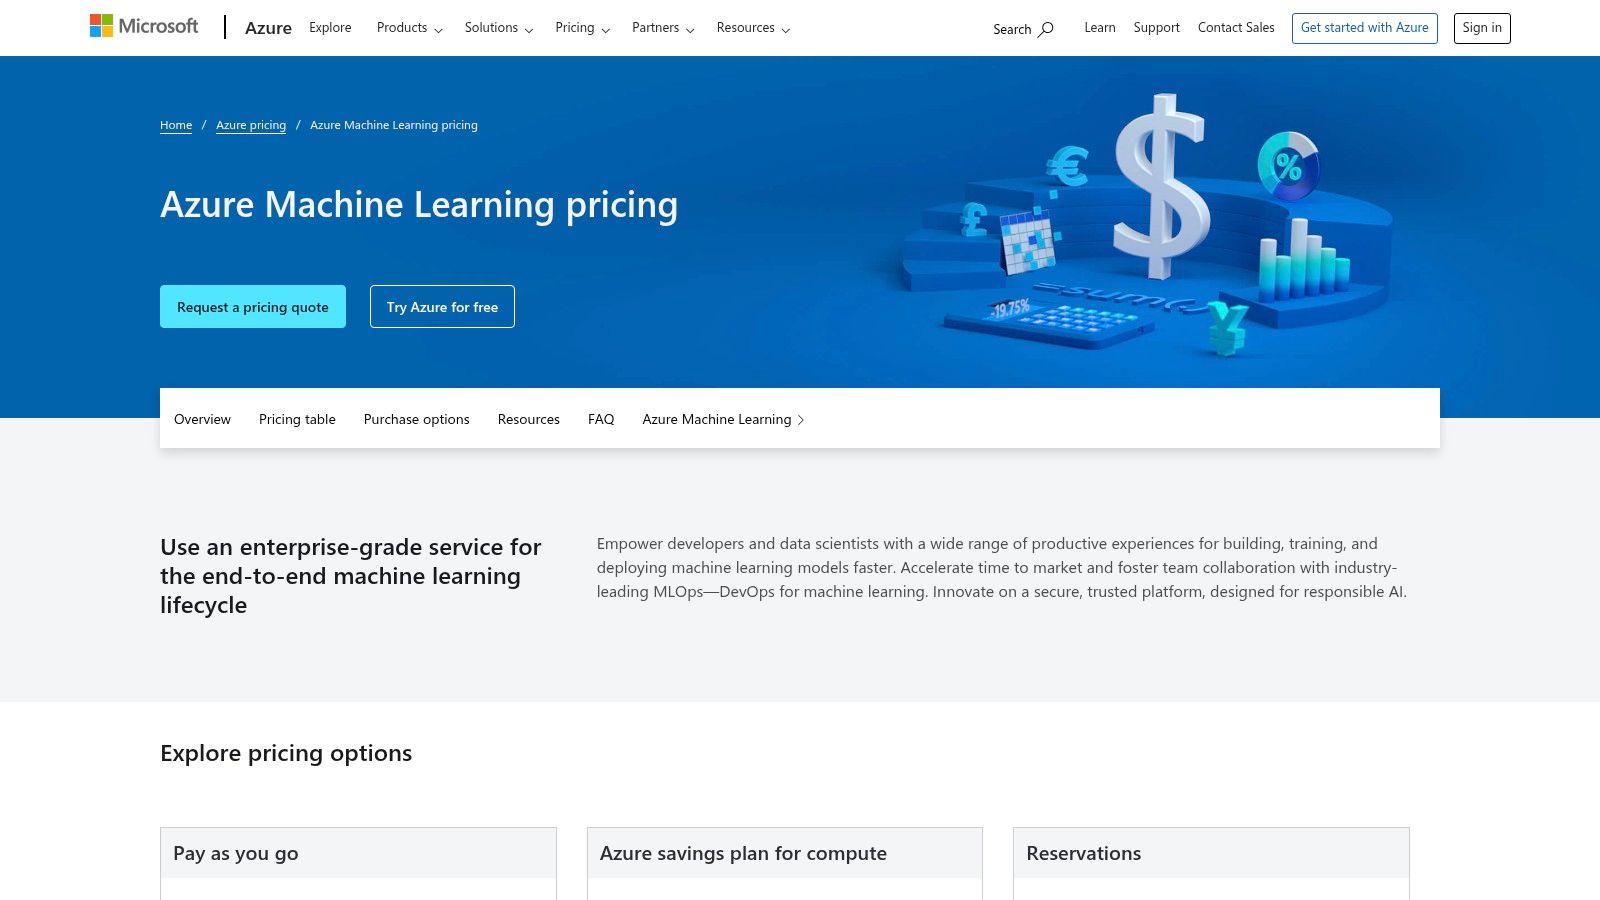
Its key differentiator is its flexibility, offering both the Azure Machine Learning Designer for drag-and-drop, no-code model building and a comprehensive notebook environment for code-first development. This dual approach allows cross-functional teams to collaborate effectively.
Practical Example: Developing a Price Recommendation Engine
A retail company wants to build an engine to recommend optimal prices for its products. An analyst can use the no-code Designer.
- Connect Data: In the Azure ML workspace, create a new dataset by connecting to sales and product data stored in Azure Blob Storage.
- Model Visually: Open the Azure ML Designer. Drag the dataset onto the canvas. Add modules like “Select Columns in Dataset” to pick relevant features, “Clean Missing Data” to handle nulls, and “Split Data” to create training and testing sets. Connect them in a logical flow.
- Train with AutoML: Drag the “Linear Regression” model from the algorithm library and connect it to the training data. Connect the “Train Model” module, selecting the price column as the label.
- Deploy as an Endpoint: After running the pipeline, right-click the trained model and select “Create inference pipeline” -> “Real-time inference pipeline”. Run this new pipeline and then click “Deploy” to create a managed online endpoint. This provides a REST API that the company’s e-commerce platform can call for dynamic pricing.
Core Features & Pricing
| Feature | Description |
|---|---|
| Designer & Notebooks | Offers both a no-code, visual drag-and-drop interface and a code-first Jupyter Notebook environment. |
| AutoML & Responsible AI | Automates model selection and provides built-in dashboards to assess model fairness, and explainability. |
| Managed Endpoints | Simplifies deployment and scaling for both real-time (online) and batch inference scenarios. |
| Azure & GitHub Integration | Native integration with Azure data services, Azure DevOps, and GitHub for streamlined MLOps. |
Pricing: Azure Machine Learning follows a consumption-based model where you pay for the underlying Azure compute and storage resources you use (e.g., virtual machines for training, storage for data). There are no additional licensing fees for the service itself. Options like Azure savings plans can reduce compute costs.
Pros and Cons
- Pros: Excellent enterprise-grade security, governance, and compliance features. Flexible for both no-code and code-first users. Strong MLOps capabilities through native Azure and GitHub integration.
- Cons: The pricing model, tied to underlying resource usage, requires careful planning and monitoring to control costs. To leverage its full potential, a good understanding of the broader Azure ecosystem is highly recommended.
Actionable Takeaways
- Try the Designer First: For standard data analysis tasks, start with the no-code Designer to quickly build a baseline workflow.
- Use AutoML for Benchmarking: Run an Automated ML experiment to see what model types perform best on your data before committing to a specific algorithm.
- Integrate with Power BI: Use the native Power BI connector to visualize your dataset or the predictions from a deployed model.
Tools & Resources
- Platform Link: Microsoft Azure Machine Learning
- Further Reading: Azure ML Examples on GitHub – Official code samples, tutorials, and templates.
- Reference: For a broader overview of the field, see AI and machine learning.
5. Databricks Data Intelligence Platform (Lakehouse)
The Databricks Data Intelligence Platform is a unified, open-source-based platform that combines data engineering, analytics, business intelligence, and machine learning. Built on the “lakehouse” architecture, it merges the flexibility of data lakes with the performance of data warehouses, making it one of the best AI tools for data analysis for organizations wanting a single source of truth for both data and AI on any major cloud (AWS, Azure, GCP).
Its core strength is the unification of data and AI workflows. Instead of moving data between separate systems, teams can perform all tasks on a single platform using collaborative notebooks. This is powered by Delta Lake, an open-source storage layer that brings reliability to big data, and Unity Catalog, which provides centralized governance.
Practical Example: Training a Sales Forecasting Model
A retail company wants to forecast sales for the next quarter. Here’s how to do it in Databricks.
- Ingest & Prep Data: Create a new notebook. In the first cell, use Spark SQL to create a Delta Lake table from raw sales CSV files:
CREATE TABLE sales_data AS SELECT * FROM csv./path/to/sales/files/“. In subsequent cells, use PySpark DataFrames to clean data, aggregate daily sales, and engineer features like moving averages. - Model Training with MLflow: Enable MLflow autologging with
mlflow.autolog(). Train a forecasting model (e.g., using theprophetlibrary) inside anwith mlflow.start_run():block. MLflow will automatically log the model’s parameters, metrics, and artifacts. - Collaborate & Review: Share the notebook with a senior data scientist. They can add comments directly to cells, run the code themselves, and visualize results using Databricks’ built-in plotting functions.
- Deploy & Serve: In the MLflow UI, find the best run and register the model in the MLflow Model Registry. From there, it can be deployed as a batch job to score new data daily or served via a Databricks Model Serving endpoint for real-time predictions.
Core Features & Pricing
| Feature | Description |
|---|---|
| Collaborative Notebooks | Real-time, multi-language notebooks (Python, SQL, R, Scala) for collaborative data science and engineering. |
| Delta Lake & Unity Catalog | An open-format storage layer with reliability and a unified governance solution for data and AI. |
| Integrated MLflow | End-to-end MLOps tool for tracking experiments, packaging code, and deploying models. |
| GenAI Tooling | Features for building and deploying generative AI and large language model (LLM) applications. |
Pricing: Databricks uses a pay-as-you-go model based on Databricks Units (DBUs) consumed per second, with different rates for various workloads (e.g., data engineering, data science). It offers committed-use discounts and multiple pricing tiers (Standard, Premium, Enterprise).
Pros and Cons
- Pros: Unifies data and AI workflows on a single, open-format platform. Strong MLOps, governance, and lineage capabilities with MLflow and Unity Catalog. Multi-cloud support offers flexibility.
- Cons: Can be complex to configure and optimize for teams new to Spark and distributed computing. Costs can escalate quickly with continuously running clusters if not managed carefully.
Actionable Takeaways
- Use SQL for initial exploration: Leverage Databricks SQL to quickly query and visualize your data before diving into complex transformations.
- Enable MLflow Autologging: Add one line of code (
mlflow.autolog()) to automatically capture experiment details, saving significant manual effort. - Schedule Notebooks as Jobs: For recurring analyses, convert your notebook into an automated job with just a few clicks in the UI.
Tools & Resources
- Platform Link: Databricks
- Further Reading: Databricks Labs on GitHub – Open source projects and tools from Databricks.
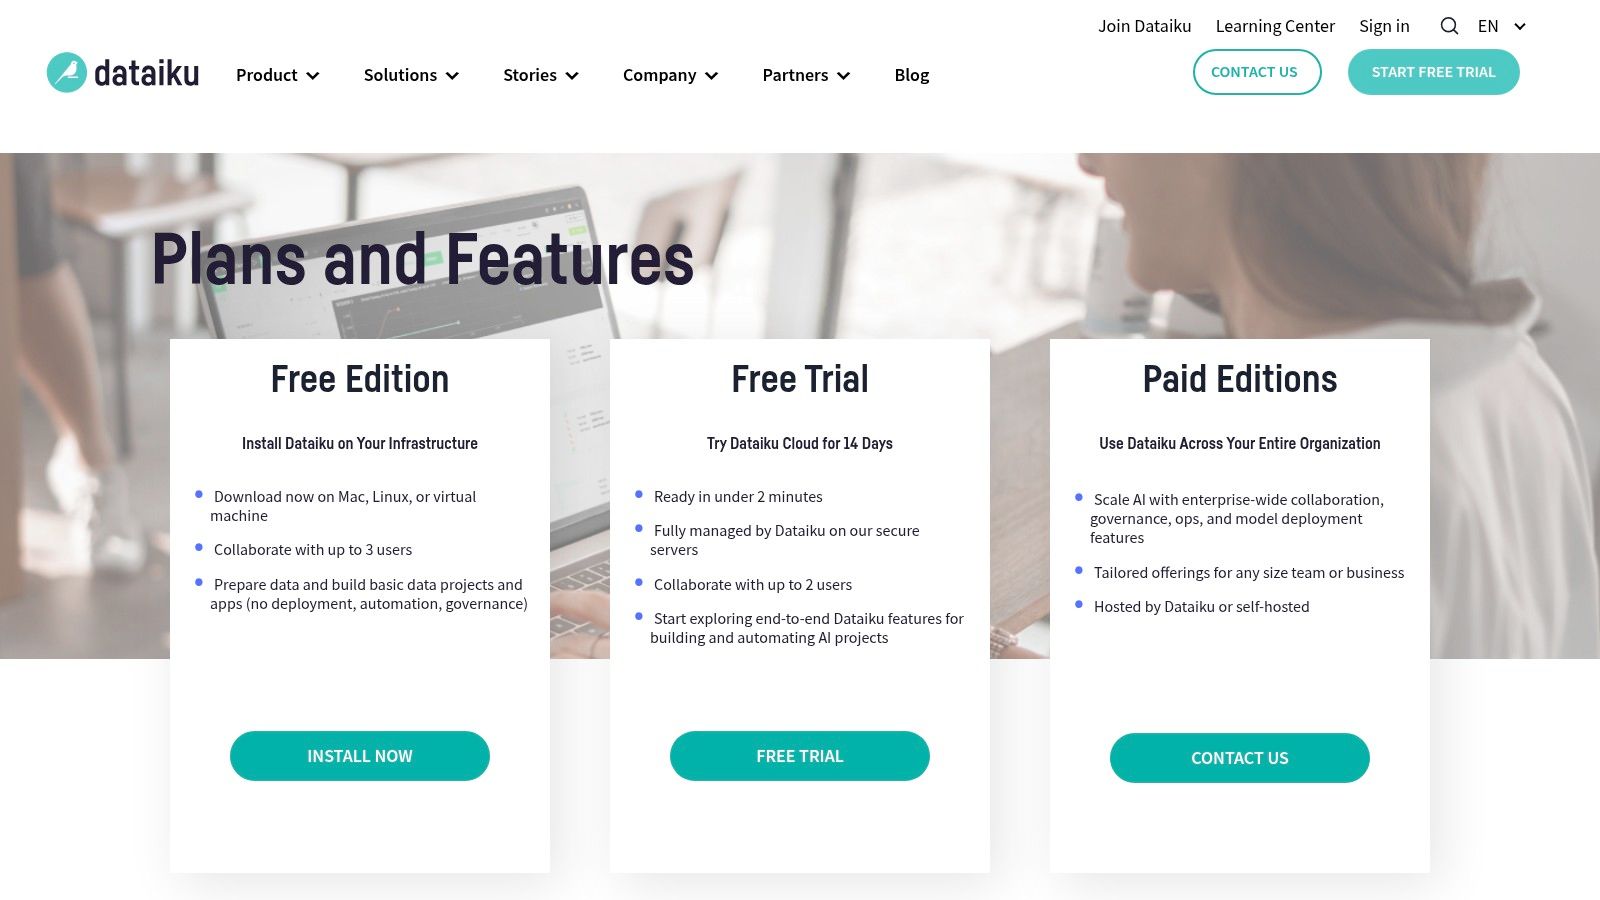
6. Dataiku
Dataiku is a centralized and collaborative data science platform designed to bridge the gap between business analysts and expert data scientists. It offers a unique hybrid environment where users can choose between visual, no-code workflows and code-first development using Python or R notebooks. This flexibility makes it one of the best AI tools for data analysis in organizations aiming to democratize data science, enabling cross-functional teams to work together within a single, governed platform.
Its core strength lies in its visual flow, which maps out every step of a project from data ingestion to model deployment. Non-technical users can use pre-built Visual Recipes for common tasks like joining or filtering data, while data scientists can drop into a code notebook at any stage.
Practical Example: Creating a Customer Segmentation Model
A marketing team can use Dataiku to segment its customer base for targeted campaigns.
- Prepare Data: In the Dataiku Flow, click to add a new dataset and connect to a source (e.g., Snowflake). Select the dataset, then click the “Prepare” recipe from the Actions panel. In the visual interface, click on column headers to add steps like “Remove rows” where a value is empty or “Parse date” to standardize formats. All without writing any code.
- Build Model: Select the cleaned dataset, then click the “Lab” button and choose “AutoML” -> “Prediction”. Select your target variable, choose “Clustering” as the model type, and click “Train”. Dataiku automatically trains and compares several models (like K-Means), presenting the results in an easy-to-understand dashboard.
- Collaborate: A data scientist reviews the visual flow, opens the clustering model, and adds a Python code recipe after the “Prepare” step to perform more advanced feature engineering, improving the model’s accuracy.
- Deploy & Automate: The final flow is deployed to the Automation node. Set a trigger (e.g., “run every Monday”) to automate the entire pipeline, refreshing the customer segments and pushing the results to a marketing tool via an API.
Core Features & Pricing
| Feature | Description |
|---|---|
| Visual Flow | A collaborative, drag-and-drop interface mapping the entire data pipeline from raw data to a final model. |
| Code & No-Code Hybrid | Seamlessly integrates visual recipes (no-code) with code-based notebooks (Python, R, SQL) for maximum flexibility. |
| AutoML | Guided, automated machine learning for building, evaluating, and explaining predictive models. |
| Enterprise Governance | Centralized project management, version control, and security features designed for large-scale team collaboration. |
Pricing: Dataiku offers a free, downloadable edition for individual use. The fully managed Dataiku Cloud has a 14-day free trial. Enterprise-level features for deployment and governance are available in paid tiers, which require contacting their sales team for custom pricing.
Pros and Cons
- Pros: Excellent user-friendly interface that successfully bridges the gap between technical and non-technical users. Strong collaboration and governance features are ideal for enterprise-wide adoption. Flexible hybrid approach supports diverse skill sets.
- Cons: The full enterprise feature set is locked behind paid plans that require a sales process. The self-hosted version can have a heavier infrastructure footprint, making it overkill for very small, simple projects.
Actionable Takeaways
- Start with Visual Recipes: For any data prep task, begin with the visual “Prepare” recipe. Only switch to a code recipe if you hit a limitation.
- Use the “Statistics” Tab: Before building a model, explore your dataset using the built-in worksheets to check for correlations and outliers.
- Build a Reusable Flow: Design your first project as a modular flow that can be adapted for future analyses, saving time later.
Tools & Resources
- Platform Link: Dataiku
- Further Reading: Dataiku Academy – Free, self-paced courses and tutorials.
7. Alteryx (Designer Cloud/Analytics Cloud)
Alteryx is a powerful analytics automation platform designed to empower business analysts and data professionals with a no-code/low-code approach to data preparation, blending, and analysis. It excels at democratizing complex data tasks through its intuitive drag-and-drop interface, making it one of the best AI tools for data analysis in organizations aiming for rapid time-to-value. By abstracting away complex coding, Alteryx allows users to build sophisticated workflows efficiently.
The platform’s strength lies in its visual workflow canvas, where users chain together tools to perform specific functions. Recent additions like the AI Copilot and automated insights features further accelerate the analytics process by providing intelligent suggestions and generating narratives from data.
Practical Example: Building a Sales Forecasting Workflow
A retail analyst needs to create a quarterly sales forecast by combining data from Salesforce, an internal SQL database, and a local Excel file.
- Connect & Blend Data: Drag three Input Data tools onto the canvas. Configure the first to connect to Salesforce, the second to the SQL database via ODBC, and the third to the Excel file. Drag a Join tool and connect the outputs from the Salesforce and SQL tools, configuring the join on a common “ProductID” field.
- Prepare Data: Connect a Filter tool to remove records outside the relevant date range. Add a Formula tool to create a new “Total_Sale” column by multiplying
[Price]by[Quantity]. - Perform Analysis: From the “Predictive” tool palette, drag the ARIMA time series forecasting tool onto the canvas. Configure it to use the “Total_Sale” field as the target and set the forecast period to 90 days.
- Automate & Share: Add an Output Data tool to write the forecast results to a Tableau
.hyperfile. Save the workflow and upload it to Alteryx Server, where it can be scheduled to run automatically every week.
Core Features & Pricing
| Feature | Description |
|---|---|
| Visual Workflow Canvas | Intuitive drag-and-drop interface for building data preparation and analysis pipelines. |
| Data Connectivity | Broad support for connecting to cloud databases, applications (e.g., Salesforce), and local files. |
| AI Copilot & Insights | AI-assisted features that suggest next steps, automate data profiling, and generate insights. |
| Deployment Options | Available as a desktop application (Designer) or a fully managed cloud platform (Analytics Cloud). |
Pricing: Alteryx offers a free trial for its Designer Cloud. Full pricing for advanced editions and enterprise deployments is available upon request through their sales team and is generally considered a premium investment.
Pros and Cons
- Pros: Extremely fast time-to-value for business users and analysts. Excellent for complex data blending and preparation tasks. Strong governance and automation capabilities.
- Cons: The cost of advanced editions can be a significant investment, especially at scale. While it has predictive capabilities, it is more focused on analytics and data prep than building custom, complex ML models from scratch.
Actionable Takeaways
- Use the “Browse” Tool Everywhere: After each step in your workflow, add a “Browse” tool to inspect the state of your data. This makes debugging much easier.
- Annotate Your Workflows: Use the “Comment” tool to label different sections of your workflow (e.g., “Data Input,” “Data Cleaning”). This makes them easier for others (and your future self) to understand.
- Start with a Template: Explore the starter kits and templates in Alteryx to see best practices for common tasks like market basket analysis.
Tools & Resources
- Platform Link: Alteryx
- Further Reading: Alteryx Community – A very active user community with forums and weekly challenges.
8. RapidMiner by Altair (AI Studio)
RapidMiner, now part of Altair’s AI Studio, is a visual data science platform renowned for its low-code, drag-and-drop interface. It empowers teams with diverse skill sets to build end-to-end data analysis workflows, from data preparation and modeling to deployment, without writing extensive code. For organizations aiming to democratize data science, RapidMiner stands out as one of the best AI tools for data analysis by bridging the gap between business analysts and expert data scientists.
Its core strength is the visual workflow designer, where users connect “operators” (pre-built blocks for tasks like data cleansing or applying algorithms) to construct complex data pipelines. Its Auto Model feature automates the process of algorithm selection and hyperparameter tuning, making predictive modeling accessible to non-experts.
Practical Example: Creating a Lead Scoring Model
A marketing team wants to score new leads based on their likelihood to convert.
- Connect Data: From the Operators panel, drag the “Read CSV” operator onto the main process canvas. In the Parameters panel, point it to your historical lead data file.
- Prepare Data: Drag and connect a “Select Attributes” operator to choose the key features. Next, connect a “Filter Examples” operator to remove irrelevant records (e.g., test leads). Finally, connect an “Impute Missing Values” operator and configure it to fill empty fields with the average.
- Build Model with AutoML: Connect the output of your prep steps to the Auto Model operator. In the setup wizard, select the target variable (“Converted”). Auto Model will automatically test various models like Logistic Regression and Decision Trees, perform feature engineering, and present the best-performing pipeline.
- Deploy: Once the best model is identified, drag a “Store” operator to save it to the RapidMiner repository. From there, it can be deployed on a RapidMiner Server to score new incoming leads in real time via a REST API endpoint.
Core Features & Pricing
| Feature | Description |
|---|---|
| Visual Workflow Designer | A drag-and-drop interface for building data prep, modeling, and validation pipelines without code. |
| Auto Model | Automated machine learning capabilities that test and optimize multiple models to find the best performer. |
| Extensive Operator Library | Hundreds of pre-built operators for data access, cleansing, modeling, and text mining. |
| Flexible Deployment | Options to deploy models on-premises with RapidMiner Server or in the cloud for scalable inference. |
Pricing: Altair offers a free version for desktop use with certain limitations. Enterprise pricing for server and cloud deployments typically involves term licenses and requires contacting sales for a custom quote.
Pros and Cons
- Pros: Highly intuitive visual interface lowers the barrier to entry for data science. A mature and extensive library of operators covers most common data analysis tasks. Strong for teams with a mix of technical and business users.
- Cons: Enterprise licensing can be a significant investment compared to pay-as-you-go cloud services. The ecosystem of third-party integrations is smaller than those of major cloud platforms like AWS or Google Cloud.
Actionable Takeaways
- Explore the “Samples” Repository: The platform comes with dozens of pre-built example processes. Open one related to your problem to see a working example.
- Use Building Blocks: Save parts of your process (like your standard data cleaning steps) as “Building Blocks” to reuse them in future projects.
- Check Model Explainability: After using Auto Model, explore the “Model Simulator” and “Explain Predictions” tabs to understand why your model is making certain predictions.
Tools & Resources
- Platform Link: RapidMiner by Altair
- Further Reading: Altair Community – Forums for asking questions and sharing solutions.
9. IBM watsonx.ai
IBM watsonx.ai is an enterprise-grade studio for building, training, and deploying both traditional machine learning and generative AI models. It distinguishes itself by focusing heavily on governance, compliance, and trust, making it a powerful platform for organizations in regulated industries. For data teams needing a unified environment that handles everything from predictive analytics to sophisticated large language model (LLM) applications with full lifecycle management, watsonx.ai is one of the best AI tools for data analysis.
The platform combines a collaborative studio with access to IBM’s proprietary models alongside a curated selection of open-source foundation models. Its integrated tools, like the Prompt Lab for tuning generative AI prompts and robust features for Retrieval-Augmented Generation (RAG), empower teams to build context-aware AI applications securely.
Practical Example: Enhancing Customer Support with a RAG Chatbot
An analyst can use watsonx.ai to build a chatbot that answers questions based on internal company documents.
- Prepare Data: Create a project in watsonx.ai. Upload a knowledge base of product manuals and support articles to the associated IBM Cloud Object Storage.
- Generate Embeddings: Use a watsonx notebook to run a script that chunks the documents into smaller pieces, generates vector embeddings for each chunk using a pre-trained model, and stores them in a vector database.
- Build RAG Application in Prompt Lab: Go to the Prompt Lab and select a foundation model (e.g.,
granite-13b-chat). In the UI, enable the “Retrieval Augmented Generation” toggle. Connect it to your vector database and configure the retrieval prompt template. - Test and Deploy: Interactively test the chatbot’s responses against sample queries in the Prompt Lab. Once satisfied, save the prompt as an asset and deploy the application as a scalable API endpoint using the Watson Machine Learning service for integration into the company website.
Core Features & Pricing
| Feature | Description |
|---|---|
| Foundation Model Library | Access to a curated set of IBM and open-source models for generative AI tasks. |
| Prompt Lab & Tuning Studio | Tools for interactively developing, testing, and fine-tuning prompts and models. |
| MLOps & Governance | Integrated tools for model lifecycle management, monitoring, and ensuring compliance. |
| Synthetic Data Generator | Create high-quality tabular data for training models when real-world data is scarce or sensitive. |
Pricing: IBM offers a tiered plan including a free trial. The paid plans (Essentials and Standard) operate on a pay-as-you-go model based on “Resource Units,” which are consumed by different activities like model inference (tokens) and compute usage (GPU hours).
Pros and Cons
- Pros: Strong emphasis on enterprise-level governance, security, and compliance. Provides a hybrid environment for both classic ML and cutting-edge generative AI. Access to a broad catalog of foundation models.
- Cons: The pricing structure based on Resource Units and multiple usage metrics can be complex to forecast and manage. Feature availability and specific pricing can differ depending on the geographic region.
Actionable Takeaways
- Experiment in the Prompt Lab: This is the fastest way to test foundation models and see how they perform on your specific tasks without writing code.
- Use the Synthetic Data Generator: If your dataset is small or has privacy concerns, use this tool to create a larger, privacy-safe tabular dataset for model training.
- Check Model Cards for Governance: Before using any model, review its “Model Card” to understand its intended use, limitations, and fairness metrics.
Tools & Resources
- Platform Link: IBM watsonx.ai
- Further Reading: A deeper look into the IBM watsonx.ai platform.
10. Snowflake AI (Cortex AI, Cortex Analyst, Snowflake ML)
Snowflake AI extends the Snowflake Data Cloud with a suite of integrated AI and ML capabilities, designed to bring analytics directly to your governed data. Rather than exporting data, Snowflake allows organizations to build and deploy AI applications within its secure environment. This makes it one of the best AI tools for data analysis for businesses already leveraging Snowflake, as it eliminates data movement and simplifies security, governance, and operations.
Its core strength comes from Snowflake Cortex AI, a fully managed service that provides access to large language models (LLMs) and serverless functions for inference. This allows analysts to perform tasks like sentiment analysis or summarization using simple SQL functions.
Practical Example: Conversational Data Querying
A business analyst needs to understand last quarter’s sales trends but isn’t a SQL expert.
- Access Data: Log into the Snowflake UI where their company’s sales data is already stored and governed.
- Use Cortex Analyst: Open Cortex Analyst, the conversational text-to-SQL interface.
- Ask a Question: In the chat box, type a natural language query like,
"Show me the top 5 products by revenue in North America for Q2 2024." - Get Insights: Cortex Analyst translates the question into a SQL query, executes it against the data, and returns a table of results. The analyst can then ask follow-up questions like,
"What was the week-over-week growth for the top product?"to drill down further.
Core Features & Pricing
| Feature | Description |
|---|---|
| Cortex AI Functions | Serverless LLM functions callable via SQL for tasks like text summarization, sentiment analysis, and translation. |
| Cortex Analyst | A conversational, text-to-SQL experience that allows users to query data using natural language. |
| Snowpark ML | Python libraries for end-to-end ML model development, training, and deployment within Snowflake’s environment. |
| Integrated Governance | AI and ML workloads inherit Snowflake’s robust security, governance, and role-based access controls. |
Pricing: Snowflake AI operates on a consumption-based model, billing for compute resources using existing Snowflake credits. This simplifies cost management but requires an understanding of Snowflake’s credit system.
Pros and Cons
- Pros: Native integration keeps data secure and governed within Snowflake. The consumption model is simple for existing customers. SQL-based functions make AI accessible to a wider audience of analysts.
- Cons: It requires an existing Snowflake account and a solid grasp of its credit economics. Feature and model availability can differ across cloud providers and regions.
Actionable Takeaways
- Use Cortex Functions in SQL: Enhance your existing SQL queries by calling Cortex functions. For example, use
SNOWFLAKE.CORTEX.SENTIMENT()on a customer feedback column to quickly gauge opinion. - Try Cortex Analyst for Quick Questions: For ad-hoc analysis, Cortex Analyst is faster than writing a complex SQL query from scratch.
- Develop with Snowpark ML: For custom models, use the Snowpark ML library in a familiar Python environment (like VS Code) to build and deploy models directly in Snowflake.
Tools & Resources
- Platform Link: Snowflake AI
- Further Reading: More about the Snowflake Cortex AI toolset.
11. Hugging Face
Hugging Face has become the definitive hub for the open-source AI community, acting as a “GitHub for machine learning.” It’s a platform where developers and data scientists can discover, share, and deploy state-of-the-art models and datasets. For data analysis, its value lies in providing immediate access to pre-trained models for tasks like sentiment analysis, text summarization, and named entity recognition, drastically reducing the time needed to build sophisticated analytical features from scratch.
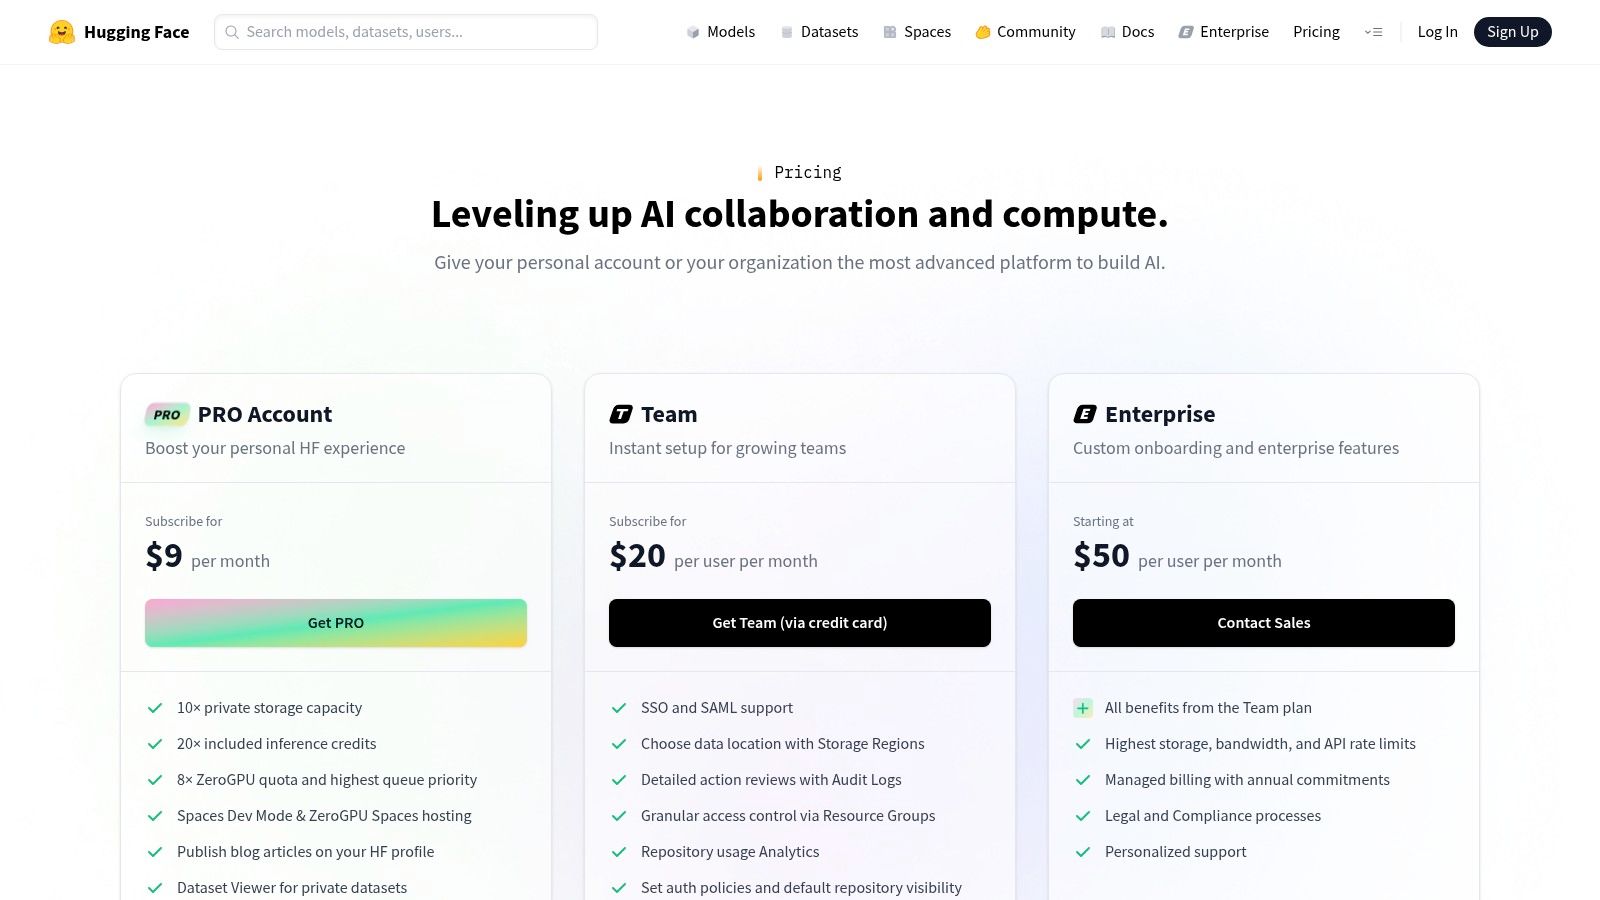
The platform is more than just a repository; it offers a full ecosystem of tools. Its transformers library simplifies using complex models in a few lines of code, and its Inference Endpoints provide a path to production. This makes it one of the best AI tools for data analysis when leveraging cutting-edge open-source innovation is a priority.
Practical Example: Performing Zero-Shot Text Classification
Imagine you need to categorize customer feedback into custom categories like “Pricing Issue,” “Feature Request,” or “Bug Report” without training a custom model.
- Find a Model: Search the Hugging Face Hub for a “zero-shot-classification” model. A popular choice is
facebook/bart-large-mnli. - Set up Your Environment: Install the library:
pip install transformers. - Write the Code: In a Python script or notebook, use the
pipelinefunction to load the model and classify your text.
from transformers import pipeline
# Load the pre-trained pipeline
classifier = pipeline("zero-shot-classification", model="facebook/bart-large-mnli")

# Define text and labels
sequence_to_classify = "The new dashboard is slow to load."
candidate_labels = ["pricing issue", "feature request", "bug report"]

# Get the results
result = classifier(sequence_to_classify, candidate_labels)
print(result) - Integrate: Use the output scores (
result['scores']) to programmatically tag and route customer feedback in a CRM or support system.
Core Features & Pricing
| Feature | Description |
|---|---|
| Model & Dataset Hub | A massive, searchable repository of over 100,000 pre-trained models and datasets for various tasks. |
| Inference Endpoints | Managed, auto-scaling endpoints to deploy models for production use without managing infrastructure. |
| Spaces | A simple way to host and share ML demo applications built with frameworks like Gradio or Streamlit. |
| Transformers Library | A popular Python library that provides a standardized API for accessing and using models from the Hub. |
Pricing: The Hub and libraries are free for public and open-source use. Inference Endpoints and Spaces are priced based on the underlying compute hardware (CPU/GPU) you select. Enterprise plans offer enhanced security, governance, and dedicated support with custom pricing.
Pros and Cons
- Pros: Unrivaled access to the latest open-source models. Strong community support and extensive documentation. Flexible deployment options from self-hosting to fully managed services.
- Cons: Production usage costs can be unpredictable and require careful performance tuning based on instance choice. Advanced enterprise governance and security features are locked behind paid tiers.
Actionable Takeaways
- Use
pipelinefor quick tests: Thetransformers.pipeline()function is the fastest way to test a model on your data with just a few lines of code. - Filter the Hub by Task: When searching for a model, use the filters on the left-hand side to narrow down by task (e.g., “Text Classification,” “Summarization”) to find the right tool quickly.
- Build a Demo with Gradio: Create a simple web interface for your model using the Gradio library and host it for free on Hugging Face Spaces to share with stakeholders.
Tools & Resources
- Platform Link: Hugging Face
- Tools: Hugging Face
transformerslibrary
12. AWS Marketplace (Machine Learning category)
The AWS Marketplace for Machine Learning is a digital catalog where organizations can find, buy, and immediately deploy third-party machine learning models and algorithms. Rather than building everything from scratch, this platform allows teams to procure production-ready AI components, making it one of the best AI tools for data analysis when speed and efficiency are critical. It acts as an accelerator, enabling companies to integrate specialized AI capabilities with centralized billing and streamlined vendor management.
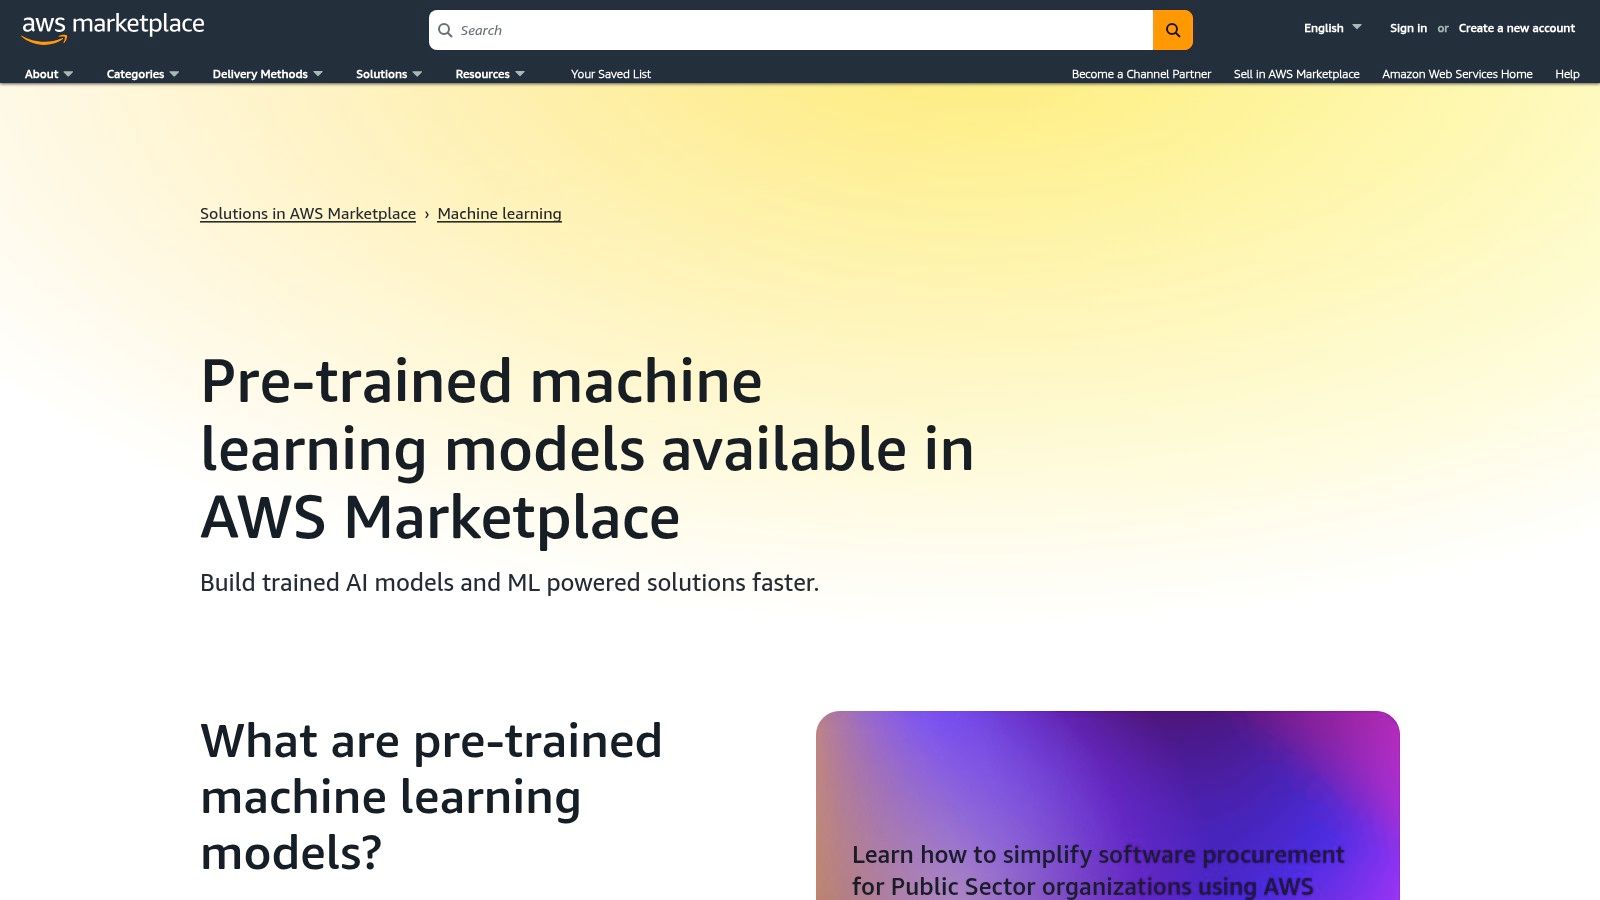
Its core value is simplifying the procurement and deployment process. Instead of lengthy vendor evaluations, teams can subscribe to a model directly through their existing AWS account and deploy it into Amazon SageMaker with just a few clicks.
Practical Example: Implementing Document Analysis
A financial services company needs to extract specific information from thousands of PDF loan applications.
- Discover a Solution: Go to the AWS Marketplace and search for “document extraction” or “intelligent document processing” in the Machine Learning category. Filter by vendors and review the top results.
- Subscribe & Deploy: After finding a suitable model, view its product page, review the pricing, and click “Continue to Subscribe.” Accept the terms and configure the software. This makes the model package available in your account.
- Integrate with SageMaker: In the Amazon SageMaker console, navigate to “Models” and create a new model. Select the option to use a model package from AWS Marketplace and choose the one you just subscribed to.
- Create an Endpoint: With the model created, select it and click “Create endpoint.” Configure the instance type and deploy. You now have a REST API endpoint that you can send PDF documents to, receiving structured JSON data in return.
Core Features & Pricing
| Feature | Description |
|---|---|
| Ready-to-Deploy Models | A vast catalog of algorithms and pre-trained models for NLP, computer vision, and data labeling. |
| SageMaker Integration | One-click deployment for most offerings directly into the Amazon SageMaker ecosystem. |
| Centralized Procurement | Simplifies vendor management and billing by consolidating all subscriptions into a single AWS invoice. |
| Governed Access | Allows administrators to control which services and vendors their teams can subscribe to. |
Pricing: Varies significantly by seller. Offerings can be free, bring-your-own-license (BYOL), or follow a pay-as-you-go model based on inference usage. Each listing clearly details its pricing structure.
Pros and Cons
- Pros: Dramatically shortens vendor review and speeds up deployment within AWS. Governed procurement and consolidated billing simplify operations. Access to specialized, industry-specific models.
- Cons: Most offerings are tightly integrated with the AWS ecosystem, limiting portability. The quality and pricing vary widely by seller, requiring careful due diligence before subscribing.
Actionable Takeaways
- Look for Free Trials: Many vendors offer a free trial period. Use this to test the model’s performance on your own data before committing.
- Check Deployment Instructions: Before subscribing, review the “Usage Information” tab on the product page to ensure the deployment process aligns with your team’s skills.
- Consolidate Your Billing: If you’re already an AWS customer, using the Marketplace simplifies invoicing and can help you meet your enterprise discount commitments.
Tools & Resources
- Platform Link: AWS Marketplace (Machine Learning)
13. Google Cloud Marketplace (AI/ML, Models, and Agents)
Google Cloud Marketplace serves as a centralized catalog for discovering, purchasing, and deploying third-party AI models, agents, and solutions directly into your Google Cloud environment. It’s an enterprise-grade procurement platform that accelerates the adoption of AI by providing pre-built, vetted solutions that integrate seamlessly with services like Vertex AI. For organizations invested in Google Cloud, the marketplace is one of the best AI tools for data analysis, as it simplifies governance, billing, and deployment.
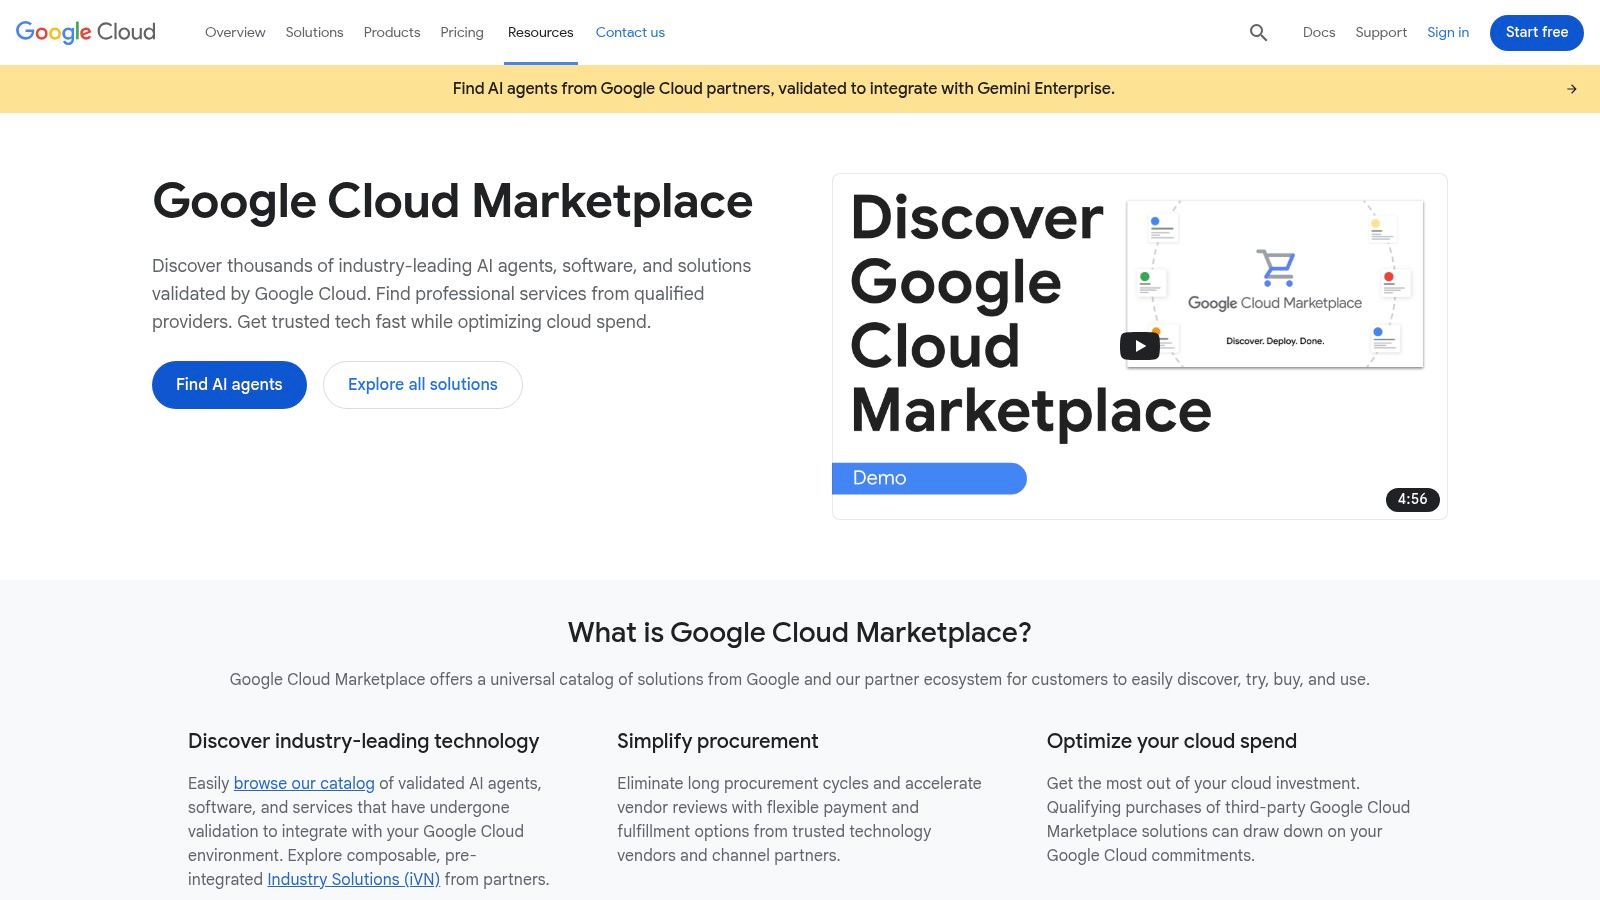
Its primary strength is streamlining the sourcing and implementation of external AI models. Teams can find, test, and deploy specialized models from leading vendors like Anthropic or AI21 Labs with just a few clicks, eliminating lengthy procurement cycles.
Practical Example: Deploying a Specialized Language Model
A data analysis team needs a powerful language model for sentiment analysis on industry-specific texts.
- Discover a Model: Go to the Google Cloud Marketplace, navigate to the “AI & Machine Learning” category, and filter by “Foundation Models.”
- Enable the Solution: Select a model (e.g., from Anthropic) and click “Enable” or “Manage on Vertex AI.” This will prompt you to enable the necessary APIs in your GCP project.
- Find in Vertex AI Model Garden: Once enabled, the model becomes available in your project’s Vertex AI Model Garden, a centralized location for managing all AI models.
- Use for Inference: From Vertex AI, you can now send API requests to the model for sentiment analysis using the provided code samples, without managing any underlying infrastructure. The billing is handled through your existing Google Cloud invoice.
Core Features & Pricing
| Feature | Description |
|---|---|
| Curated AI Models & Agents | A catalog of foundation models, task-specific models, and AI agents from Google and third-party vendors. |
| Vertex AI Integration | One-click deployment and management of subscribed models directly within the Vertex AI Model Garden. |
| Integrated Billing | Charges for third-party models appear on the standard Google Cloud bill, simplifying procurement and cost management. |
| Enterprise Governance | Allows administrators to control which solutions can be deployed, ensuring compliance and security standards are met. |
Pricing: Varies significantly by product. Each listing has its own pricing model, often based on usage (e.g., per-token or per-API call). Prices are clearly displayed on the product pages, and many purchases can count toward a company’s Google Cloud spending commitments.
Pros and Cons
- Pros: Dramatically simplifies the procurement and deployment of third-party AI models. Integrates seamlessly into the GCP ecosystem. Consolidated billing can streamline budget management and leverage existing cloud commitments.
- Cons: Primarily valuable for teams already using Google Cloud. Model availability and specific pricing can differ based on region, which requires careful review before selection.
Actionable Takeaways
- Check for “Managed on Vertex AI”: Prioritize models with this integration for the simplest deployment and management experience.
- Review Sample Notebooks: Most listings include links to sample notebooks. Run these in Vertex AI Workbench to test the model’s functionality before broader implementation.
- Leverage Existing Commitments: If your organization has a Google Cloud spending commitment, using the Marketplace can be a cost-effective way to acquire new AI capabilities.
Tools & Resources
- Platform Link: Google Cloud Marketplace
Top 13 AI Tools for Data Analysis — Comparison
| Tool | Core features | Unique / USP | Target audience | Quality ★ | Pricing 💰 |
|---|---|---|---|---|---|
| Amazon SageMaker (AWS) | Studio notebooks, deploy real-time/batch, model catalog, S3/Glue/Redshift integration | ✨Deep AWS ecosystem, enterprise security & MLOps 🏆 | 👥Enterprise teams already on AWS | ★★★★ | 💰Consumption-based across services; requires cost monitoring |
| Google Cloud Vertex AI | Model Garden (Gemini), data pipelines, labeling, BigQuery integration | ✨Multimodal models + strong data tooling 🏆 | 👥Teams using GCP & BigQuery | ★★★★ | 💰Componentized pricing, free monthly tier for some resources |
| Querio | Natural-language analytics, SQL/Python notebooks, governed metrics layer, live warehouse queries | ✨AI analytics grounded in real, inspectable code (no black box) | 👥Data teams & analysts working on modern warehouses | ★★★★ | 💰Contact sales; usage-based enterprise pricing |
| Microsoft Azure Machine Learning | No-code Designer, notebooks, AutoML, responsible AI dashboards | ✨Responsible AI tooling + GitHub/Azure integration 🏆 | 👥Enterprises in Microsoft ecosystem | ★★★★ | 💰Pay-as-you-go or savings plans; compute/storage driven |
| Databricks Lakehouse | Collaborative notebooks, Delta Lake, Unity Catalog, MLflow | ✨Unified data+AI on open formats; strong lineage/governance 🏆 | 👥Organizations needing unified data+ML | ★★★★ | 💰Per-second billing; committed-use discounts |
| Dataiku | Visual recipes + code notebooks, AutoML, governance, deployment | ✨Bridges analysts & data scientists; strong collaboration | 👥Cross-functional enterprise teams | ★★★★ | 💰Free edition + paid enterprise plans via sales |
| Alteryx (Designer/Analytics Cloud) | Drag-and-drop prep, AI copilot, automation, cloud/desktop deploy | ✨Fast time-to-value for analysts | 👥Business analysts & analytic teams | ★★★ | 💰Tiered pricing; advanced editions via sales (premium at scale) |
| RapidMiner (Altair) | Visual workflows, drag-and-drop pipelines, AutoML, server options | ✨Low-code modeling with mature operator library | 👥Mixed-skill teams preferring low-code | ★★★ | 💰Community & enterprise licensing; enterprise can be costly |
| IBM watsonx.ai | Foundation & third-party models, PromptLab, RAG, synthetic data | ✨Broad model catalog + enterprise compliance 🏆 | 👥Regulated enterprises needing governance | ★★★★ | 💰Tiered (trial/Essentials/Standard); complex token/compute pricing |
| Snowflake AI (Cortex, ML) | Text-to-SQL, Cortex Analyst, agents, in-warehouse inference | ✨Native in-warehouse AI with Snowflake security | 👥Snowflake-native orgs & data teams | ★★★ | 💰Consumption via Snowflake credits; requires Snowflake account |
| Hugging Face | Model Hub (100k+), managed inference, Spaces hosting | ✨Open-source model hub; flexible deployments 🏆 | 👥Teams wanting rapid access to open models | ★★★★ | 💰Managed endpoints & enterprise tiers; costs vary by infra |
| AWS Marketplace (ML) | Model packages, deploy to SageMaker, centralized procurement | ✨Fast vendor procurement inside AWS ecosystem | 👥Procurement teams & AWS customers | ★★★ | 💰Seller-specific pricing; centralized billing via AWS |
| Google Cloud Marketplace (AI/ML) | Curated models/agents, “Manage on Vertex AI” enable flow | ✨Streamlined purchase + GCP enablement | 👥GCP teams & procurement | ★★★ | 💰Regional pricing; spend may count toward GCP commitments |
Your Next Move: How to Choose the Right AI Tool
We’ve journeyed through a comprehensive landscape of the best AI tools for data analysis, from the enterprise-grade powerhouses of AWS and Google to user-friendly, low-code platforms like Alteryx and Dataiku. The key takeaway is that the “best” tool is not a universal title. It’s a role filled by the platform that best aligns with your team’s specific context, skills, and existing tech stack. A startup might find Hugging Face invaluable for rapid prototyping, while a large enterprise will gravitate towards Amazon SageMaker for its scalability.
A Practical Framework for Selection
Instead of getting stuck in “analysis paralysis,” approach your decision with a structured, hands-on evaluation.
Here’s a step-by-step approach to guide your choice:
- Define a Pilot Project: Choose a small, well-defined business problem. For example: “Build a model to predict customer churn based on the last six months of engagement data.” This creates a clear, measurable goal.
- Shortlist 2-3 Contenders: Based on our list, pick candidates that match your core needs. If your team is primarily business analysts, your shortlist might include Querio, Snowflake Cortex AI, Alteryx, and Dataiku. If you’re building custom deep learning models, your list would likely feature SageMaker, Vertex AI, and Databricks.
- Execute the Pilot: Run your project on each shortlisted tool. Document the experience. How long did it take to ingest data? How intuitive was the model-building interface? What roadblocks did you encounter?
- Evaluate and Score: Assess each tool against critical criteria: ease of use, integration with your existing data sources, total cost of ownership (including training and infrastructure), and scalability. A simple scoring matrix can make this comparison objective.
Key Factors to Weigh
As you work through your evaluation, keep these crucial considerations at the forefront:
- Skillset Alignment: Does the tool empower your current team, or will it require extensive retraining? Low-code platforms democratize data science, while code-first platforms offer customization for specialized teams.
- Ecosystem Integration: The most powerful tool is useless if it doesn’t connect to your data. Verify seamless integration with your existing databases, cloud storage, and BI tools like Tableau or Power BI.
- Scalability and Performance: Will this tool grow with you? Consider its ability to handle increasing data volumes, more complex models, and a growing number of users.
- Governance and Security: For any business application, robust security protocols, data governance features, and compliance certifications are non-negotiable.
Choosing the right AI tool is a strategic decision that can dramatically accelerate your data analysis capabilities. By moving from a passive review to an active, hands-on evaluation, you can confidently select the platform that will not just solve today’s problems but will also serve as a foundation for future innovation.
Further Reading
Feeling ready to explore but want a wider view of the AI landscape? The world of AI tools is vast and constantly evolving. To discover and compare hundreds of specialized solutions for data analysis, marketing, content creation, and more, check out the AI Tools Hub. It’s the perfect resource for finding the niche tools that can give your data strategy a competitive edge. Visit the AI Tools Hub to start your discovery.